Chocolate Pear Cake

Pears and chocolate may be an unfamiliar pairing, but it is one worth exploring. The delicate sweetness of the pear balances the richness of the chocolate, creating one of my favorite combinations. While pears and chocolate are no stranger to this blog (check out these recipes for pear & chocolate scones and brown butter pear & chocolate muffins), it has been awhile since I've played around with these flavors.

For this cake, I mixed ripe pears into the cake and layered them on the top for both aesthetics and for my personal preference (I will openly fight for the pieces with the most pear). The chocolate cake itself is light and moist. To bring out a deeper chocolate flavor, I also tossed chopped chocolate into the batter.

This cake lasted only a brief time in my house, and I hope you'll find the same is true for you.

With this recipe (and many that involve pears), canned pears can be substituted for their fresh counterparts as a quick and easy alternative. If you don't have ripe pears on hand, dice the canned pears and fold them into the cake batter instead of layering on top—the flavors will taste the same. 

chocolatepearcake2.jpg
IMG_9237-2.jpg
IMG_9296-2.jpg

Chocolate Pear Cake is a sweet snacking cake. Diced pears and chopped chocolate are folded into a chocolate cake batter. Before baking, the top is covered with pear slices and sprinkled with more chopped chocolate and raw sugar to add additional sweetness and texture. Serve the cake warm or chilled with a scoop of ice cream or a dreamy spoonful of whipped cream.

Two Years Ago: Quick Puff Pastry (Tutorial) 
Three Years Ago: Chocolate Orange Cake
Four Years Ago: Almond Cake 
Five Years Ago:  Blueberry Lemon Pancakes, Lavender Lemon Shortbread, & Grapefruit Margaritas
Six Years Ago: Basic Caramel Sauce, Rum  Raisin Ice Cream, Butternut Squash & Spinach Tart, & Rosemary Crackers
Seven Years Ago: Lemon Chocolate Tart, Coconut Cream Cupcakes, Italian Popcorn, & PB Chocolate Chip Cookies

Chocolate Pear Cake

Yields 9-inch cake

2 large ripe pears*
1 cup (200 grams) granulated sugar
1/3 cup (78 ml) vegetable oil
2 large eggs
1 1/4 teaspoons baking powder
1/2 teaspoon salt
1 teaspoon vanilla extract
1 1/2 cups (180 grams) all-purpose flour
2 tablespoons cocoa powder
1/2 cup (120 ml) milk of choice
4 ounces (113 grams) semi-sweet or bittersweet chocolate, finely chopped
1 tablespoon raw or demerara sugar, optional
Chocolate shavings, optional

Preheat oven to 350 degrees F (180 degrees C). Grease a 9-inch spring-form cake pan. Set aside.

To prepare the pears, peel them, if desired. Cut in half and remove the core. Dice one pear into small cubes. Quarter the other pear lengthwise and thinly slice. Set aside.

In a mixing bowl, whisk together the granulated sugar, vegetable oil, and eggs for several minutes, or until lighter in color. Whisk in the baking powder, salt, and vanilla extract. Using a spatula, stir in the flour, cocoa powder, and milk. Mix until the batter is smooth and uniform. Fold in the cubed pear and chopped chocolate.

Pour batter into the prepared baking dish. Top batter with folded pear quarters and chocolate shavings. Sprinkle with raw sugar. Bake for 40-50 minutes, or until a toothpick inserted into the center comes out clean. Run a knife around the edges and remove outer springform. Allow to cool before serving.

* Canned pears can be substituted in a pinch. Dice all the pears and fold them into the batter instead of layering over the top.

Marbled Pumpkin Chocolate Cake

At the beginning of summer, my boyfriend and I moved into our first home. We spent the early months dwelling in near empty rooms, gaining familiarity with the space before taking paint to the walls and opening our wallets for furnishings. While the task of making a house into a home felt initially overwhelming, the choice to step back and pause for breath has made the project enjoyable.

Our house came with its own personality, including a unique blend of blonde wood trim, bronzed hardware, and ornate light fixtures. While the personality may not match our own preference for modern, we are finding a way to blend our disparate styles together. We have made design mistakes along the way—the two coats of "bunglehouse blue" paint in the office was quickly repainted with the original color in a short 24 hours, so grave was the error in judgement—but these failures have only led to a better understanding of the space where we live.   

marbledpumpkincake2.jpg
IMG_8933-2.jpg

Observing the changing of the seasons through our living room window has become my favorite part of living in our new home. Summer brought bright, hot sunlight and bold green hues. Autumn came in shades of yellow, the intense leaves fading in color and falling until only bare branches remain. While I hope winter is still weeks away, we have caught glimpses of what it may hold, with diffuse light reflecting off the snow and filling the room with a quality of light reminiscent of cloudy mornings in the rocky mountains. 

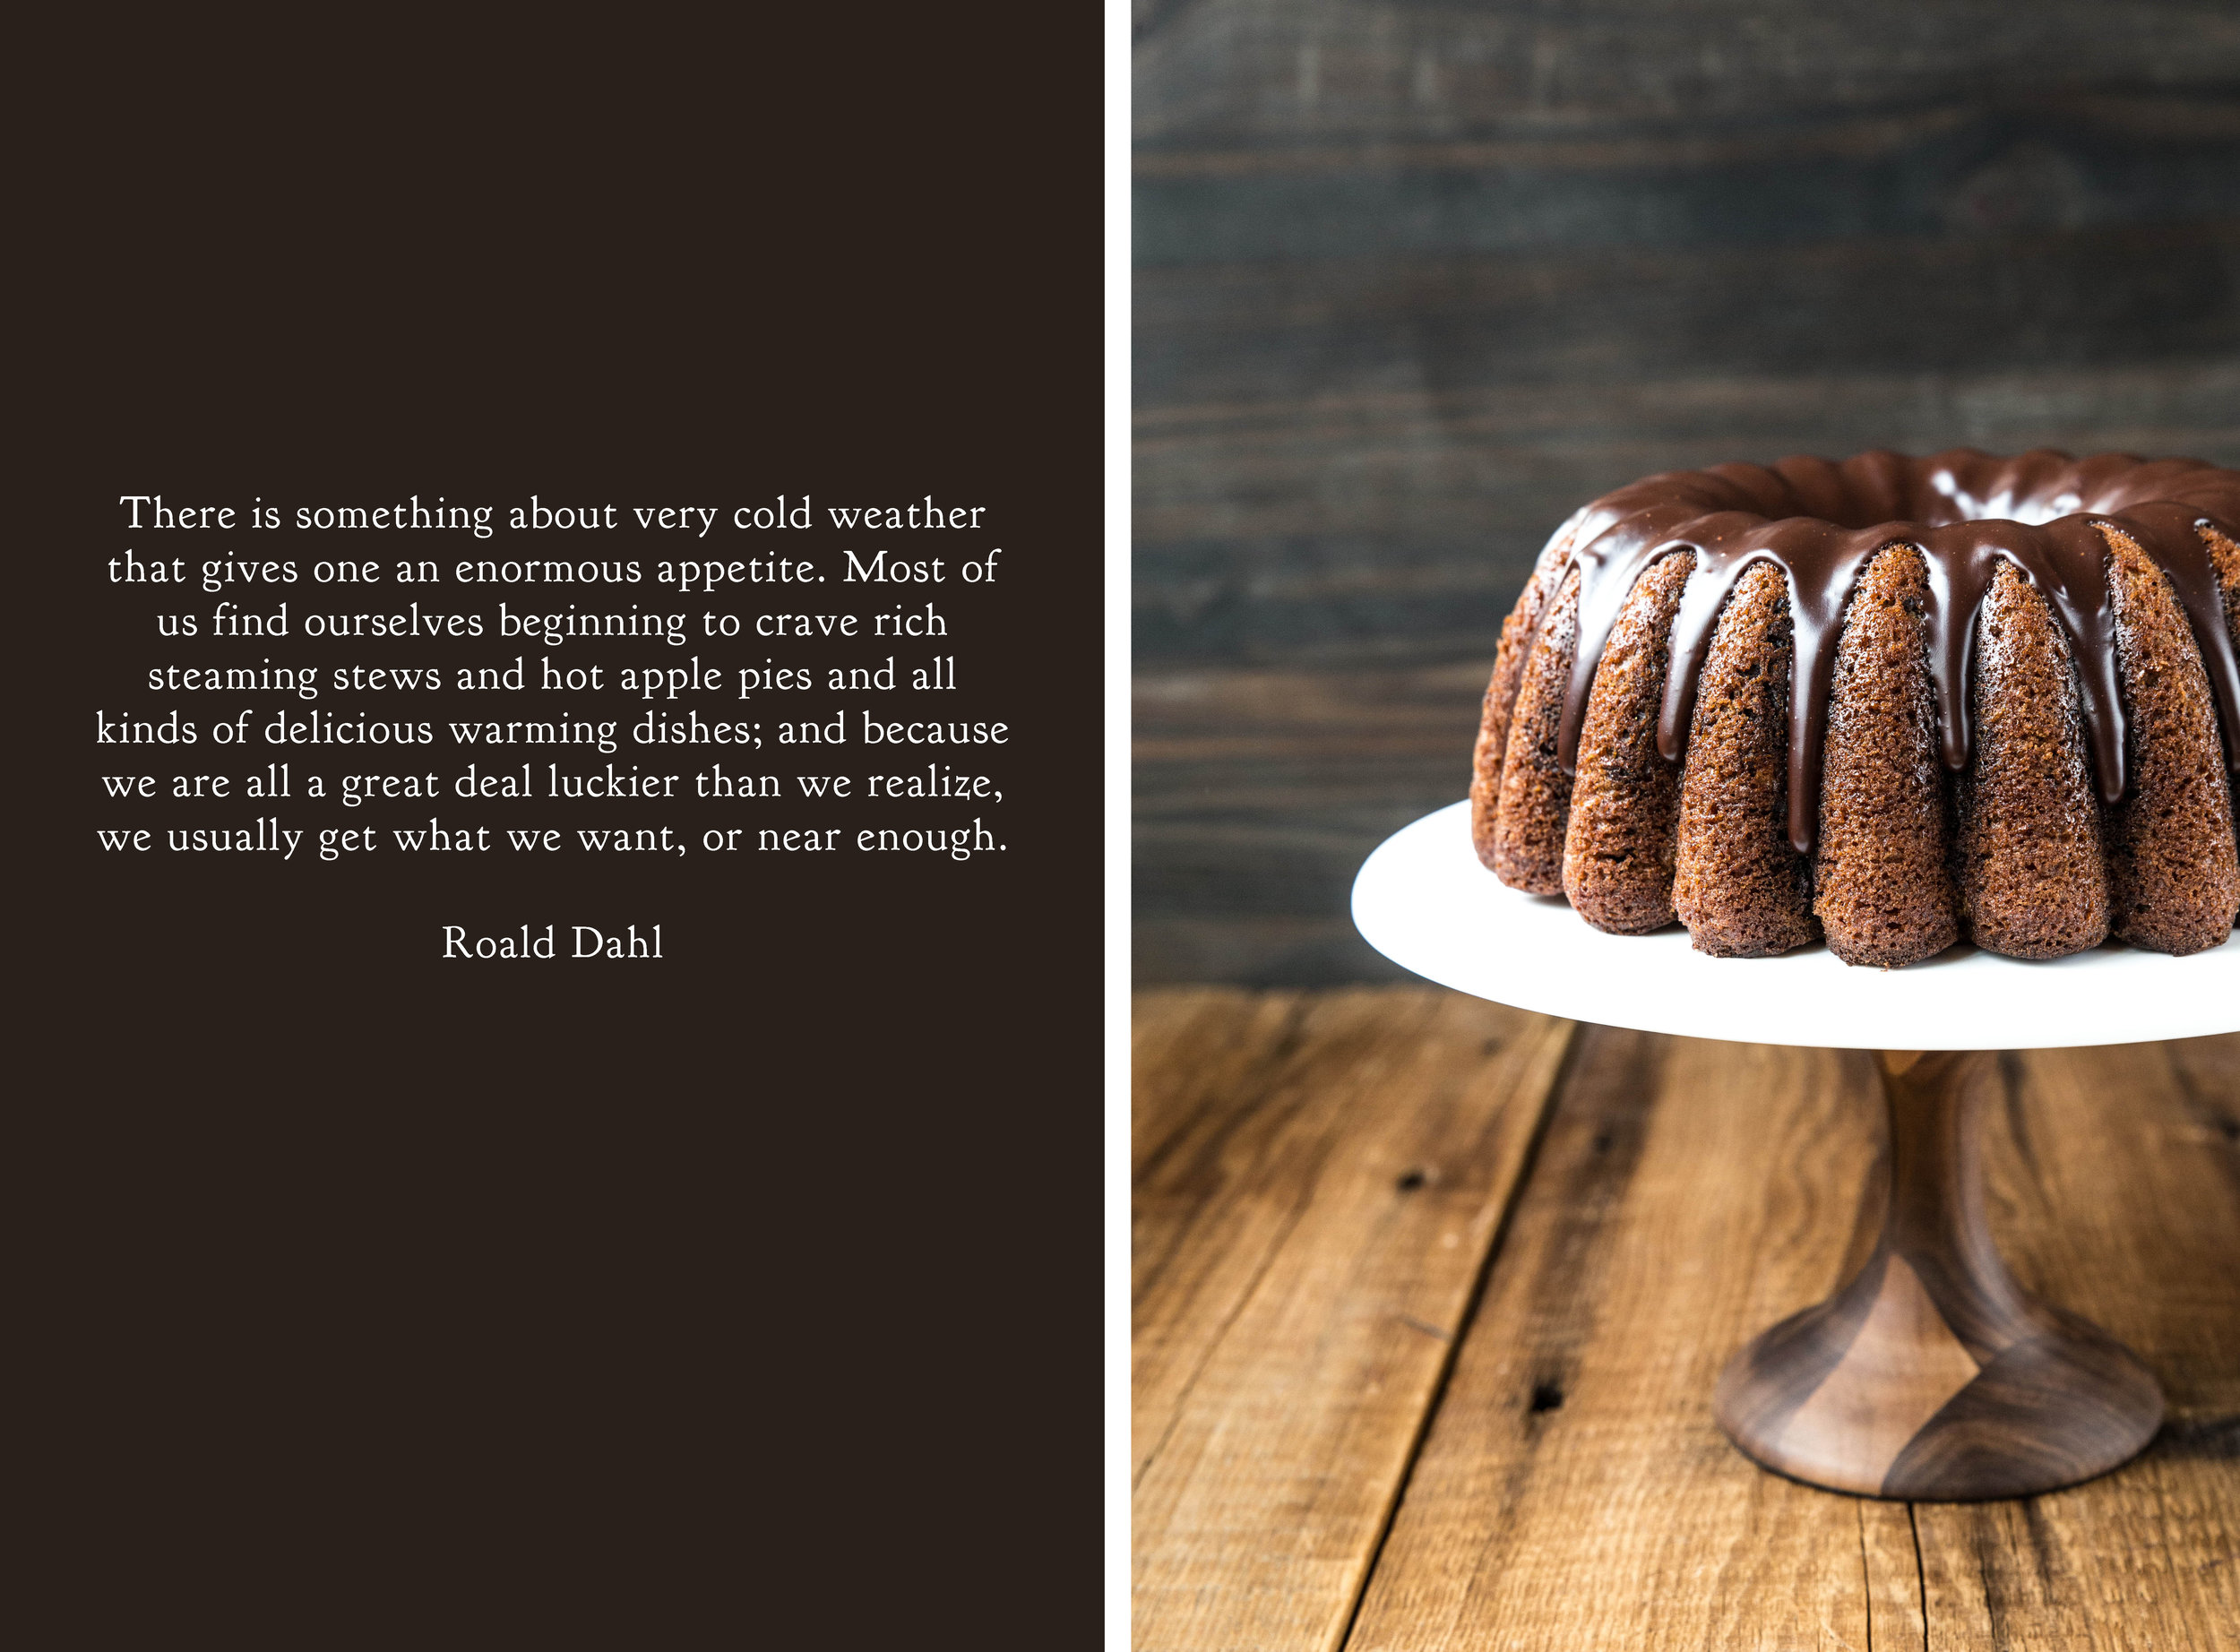
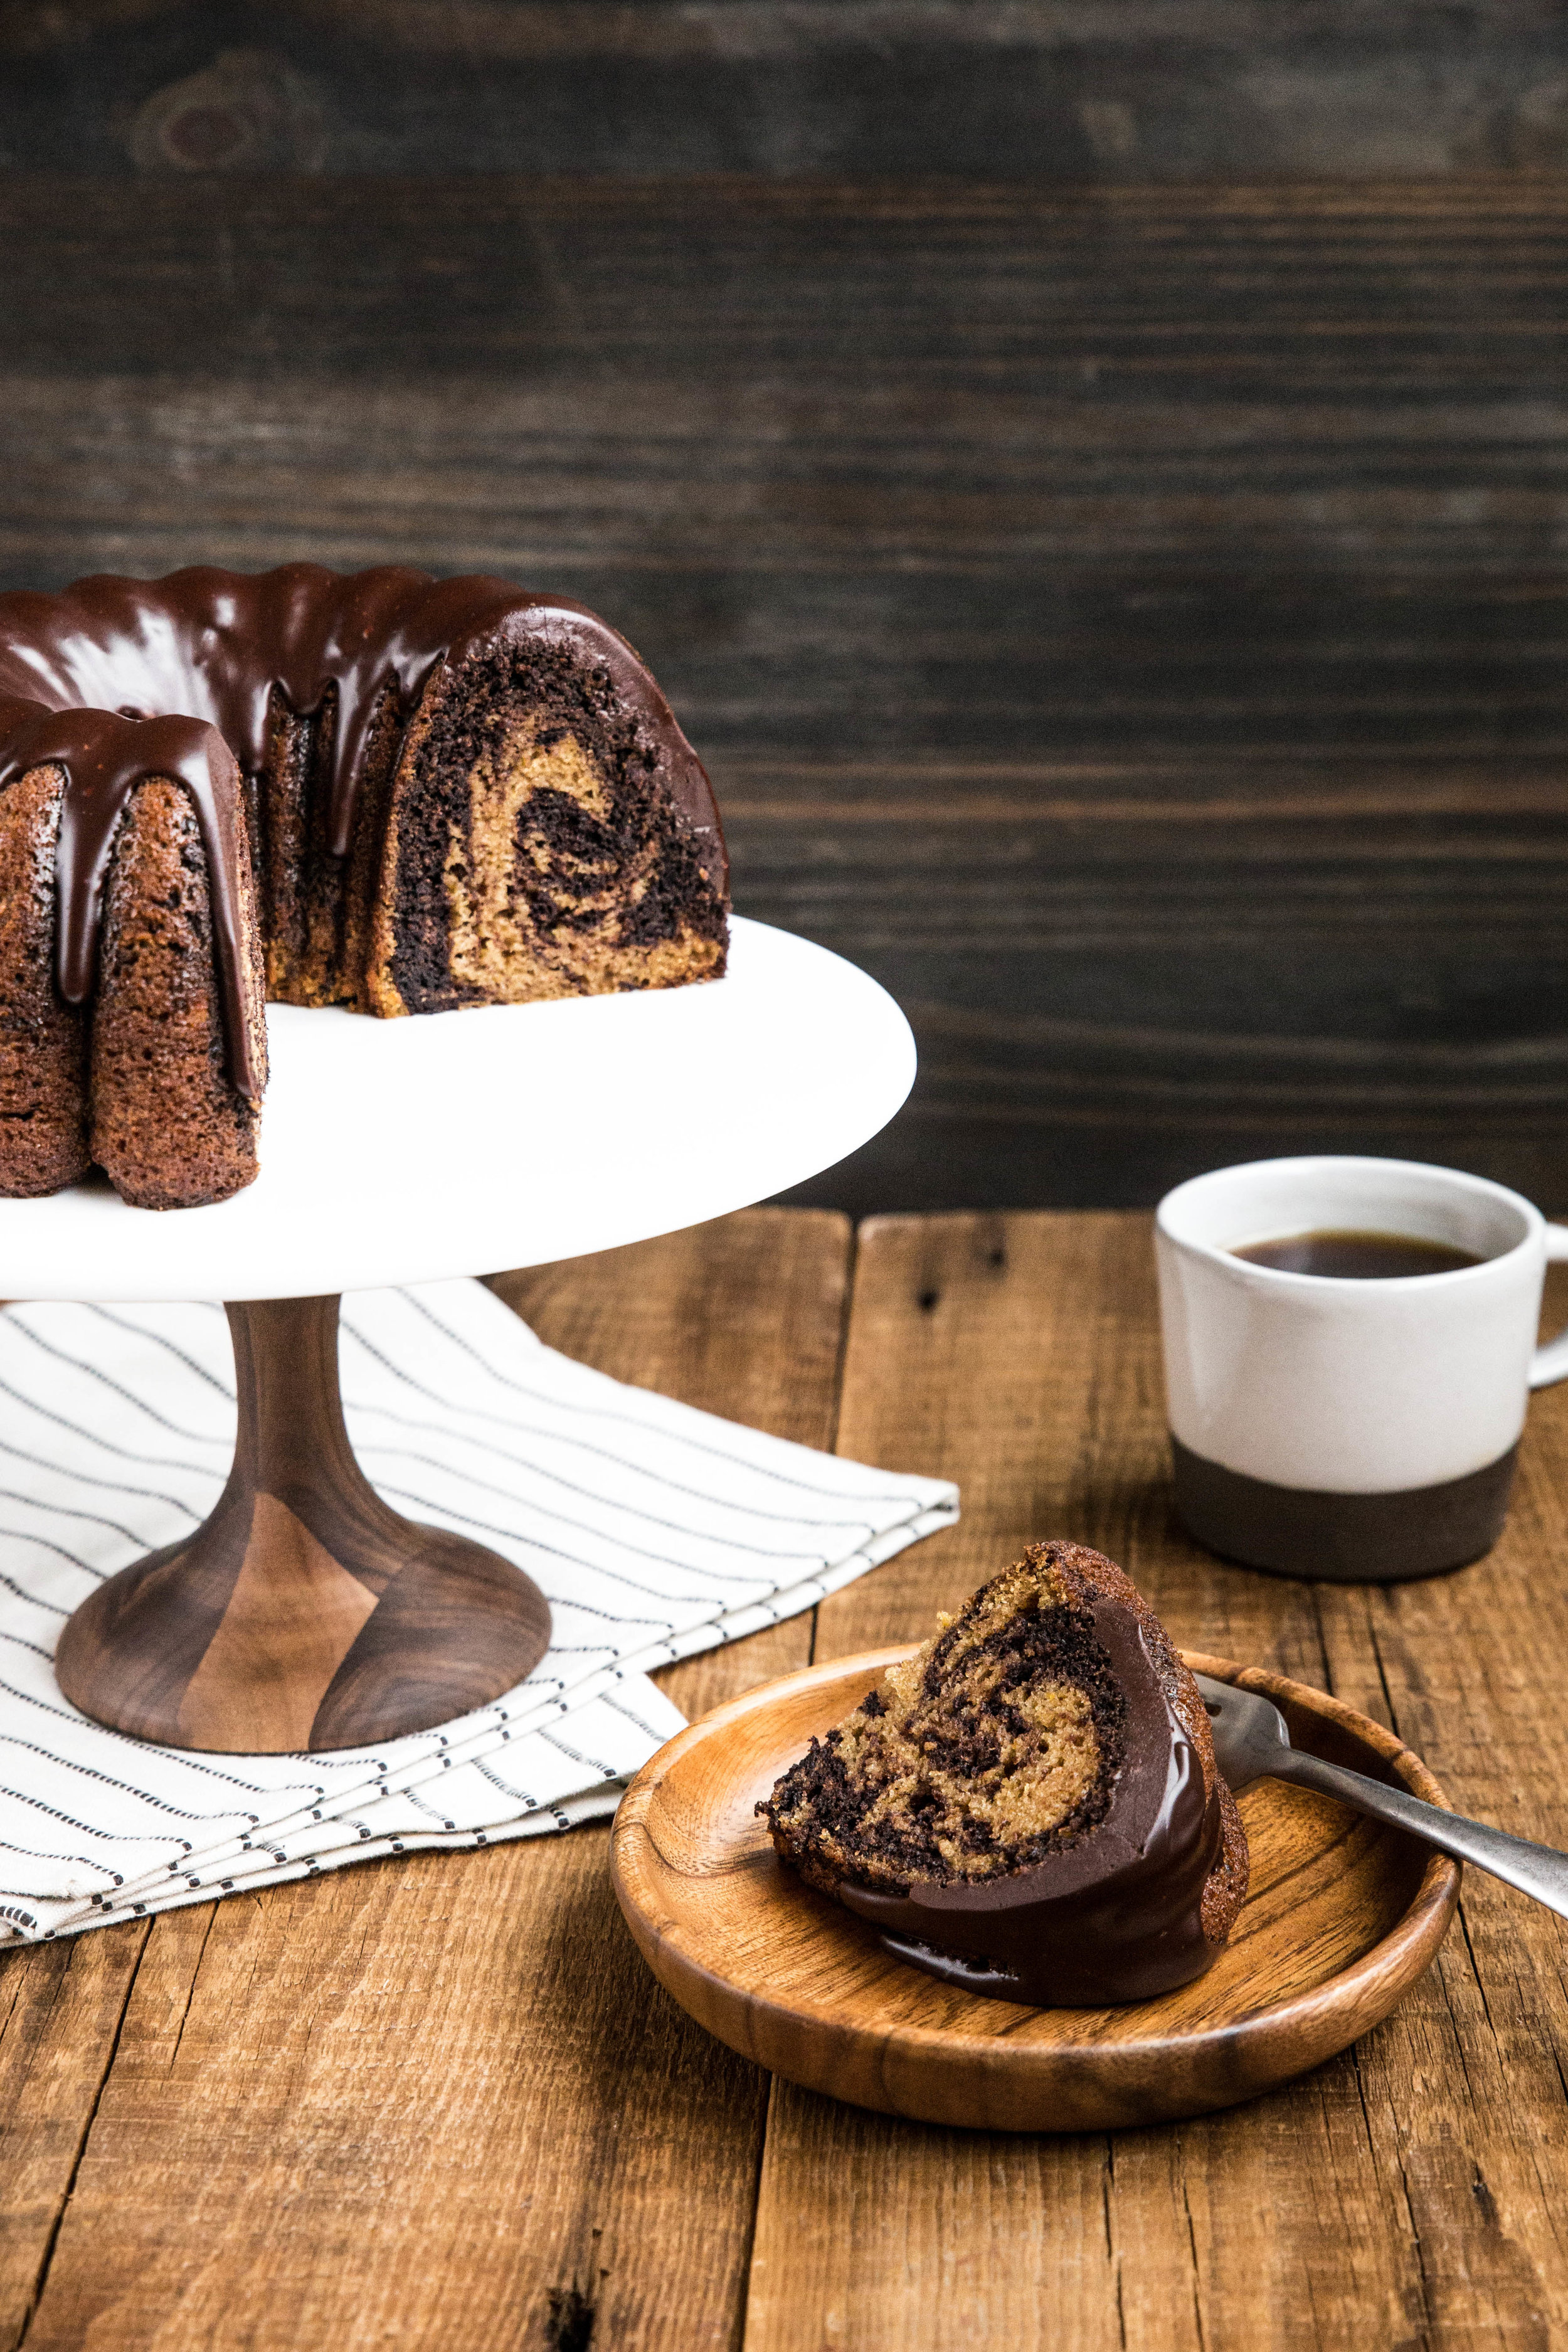
On one such morning, with soft light filling the home, I set out to create this marbled pumpkin chocolate cake. Back when I was working in a bakery, one of my favorite snacks was to pipe chocolate frosting onto the pumpkin scraps leftover from leveling the cake, sealing my love for this flavor combination. The bundt cake features pumpkin and chocolate cake marbled together, with a thick chocolate glaze as the icing on top. 

While my baked goods are typically sent to work and enjoyed by coworkers, we kept "forgetting" to bring this one with us. This cake carries the seasonal flavors beautifully.  While it is perfect for sharing with friends and family, I would understand if you want to keep this cake close to home, too. 

IMG_8941-2.jpg
IMG_8974-2.jpg

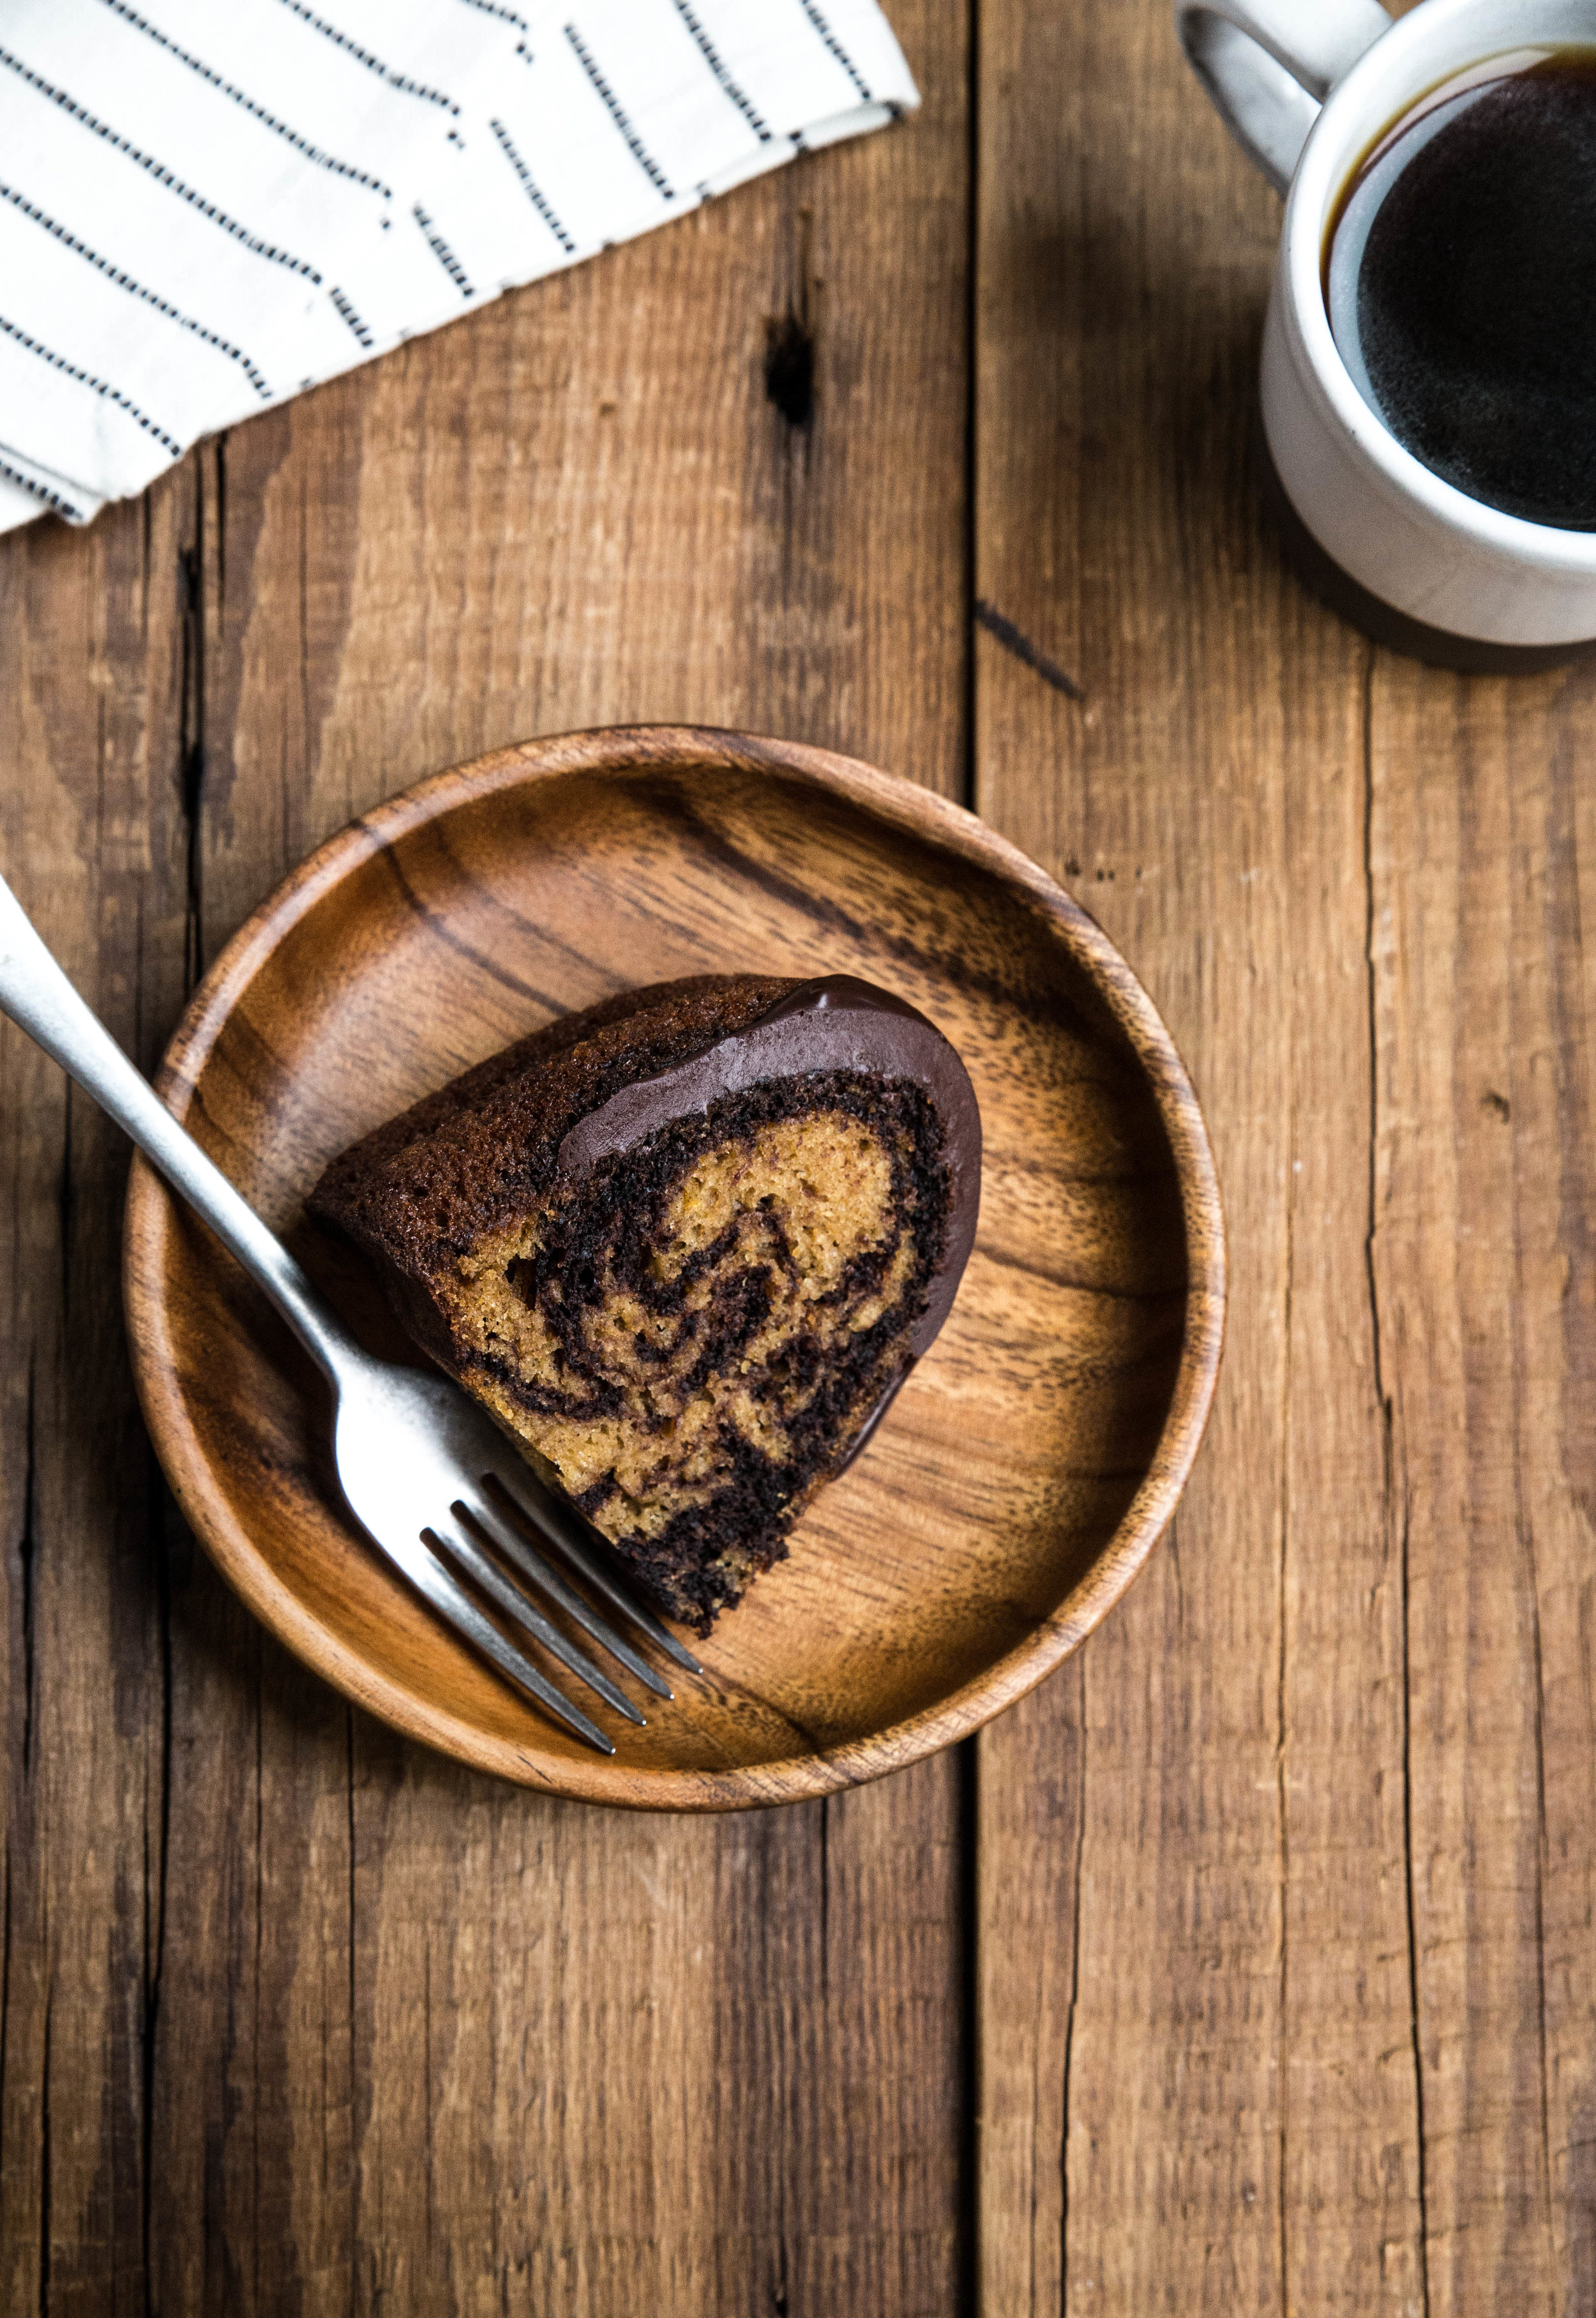
This Marble Pumpkin Chocolate Cake blends together fall flavors and chocolate in this bundt. Alternate spoonfuls of pumpkin and chocolate cake batter are place in a cake pan and swirled with a knife to achieve a marbled look. Once baked and cooled, the cake is covered in a rich chocolate glaze. Due to the moisture in the pumpkin, the cake stays fresh for several days. Serve alongside a cup of hot coffee or a mug of warm cocoa.

Two Years Ago: Caramel Apple Crumble Pie
Three Years Ago: Maple Syrup Cake
Four Years Ago:  Pumpkin Spiced Doughnuts & Stove-Top Popcorn
Five Years Ago: Molasses Cookies, Marbled Butternut Squash Bread, Chai Pear Scones, & Bourbon Apple Cider
Six Years Ago: Grandma's Applesauce, Apple Cinnamon Oatmeal, Honey Roasted Chickpeas, & Caramel Apple Tart
Seven Years Ago: Baked Apple Chips, Homemade Apple Cider, Fresh Ginger Pear Cake, Pumpkin Chocolate Chip Cookies, Fig & Balsamic Jam, Pumpkin Spice Oatmeal, & Raspberry Vanilla Creme Brulee

Marbled Pumpkin Chocolate Cake

Yields 8-10 servings

Pumpkin Batter
1 1/2 cups (370 grams) pumpkin puree
4 large eggs
3/4 cup (177 mL) vegetable oil
1 cup (200 grams) brown sugar, packed
3/4 cup (150 grams) granulated sugar
1 teaspoon vanilla extract
2 cups (250 grams) all-purpose flour
2 teaspoons baking powder
1 teaspoon baking soda
2 teaspoon ground cinnamon
1/4 teaspoon ground ginger
1/4 teaspoon ground nutmeg
1/8 teaspoon ground cloves
1 teaspoon salt

Chocolate Batter
1/3 cup (28 grams) cocoa powder
2 tablespoons granulated sugar
2 tablespoons strong coffee (or milk)
1 1/2 cups pumpkin batter (above)

Chocolate Glaze
6 ounces (170 grams) semisweet or milk chocolate, coarsely chopped
1/2 cup (120 mL) heavy cream (or full-fat coconut milk)

Preheat oven to 350 degrees F (180 degrees C). Heavily grease a 10-cup Bundt pan. Set aside.

For the pumpkin batter, beat together the pumpkin, eggs, oil, brown sugar, granulated sugar, and vanilla extract in a large mixing bowl until well blended. Stir in the flour, baking powder, baking soda, spices, and salt until smooth and uniform in appearance. Set aside.

For the chocolate batter, whisk together the cocoa powder, granulated sugar, and strong coffee in a medium mixing bowl. Add in 1 1/2 cups of pumpkin batter and stir until uniform. Set aside.

In the prepared baking pan, alternate spoonfuls of pumpkin and chocolate batter. Using a knife, swirl the batter by making an "S" shape once around the pan to create a marbled texture.

Bake for 50-60 minutes, or until a toothpick inserted into the center comes out clean. Allow cake to cool in pan for 15 minutes before un-molding transferring to a cooling rack to cool completely.

For the glaze, heat the heavy cream in a small saucepan until steaming. Immediately remove from heat and pour over chopped chocolate, allowing the chocolate to melt for 5 minutes before stirring until smooth and uniform. Allow glaze to cool until it reaches a thicker consistency.

When cake has completely cool, pour glaze evenly over the top. Serve after the glaze has fully set. 

Grandma's Chocolate Cupcakes

My grandmother recently passed away. After a two and a half year long battle with cancer, it was expected, but it was still difficult for my family to say goodbye. Can you truly prepare yourself for losing someone you love? My grandmother was such a strong figure in our family, both humble and hardworking. She will be greatly missed.

During my childhood, my sister and I would spend our winter breaks on my grandparent's farm. Our early mornings were occupied by painting ceramic figurines, using leftover paints from my grandmother's days of painting alongside The Joy of Painting with Bob Ross. Our afternoons were spent building snow caves in the large snow drifts in the yard. When we could no longer feel the tips of our noses, we ran inside to be greeted by my grandmother's handmade quilts, hot from the dryer. In the evenings, we would cuddle up in the same bed and she would read us books. Even when we grew too old for bedtime stories, we would insist anyway, enjoying the familiar tales of Rabbit and Skunk, and the silly voices my grandmother gave the characters.

Most significantly, my grandmother passed down her love of baking to me. Since I was very young, I watched her create complex German meals from scratch: kneading bread dough to make buns, rolling out dough for strudels, whipping the filling for her chocolate pudding pies. As I grew, she taught what she knew about food. As a dedicated home cook, she opened her kitchen to me, letting me work alongside her. She was a no-fuss kind of woman, never minding when I accidentally ripped holes in the strudel dough or flip the frying "shoop" noodles too soon. Instead, she would guide me to do better on the next batch. In many ways, she laid down a foundation of knowledge on food, helping me discover my love and passion for baking.

When I learned of my grandmother's passing, I pulled my personal cookbook off the shelf, filled with her handwritten recipes. I paged through the book, pausing on each recipe, remembering the moments we shared making and eating those dishes together. The last recipe in the book was her recipe for chocolate cupcakes, the memories of which made me laugh. 

My grandmother was known in our family for her chocolate cupcakes, which appeared at every holiday and family gathering. It was general knowledge that her cupcakes had a secret ingredient. My sister and I would constantly beg and plead her to tell us the secret, but her response was always the same: when you grow older. Finally, when I reached my fourteenth birthday, I was deemed old enough. She took me aside and whispered the name of the mystery ingredient—a good cup of strong coffee—and told me I wasn't to tell a soul. I happily lorded this secret over my younger sister for years

I made her chocolate cupcakes on that sad morning, hoping to keep the memories of my grandmother close, baking them to share with my grieving family. I'm sharing her recipe—and secret ingredient—with you today. Above all, my grandmother believed food creates community; food is what brings us and binds us together. Food is love. Our recipes tell the stories of our love.

When you find a moment, bake and share these cupcakes with your loved ones. Create moments to remember and hold dear long after the cupcakes have disappeared. 

My grandmother's chocolate cupcakes have a chocolate base reminiscent of a moist, stick-to-the-roof-of-your-mouth devil's food cake. The frosting is cooked down on the stove, made with butter, sugar, marshmallows, and chocolate chips. After the frosting cools down and is whisked for a lighter texture, it's spread onto the cupcakes. My family prefers to eat the cupcakes straight from the refrigerator, where the frosting is firm and chilled, but feel free to serve them at room temperature based on your own preference (though my father will disagree with your decision on this). 

One Year Ago: Blueberry Crumble Bread
Two Years Ago: S'mores Tarts & Raspberry Rhubarb Sorbet
Three Years Ago: Chocolate Espresso Custard, Mixed Berry Quinoa Crumble, & Cookies & Cream Ice Cream
Four Years Ago:  Boozy Margarita Cake, Double Chocolate Muffins, Rhubarb Ginger Bars, & Dill Dinner Rolls
Five Years Ago: Lavender Lemonade, Vegan Chocolate Cupcakes, Cherry Almond Granola, & Vegan Chocolate Chunk Cookies
Six Years Ago: Cinnamon Raisin Baked French Toast, Chocolate Almond Oat Bars, Bizcochitos, & Quinoa Pudding
Seven Years Ago: Chocolate Chip Raisin Oatmeal Cookies

Grandma's Chocolate Cupcakes

Yields 2 dozen

Chocolate Cupcakes
2/3 cup (155 mL) vegetable oil
1 large egg
1 1/2 cups (300 grams) granulated sugar
1 cup (250 mL) buttermilk
2 cups (240 grams) all-purpose flour
1/2 cup (43 grams) cocoa powder
1 teaspoon baking soda
1/2 teaspoon salt
1 cup (250 mL) strong coffee

Preheat oven to 350 degrees F (180 degrees C). Line a cupcake pan with liners.

In a large mixing bowl, whisk together vegetable oil, egg, granulated sugar, and buttermilk until uniform. Whisk in flour, cocoa powder, baking soda, and salt alternatively with the strong coffee until smooth.

Fill cupcake liners 2/3 full and bake for 18-22 minutes, or until a toothpick inserted into the center comes out clean. Cool completely before frosting.

Chocolate Frosting
1/4 cup (56 grams) butter
1 cup (200 grams) granulated sugar
6 standard or 60 mini (42 grams) marshmallows
1/4 cup (60 mL) water
1/2 cup (85 grams) semi-sweet chocolate chips

In a large saucepan over medium heat, whisk together butter, sugar, marshmallows, and water. Bring to a boil, stirring constantly, and remove from heat. Whisk in chocolate chips until melted. Cool the frosting in the refrigerator, whisking energetically every few minutes until it reaches a spreadable texture (approximately 15-20 minutes).

Frost cooled cupcakes and serve. Store in an airtight container at room temperature or in the refrigerator, depending on preference.