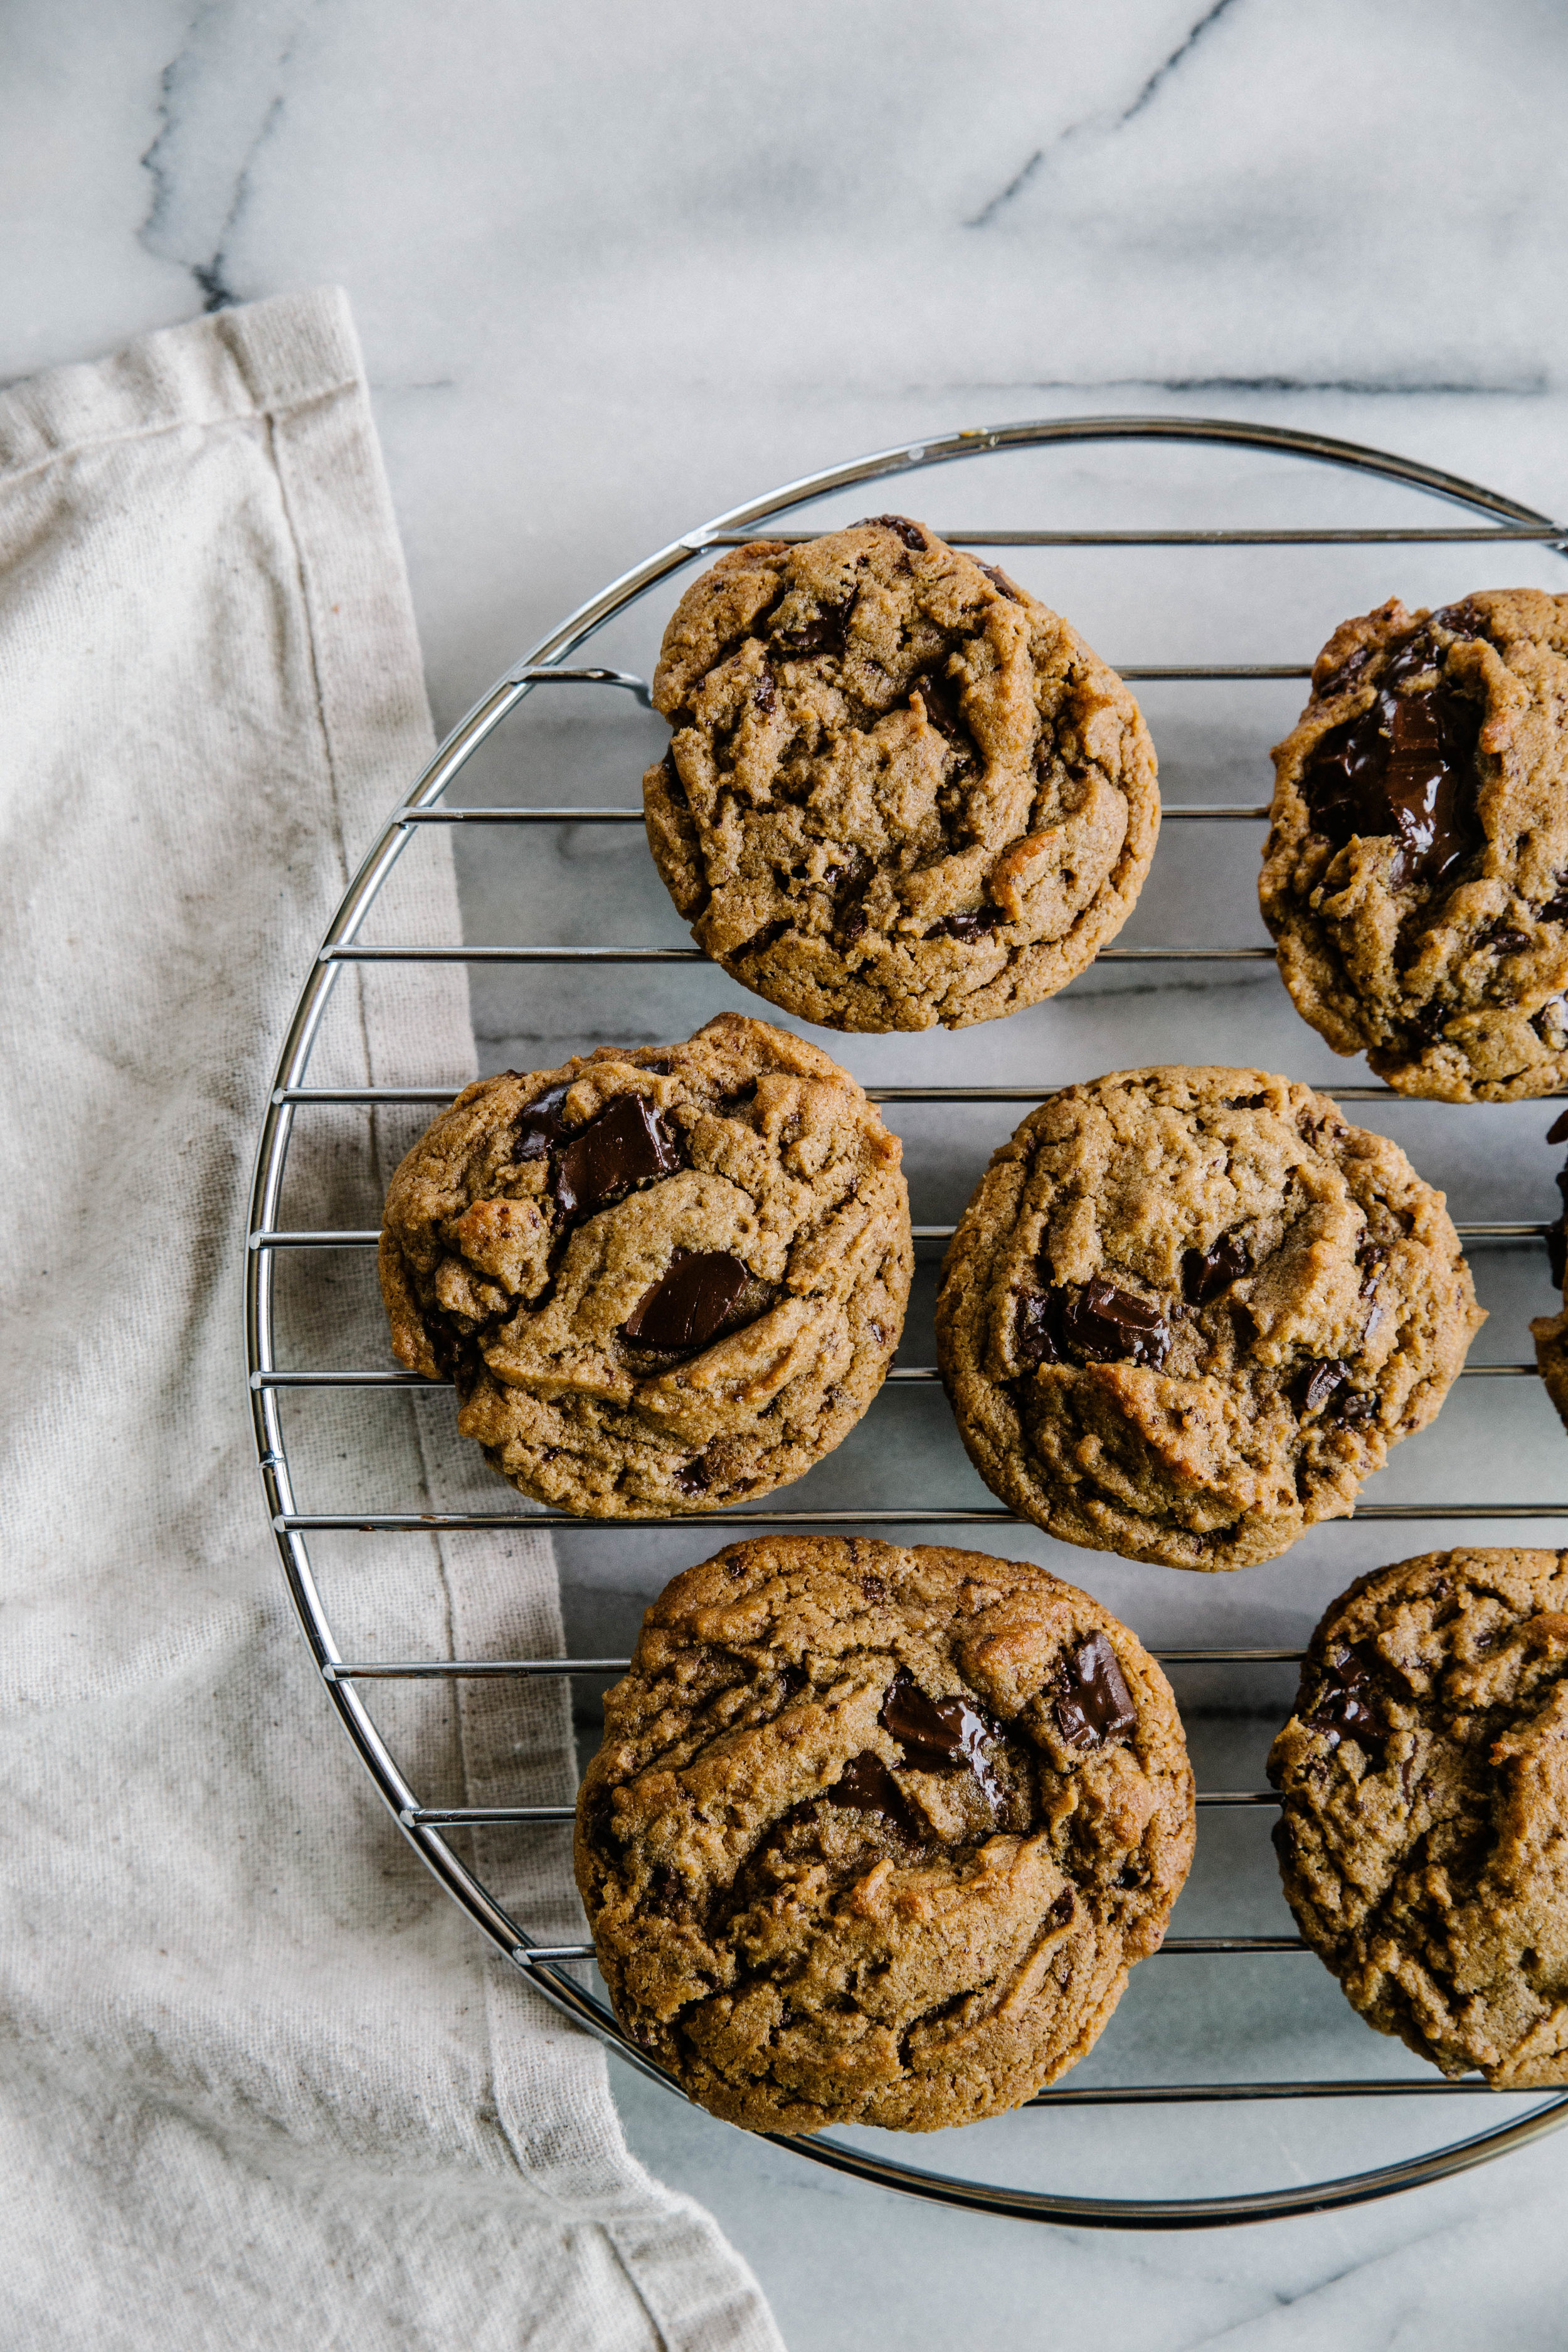
Chocolate Chunk Coconut Oil Cookies

Perhaps it's due to the recent wedding of my younger sister, but I've been feeling stagnant in my own life lately. I'm waiting—waiting to be engaged, waiting to be married, waiting to have children. The clock ticks and my number hasn't been called. In many ways, I feel like my "real" life hasn't started yet, as if my life is on hiatus, waiting for the next season to begin.

Realistically, I know all of this is not true. My current state of being is nothing to complain about. I have an amazing job working as a high school teacher, a delicious hobby, the freedom to travel, and few responsibilities or worries. However, knowledge of these truths and my current feelings about them are two different things. The head and the heart are often at odds. I need to remind myself that life is happening now, not in a year or two. It's time to brush off the restlessness and embrace where I am now.

This past weekend I packed up and moved again (for the sixth time since starting this blog). It's not a starter house, as I have daydreamed about, but it is into a nicer apartment with much quieter neighbors. Patience is a virtue, I'm told. Sometimes, though, it takes a bit of a push to remember.

When I am feeling restless, I like to bake a batch of my favorite comfort desserts. Chocolate chunk cookies, now and always, will top the list. Since learning I was lactose intolerant a few years ago, I have been on the hunt to find a recipe sans butter or vegan butter replacement. After a dozen trials over the years, I landed on this version featuring coconut oil.

Unlike most butter recipes, the coconut oil is liquid when added. As a result, the cookies do not spread much in the oven. To combat this, the dough is rolled into balls and flattened with the palm of a hand to the desired thickness. Press the dough lightly for thick cookies with a soft center and crunchy outside, or press down firmly for thin, crisp cookies. The choice is yours.

Chocolate chunk coconut oil cookies are a dairy-free alternative to the classic. The cookies feature large chunks of chocolate and a customizable texture. To elevate the traditional cookie, espresso powder is added to enhance the chocolate flavor and flaky sea salt is sprinkled on top for a sweet and salty contrast (though both of these additions are optional). While I could not detect a coconut flavor from the oil, a subtle one may appear depending on the brand used. As always, serve with a large glass of milk.

One Year Ago: Raspberry Rhubarb Sorbet 
Two Years Ago: Cookies & Cream Ice Cream
Three Years Ago: Sparkling Lemon Drop, Berry Cheesecake Tarts, Mint Sugar, & Frozen Strawberry Bars
Four Years Ago: Chocolate Cherry CakeCoconut Scones, & Roasted Strawberry Coconut Ice Cream 
Five Years Ago: Quinoa Pudding, Blueberry Hand Pies, Harry Potter Treats, & Cauldron Cakes
Six Years Ago: Margaritas, & Chocolate Chip Raisin Oatmeal Cookies

Chocolate Chunk Coconut Oil Cookies
Adapted from Seven Spoons by Tara O'Brady

Yields about 2 dozen

1/2 cup (113 grams) coconut oil, liquid state*
3/4 cup (150 grams) brown sugar, packed
1/4 cup (50 grams) granulated sugar
1 large egg
2 teaspoons vanilla extract
1 3/4 cups (215 grams) all-purpose flour
1 teaspoon baking soda
1/2 teaspoon espresso powder, optional
1/2 teaspoon salt
6 ounces (170 grams), semi or bittersweet chocolate, coarsely chopped **
Flaky sea salt, optional

Preheat oven to 350 degrees F (180 degrees C).

In a large mixing bowl, stir together the coconut oil and sugars until uniform. Beat in the egg and vanilla extract. Stir in the flour, baking soda, espresso powder, and salt until uniform. Stir in the chopped chocolate.

Roll the dough into balls, about 1 1/2 tablespoons in size, and place 2 inches apart on a cookie sheet. Press down the dough with the palm of your hand until the dough is disk-shaped, about 1/2-inch in height. Sprinkle with flaky sea salt, if desired. Bake for 10-12 minutes, or until golden.

*Coconut oil melts at a temperature of 76 degrees F (24 degrees C). Microwave oil for a few seconds to melt, if necessary.

**Use dairy-free chocolate to keep the cookies fully dairy-free.

Peanut Butter Chocolate Chunk Cookies (GF)

One of my coworkers has celiac disease, an autoimmune disorder caused by gluten intolerance. Whenever I bring treats to the office after a weekend of baking, she is unable to enjoy them. I am too nervous to make her anything special out of my own kitchen, however. A fine layer of flour has settled over every surface and I am not careful enough to avoid cross contamination when filling measuring cups and spoons. As someone who also suffers from food allergiesmainly tree nuts and dairyI know how awful (and life-threatening) it can be when someone else isn't attentive enough.

So I send her recipes instead, gluten-free inventions from my kitchen that she can create in her own.

Though I adore my (gluten-free) almond butter chocolate chip cookies from a couple years ago, I wanted to create a recipe that was more accessible. Almond butter is not only expensive, but it can be difficult to find. Peanut butter, on the other hand, is abundant and cheap. Figuring out the proportions of ingredients was the tricky part.

Even though I would consider myself a fairly prolific baker, I have a terrible habit of not reading recipe directions (this is especially true if the recipe is one of my own). As a place to begin, I planned to mimic the proportions of the almond butter cookie. The first batch of cookies was nearly perfect, but I realized, after eating my third cookie, that none of my ratios were as intended. The second batch, following my original directions, turned out worse than the first. Sandy and crumbly, they reminded me more of shortbread than a gooey chocolate chip cookie.

IMG_2026.JPG

My lack of recipe literacy has been helpful before (especially with these double chocolate brownies) and this time was no exception. The third batch improved on the first batch, and the recipe was complete. I tried the recipe with the standard processed peanut butters ("Natural Jif" and "Natural Skippy") and the recipe turned out well both times. Though you can use a completely natural nut butter, I would hesitate doing so. These butters tend to create a more oily batter, which causes the cookies to spread differently (either too thin or not enough).

I shared the heaping pile of cookies I created with my teenage students, and this recipe came out the clear winner. The cookie is chewy, gooey, and full of melted chocolate. The fact that it is also gluten-free is just the icing on the cake.

These (gluten-free) Peanut Butter Chocolate Chunk cookies are easily my favorite peanut butter and chocolate cookie combination. The texture is thick and dense. Brown sugar adds a chewiness that appears once the cookies have cooled. Combined with chocolate chunks, these cookies could rival any similar cookie, gluten-free or not. Serve these with milk or coffee and dessert will become something special. 

One Year Ago: Blueberry Pie
Two Years Ago: Honey Chocolate Chunk Cookies, Strawberry Charlotteand Fresh Strawberry Cake
Three Years Ago: Homemade Mascarpone, Ladyfingers, Tiramisu Cake, and Peanut Butter Cornmeal Cookies
Four Years Ago: Strawberry Milk, Raspberry Swirled Chocolate Chunk Ice Cream, Blueberry Coffee Cake, and Vanilla Pear Muffins

Peanut Butter Chocolate Chunk Cookies

Yields approximately 16 cookies

3/4 cup (200 grams) creamy peanut butter
2/3 cup (135 grams) brown sugar, packed
1 large egg
1 teaspoon vanilla extract
1/2 teaspoon baking soda
1/4 teaspoon salt
4 ounces (113 grams) semi-sweet chocolate, coarsely chopped

Preheat oven to 350 degrees F (180 degrees C).

In a medium mixing bowl, mix together the peanut butter, brown sugar, egg, and vanilla until uniform. Stir in the baking soda and salt. Fold in the coarsely chopped chocolate.

Drop cookies by the tablespoon onto a baking sheet and bake for 8-10 minutes. Cool on the baking sheet for several minutes before moving to a cooling rack to cool completely (the cookies will be fragile and need to set-up before they can be moved). 

Blueberry Oat Bars (GF)

People eat with their eyes first, I tell my boyfriend, using this line every time something comes out of the oven that doesn't meet my definition of "cookbook cover." Presentation is everything

Taste matters, too,
he reminds me, digging a fork into whatever dessert I have dismissed. And he is right.

Since the coffee cake revelation of last year, my goal has been to soften my ideas of perfection. More recipes have been shared and fewer have been hidden from view. This approach hasn't been without its challenges, though. I still feel the uncertainty of whether something is exceptional enough to bring into your kitchen. Know your audience, I tell my students. How well do I know mine?

These blueberry oat bars were inspired by a strawberry bar of a similar nature from years past. I pulled them together on a cool Saturday morning, but when they came out of the oven, I hesitated. The jam had bled into the oats, dying them a dark shade of green; the oats had browned unevenly. The decision was made. Do you want a bite? I called to my boyfriend, rejecting the bars on looks alone. They are still warm. 

As any food blogger can tell you, once the fork reaches the pan, the opportunity for photography has fallen away. I took a forkful. Two. Three. I cut myself a square and was mid-bite when my boyfriend reached the kitchen. I am pretty sure this is the best thing I have ever eaten, I said between mouthfuls. I need to photograph these. 

I whisked the bars away before he could get a bite.

The taste easily makes up for whatever these bars may lack in looks. To create them, a layer of fruit preserves is sandwiched between an oatmeal crust. The texture is that of a chocolate chip cookie, hot and gooey from the oven (and it retains this texture for several days). The jam gives the bars a richness reminiscent of fudgea little will go a long way when it comes to this dessert.

Since the fruit is the focus, use a high quality fruit preserve or jam (bonus if it has fruit pieces!). Homemade or store bought will work equally well so don't think or worry you are "cheating" if you take the easy way out.

Blueberry Oat Bars (gluten-free!) are simple to make and a joy to eat. An oatmeal crustmade from oats, coconut oil, and brown sugarforms the base of the bars. A thick layer of fruit preserves are spread on top before baking and caramelizing in the oven. The bars are chewy on the edges, gooey in the middle, and very difficult to ignore.

Two Years Ago: Sunflower Seed Bread, Blackberry Fool, and Lime Curd Tart with Coconut Whipped Cream
Three Years Ago:Grapefruit Soda, Irene's Orange Rolls, S'mores Cupcakes, and Mai Tai
Four Years Ago:Thin Mint Brownies, Strawberry Pancakes, Roasted Pineapple, and Lemon Thins

Blueberry Oat Bars

Yields 16 servings

1/3 cup (70 grams) coconut oil, solid state
1/2 cup (100 grams) brown sugar, packed
1 large egg
1 teaspoon vanilla extract
1  cup (90 grams) oat flour*/**
1 1/2 cups (135 grams) old fashioned oats**
1 tablespoon chia seeds (optional)
1/2 teaspoon baking soda
1/2 teaspoon salt
1 cup (~300 grams) fruit preserves or jam (I used blueberry fruit preserves)

Preheat oven to 350 degrees F (180 degrees C). Lightly grease an 8x8-inch pan.

In a large mixing bowl, mix together coconut oil and brown sugar until uniform. Add the egg and vanilla, mixing until blended. Stir in the oat flour, oats, chia seeds, baking soda, and salt. Batter will be slightly sticky. Using greased hands, press 3/4 of the batter into the bottom of the prepared pan. Spread preserves or jam evenly over the top. Crumble the remaining 1/4 of the batter evenly on top.

Bake for 25-30 minutes, or until lightly browned. Allow to cool slightly in pan before serving.

* To make oat flour, place old fashioned oats in a food processor and process until oats are a fine powder.

** To make gluten-free, use gluten-free rolled oats.