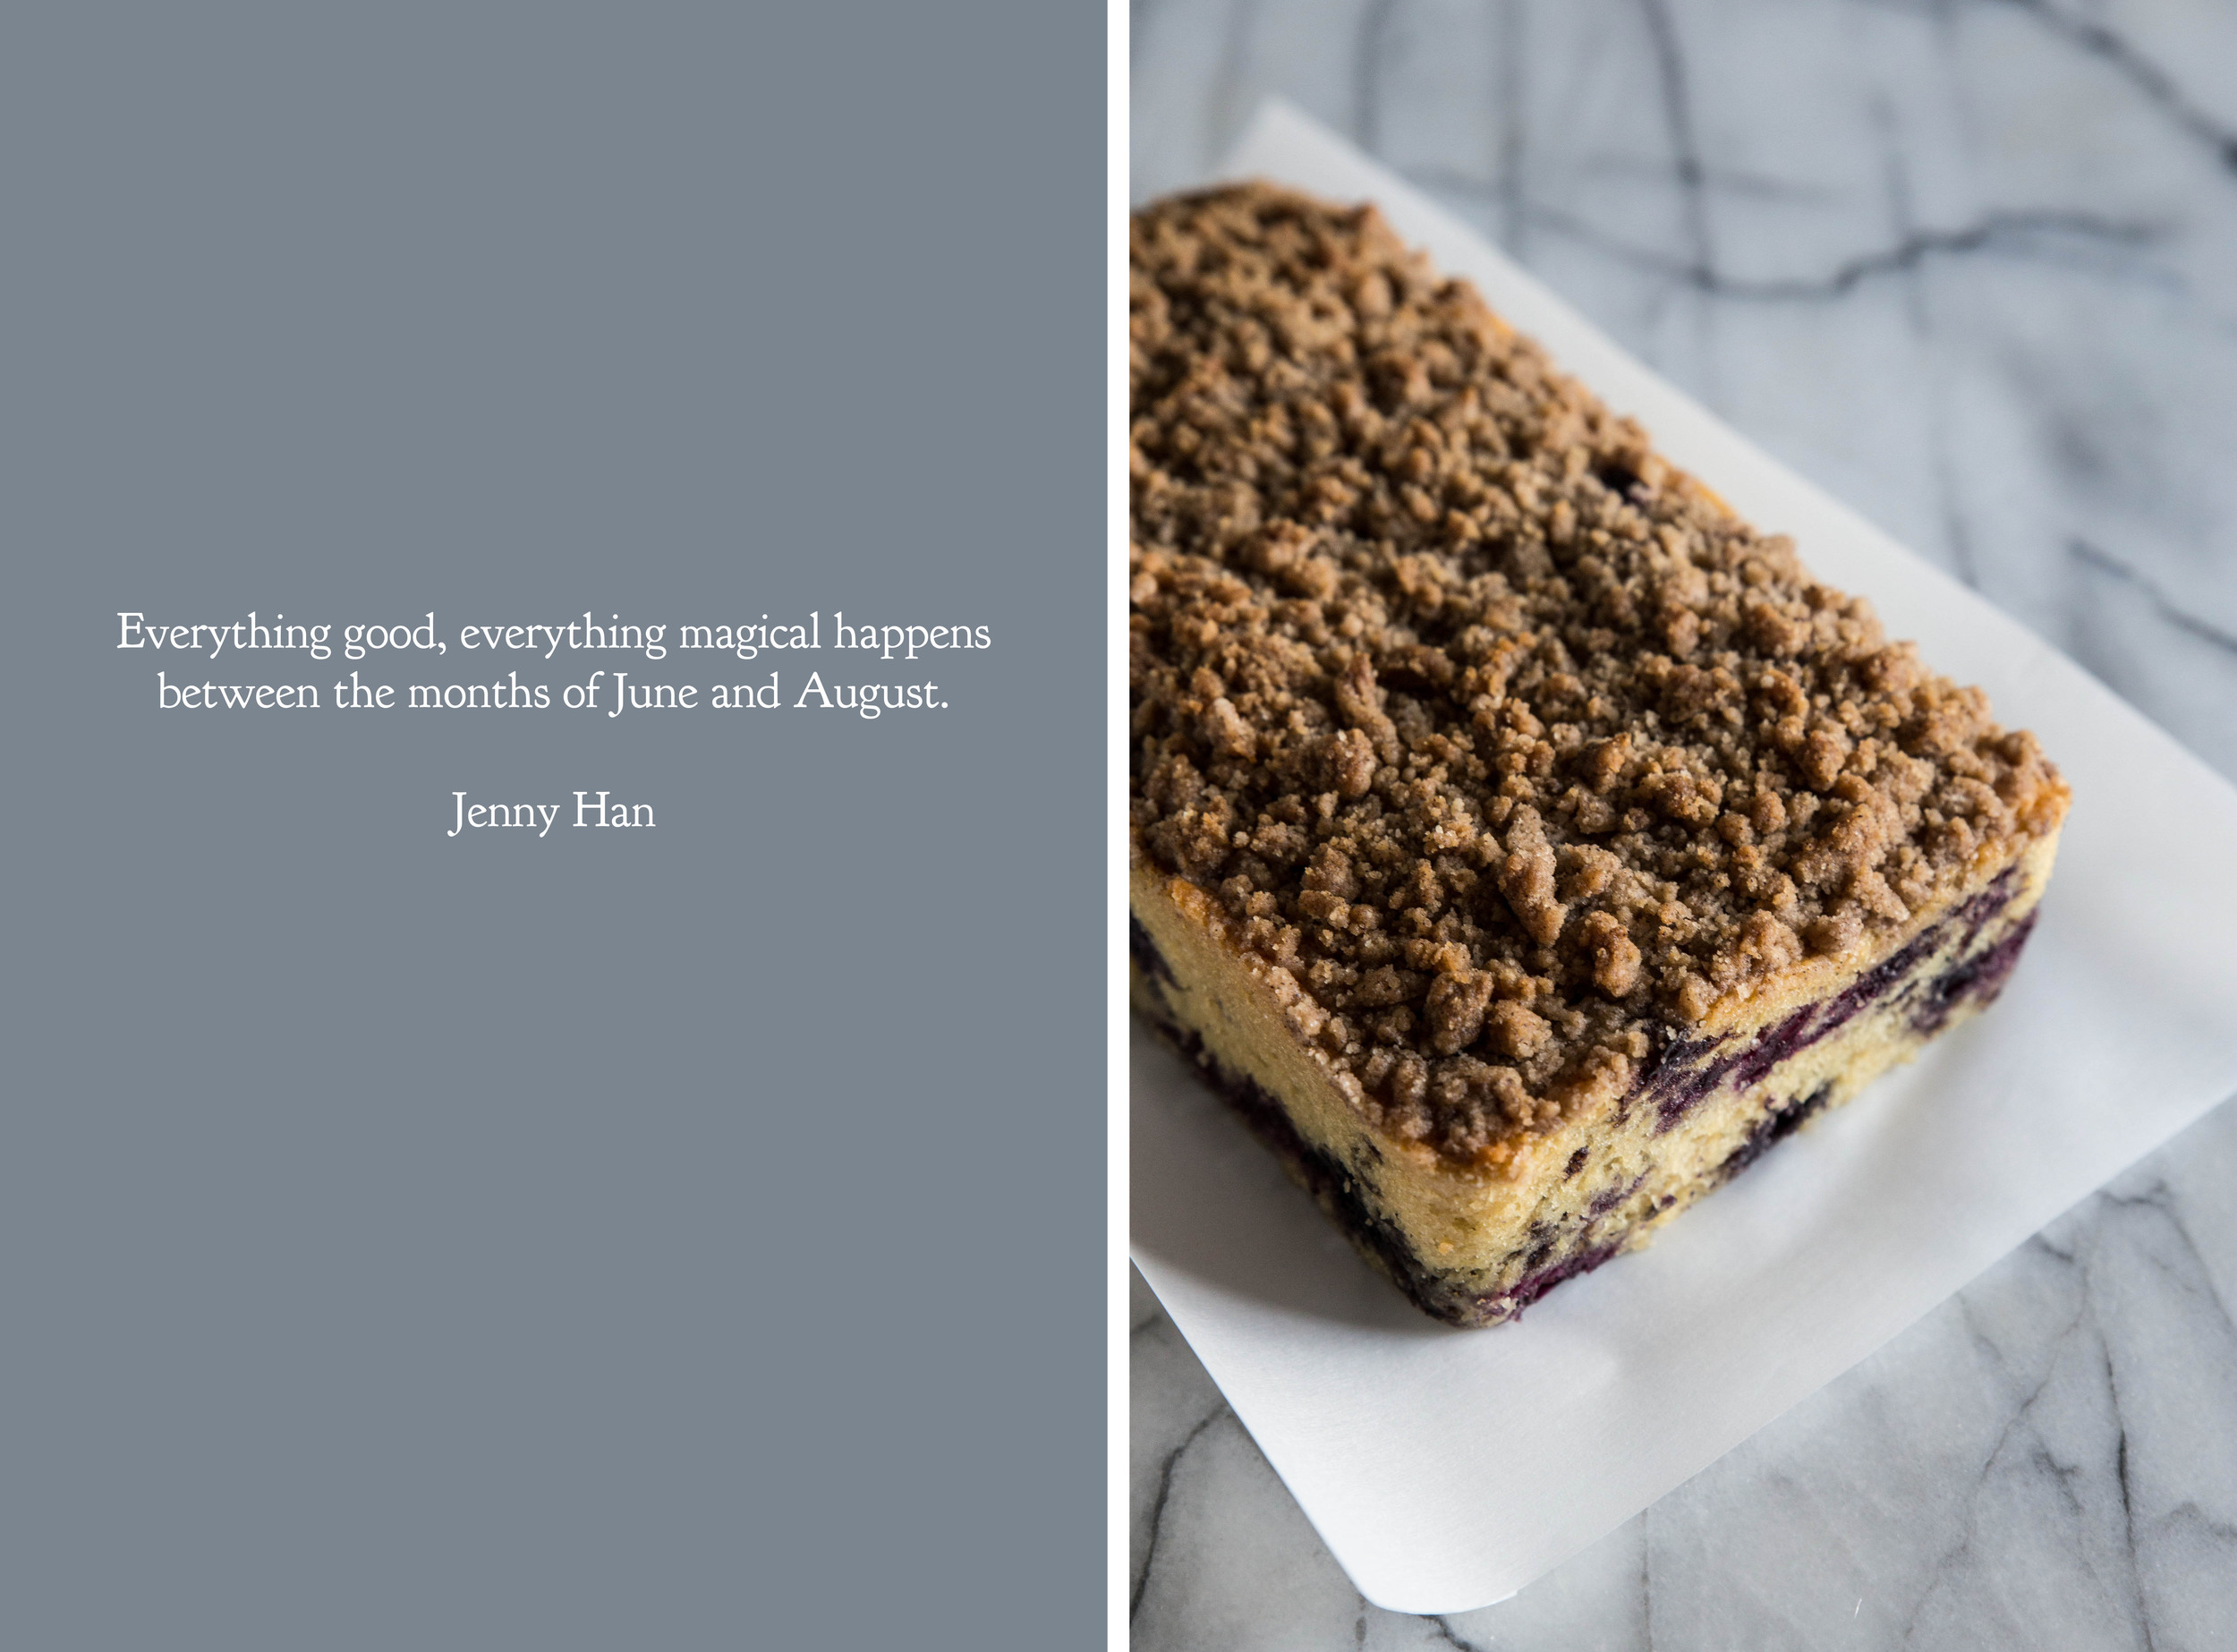
Blueberry Crumble Bread
/
My younger sister was married last weekend in a beautiful flora-filled, woodland-themed wedding. As the maid of honor, I spent the last couple weeks dedicated to last minute wedding planning. Along with throwing a bridal shower, my waking hours were filled with running errands, assembling welcome boxes, and crafting table decorations to minimize the stress on the bride. All the behind-the-scenes work was worthwhile, as the wedding day went by effortlessly and my sister and new brother-in-law never stopped smiling.
As a gift to the happy couple, I baked all of the cupcakes for the wedding—vanilla bean, chocolate, coconut, and dulce de leche. Even though I used to work in a bakery and could whip up large numbers of cupcakes in a few hours, it was a new experience doing so with the single-batch equipment of a home baker. Eighteen pounds of butter later, I breathed an audible sigh of relief that the recipes held up when quadrupled and hugged my KitchenAid mixer after it whipped Swiss meringue buttercream on high for a solid three hours. At the wedding, the cupcakes disappeared quickly, which is the best compliment a baker can receive.

After a busy couple of weeks, it feels good to take time for myself to relax. One of the benefits of being a teacher is the summer vacations, and I have been treating this week as a much needed holiday. Stretching out under the sun with a good book, and spending time in the kitchen playing around with new ideas has consumed my time. As an extension to these lazy mornings, I baked up this Blueberry Crumble Bread and have been enjoying a slice as I fill out Sudoku puzzles in the daily paper.
My productive side will come out soon, but for now I'm enjoying this rare slow, languid pace of life.

Blueberry Crumble Bread is a great addition to breakfast or served as an afternoon snack. A moist, vanilla-scented bread is bursting with fresh blueberries. The sweet crumble on top features ground cinnamon, which enhances the natural flavor of the berries. Serve the bread alongside a cup of coffee or tall glass of milk, and share with a good friend.
One Year Ago: Scenes from NYC, Blueberry Oat Crumble Muffins, & S'mores Tarts
Two Years Ago: Chocolate Cacao Banana Bread, Chocolate Espresso Custard & Mixed Berry Quinoa Crumble
Three Years Ago: Boozy Margarita Lime Cake, Double Chocolate Muffins, Rhubarb Ginger Bars, Nutty Rhubarb Oatmeal, & Dill Dinner Rolls
Four Years Ago: Cherry Almond Granola, Vegan Chocolate Chunk Cookies, Cherry Cream Cheese Muffins, Blueberry Breakfast Quinoa, Vegan Brownies, & Banana PB Smoothie
Five Years Ago: Cinnamon Raisin Baked French Toast, Chocolate Almond Oat Bars, Tropical Vacation Cocktail, Dried Blueberry Granola, & Bizcochitos
Six Years Ago: Bittersweet Chocolate Sherbet, Rhubarb Jam, & Tapioca Pudding
Blueberry Crumble Bread
Yields 1 loaf
Blueberry Bread
1/2 cup (113 grams) butter
2/3 cup (130 grams) granulated sugar
1 large egg
1 tablespoon vanilla extract
2 teaspoons baking powder
1/4 teaspoon salt
2 cups (240 grams) all-purpose flour
1 cup (250 mL) milk
2 cups (340 grams) fresh blueberries*
Crumble Topping
3 tablespoons (45 grams) butter
1/3 cup (65 grams) granulated sugar
2/3 cup (83 grams) all-purpose flour
1 teaspoon ground cinnamon
Preheat oven to 350 degrees F (180 degrees C). Grease a 9 x 5-inch loaf pan and set aside.
For the blueberry bread, beat together butter and sugar until light and fluffy in a large mixing bowl. Add the egg and vanilla and beat to combine. Stir in baking powder, salt, flour, and milk. Gently fold in blueberries. Transfer batter to the prepared pan and set aside.
For the crumble topping, beat together butter and sugar until well combined. Stir in flour and cinnamon. Crumble the topping evenly over the batter. Bake for 45-60 minutes, or until crumble topping browns and a toothpick inserted into the center comes out clean. Cool in pan for 15-20 minutes before transferring to a cooling rack to cool completely.
*Frozen blueberries can also be used, but note that the berries will dye the entire bread a shade of indigo.