Maple Glazed Pumpkin Scones
/
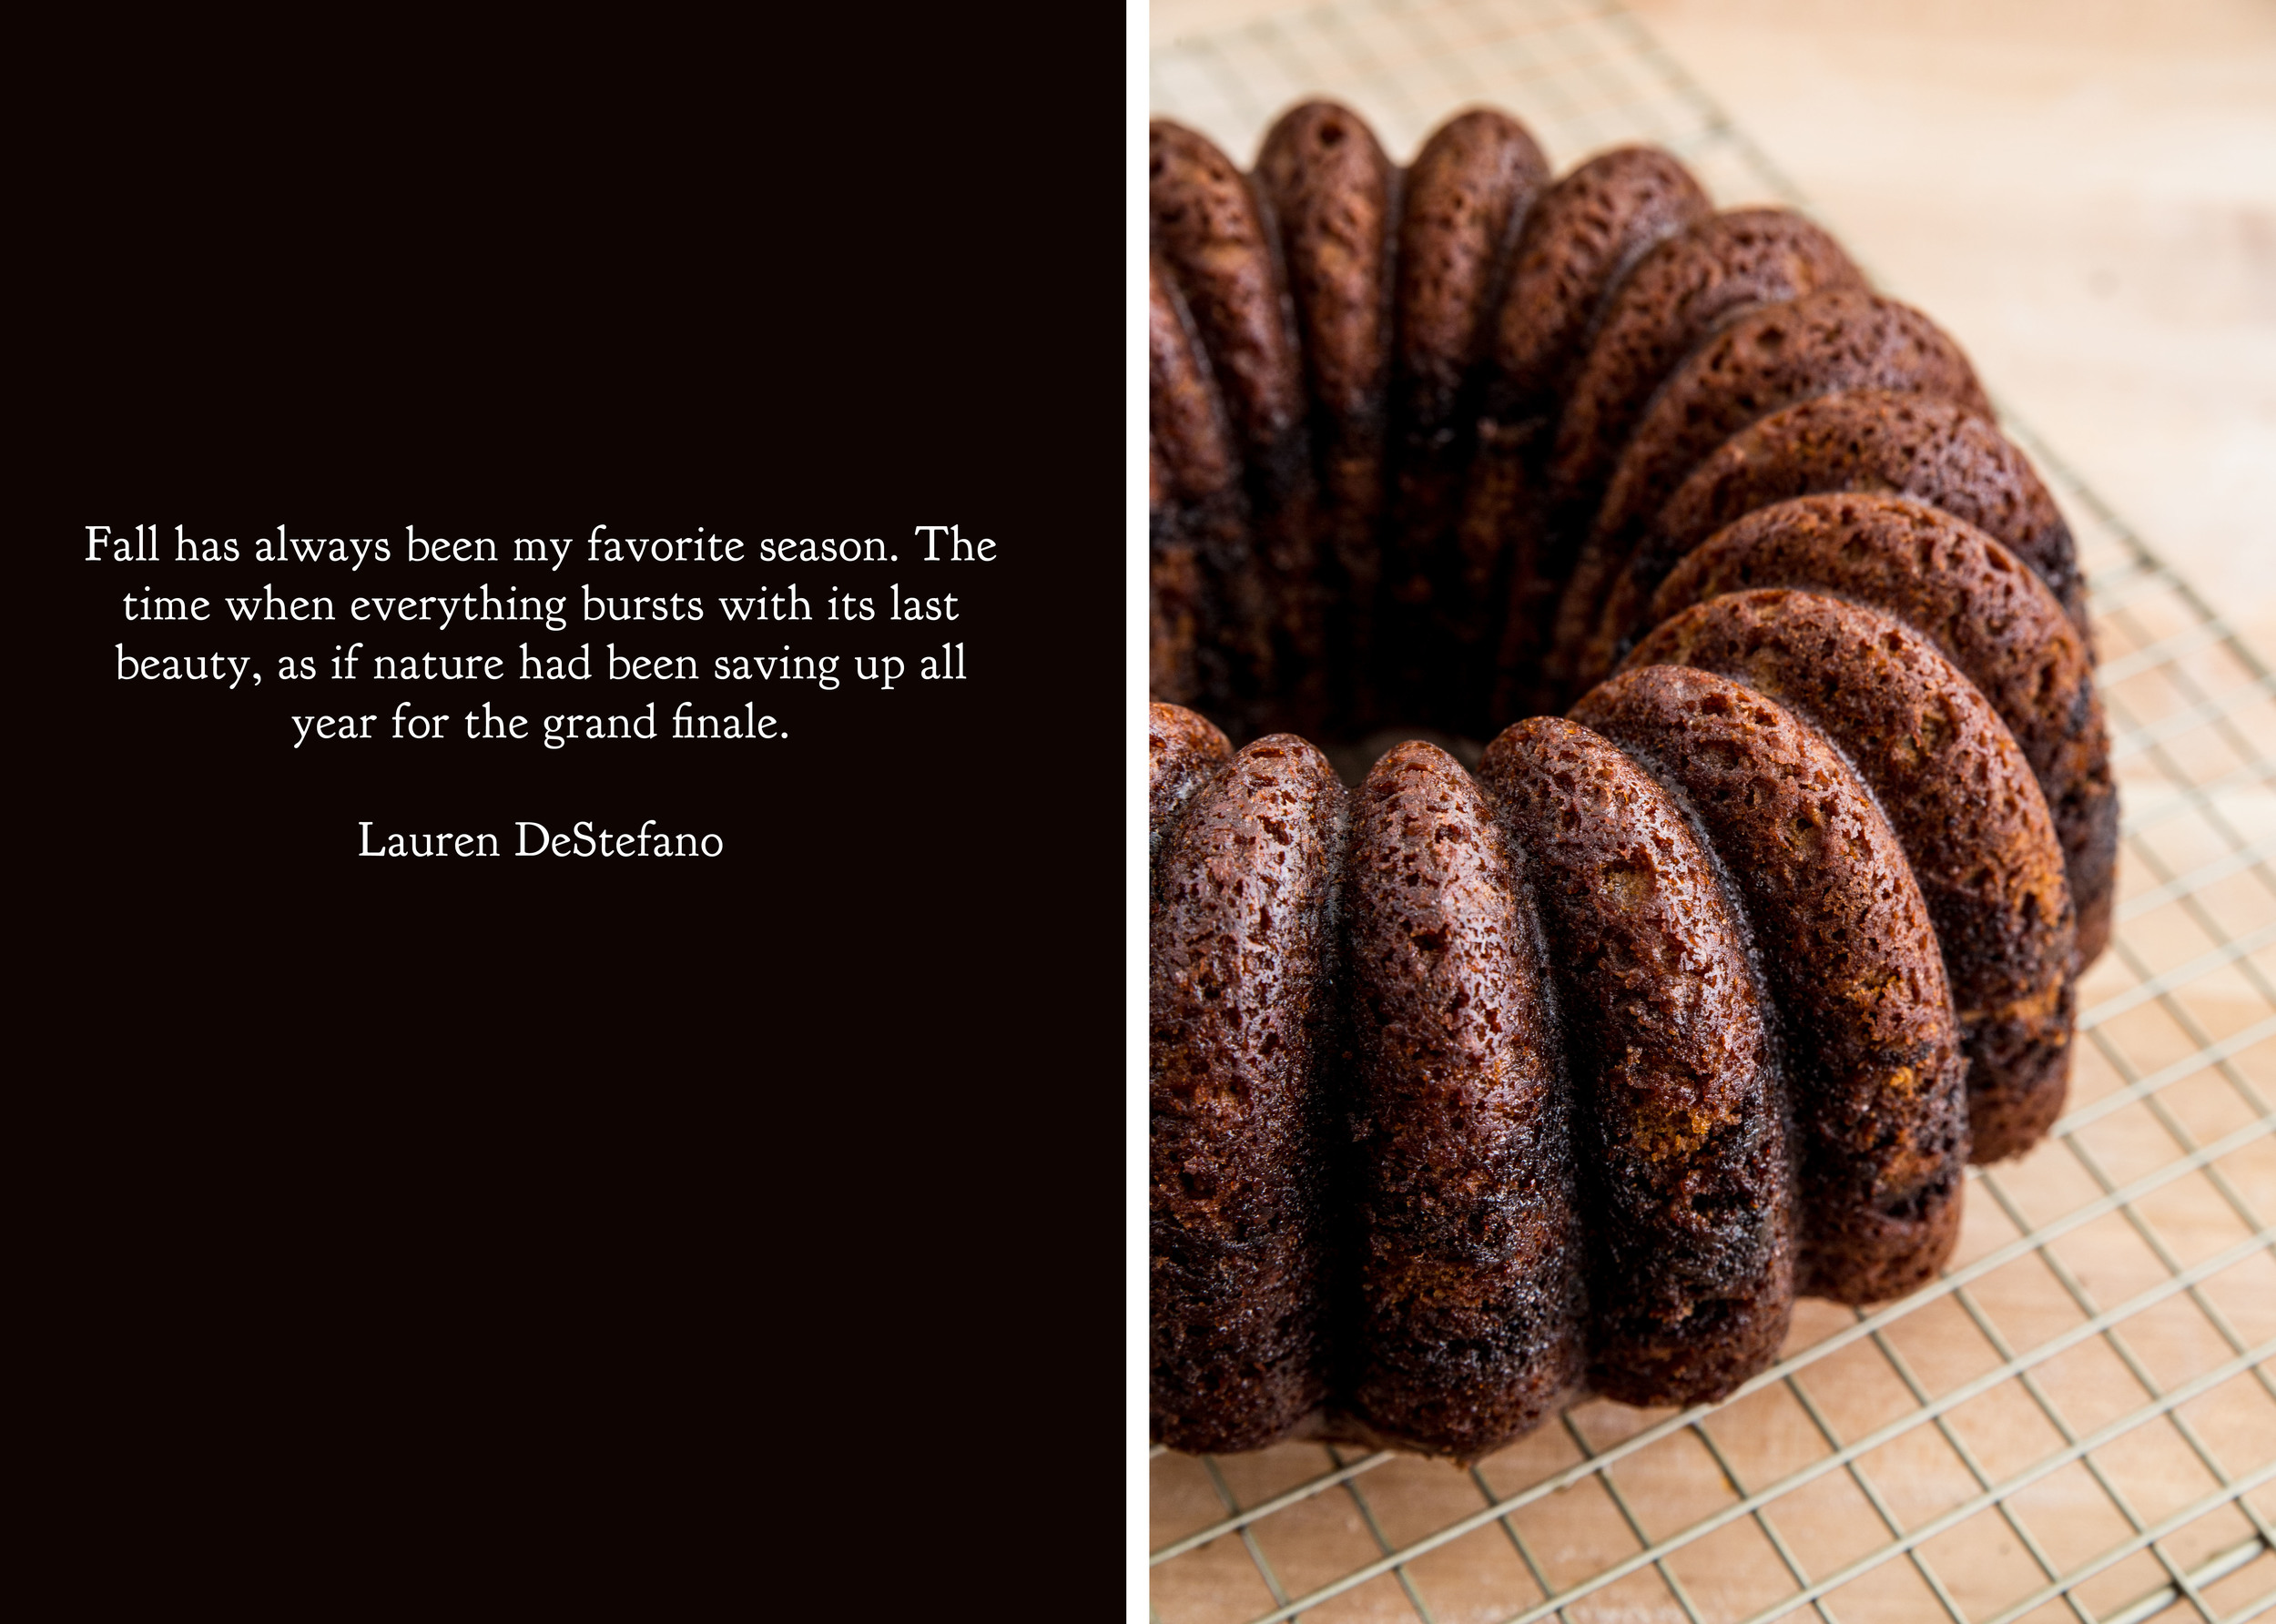
I opened my first can of pumpkin earlier this week. This annual event may be arriving too late in the season for some (especially you, PSL lovers), but the pumpkin and spices are finally starting to feel right for me. After a rough start to the season, I am focused back on the present, living moment by moment in the ups and downs of daily life.
The weather has been unusually warm for this time of year, supporting short-sleeved shirts instead of winter jackets, and long walks on paved park paths instead of treks through ankle-deep snow drifts. While I would normally be snuggling up on the couch and settling in for the long, cold months, I have been out and about instead, enjoying the respite from winter and enjoying the extended autumn warmth. I may be late to the pumpkin party this year, but I believe it's better to show up late than to never arrive.

During the holiday season, I like to keep a few scones in the freezer for unexpected moments—when a guest drops by without warning or an unforeseen event pops up on the calendar. The scones can be frozen once shaped and sugar sprinkled. When the unexpected moment arrives, remove the scones from the freezer and bake in a preheated oven. The frozen scones may take a minute or two longer in the oven to bake, but the finished pastries make the wait worthwhile.
I suggest making a double batch: half to eat now and half to freeze for later. There is plenty of scone love to go around.
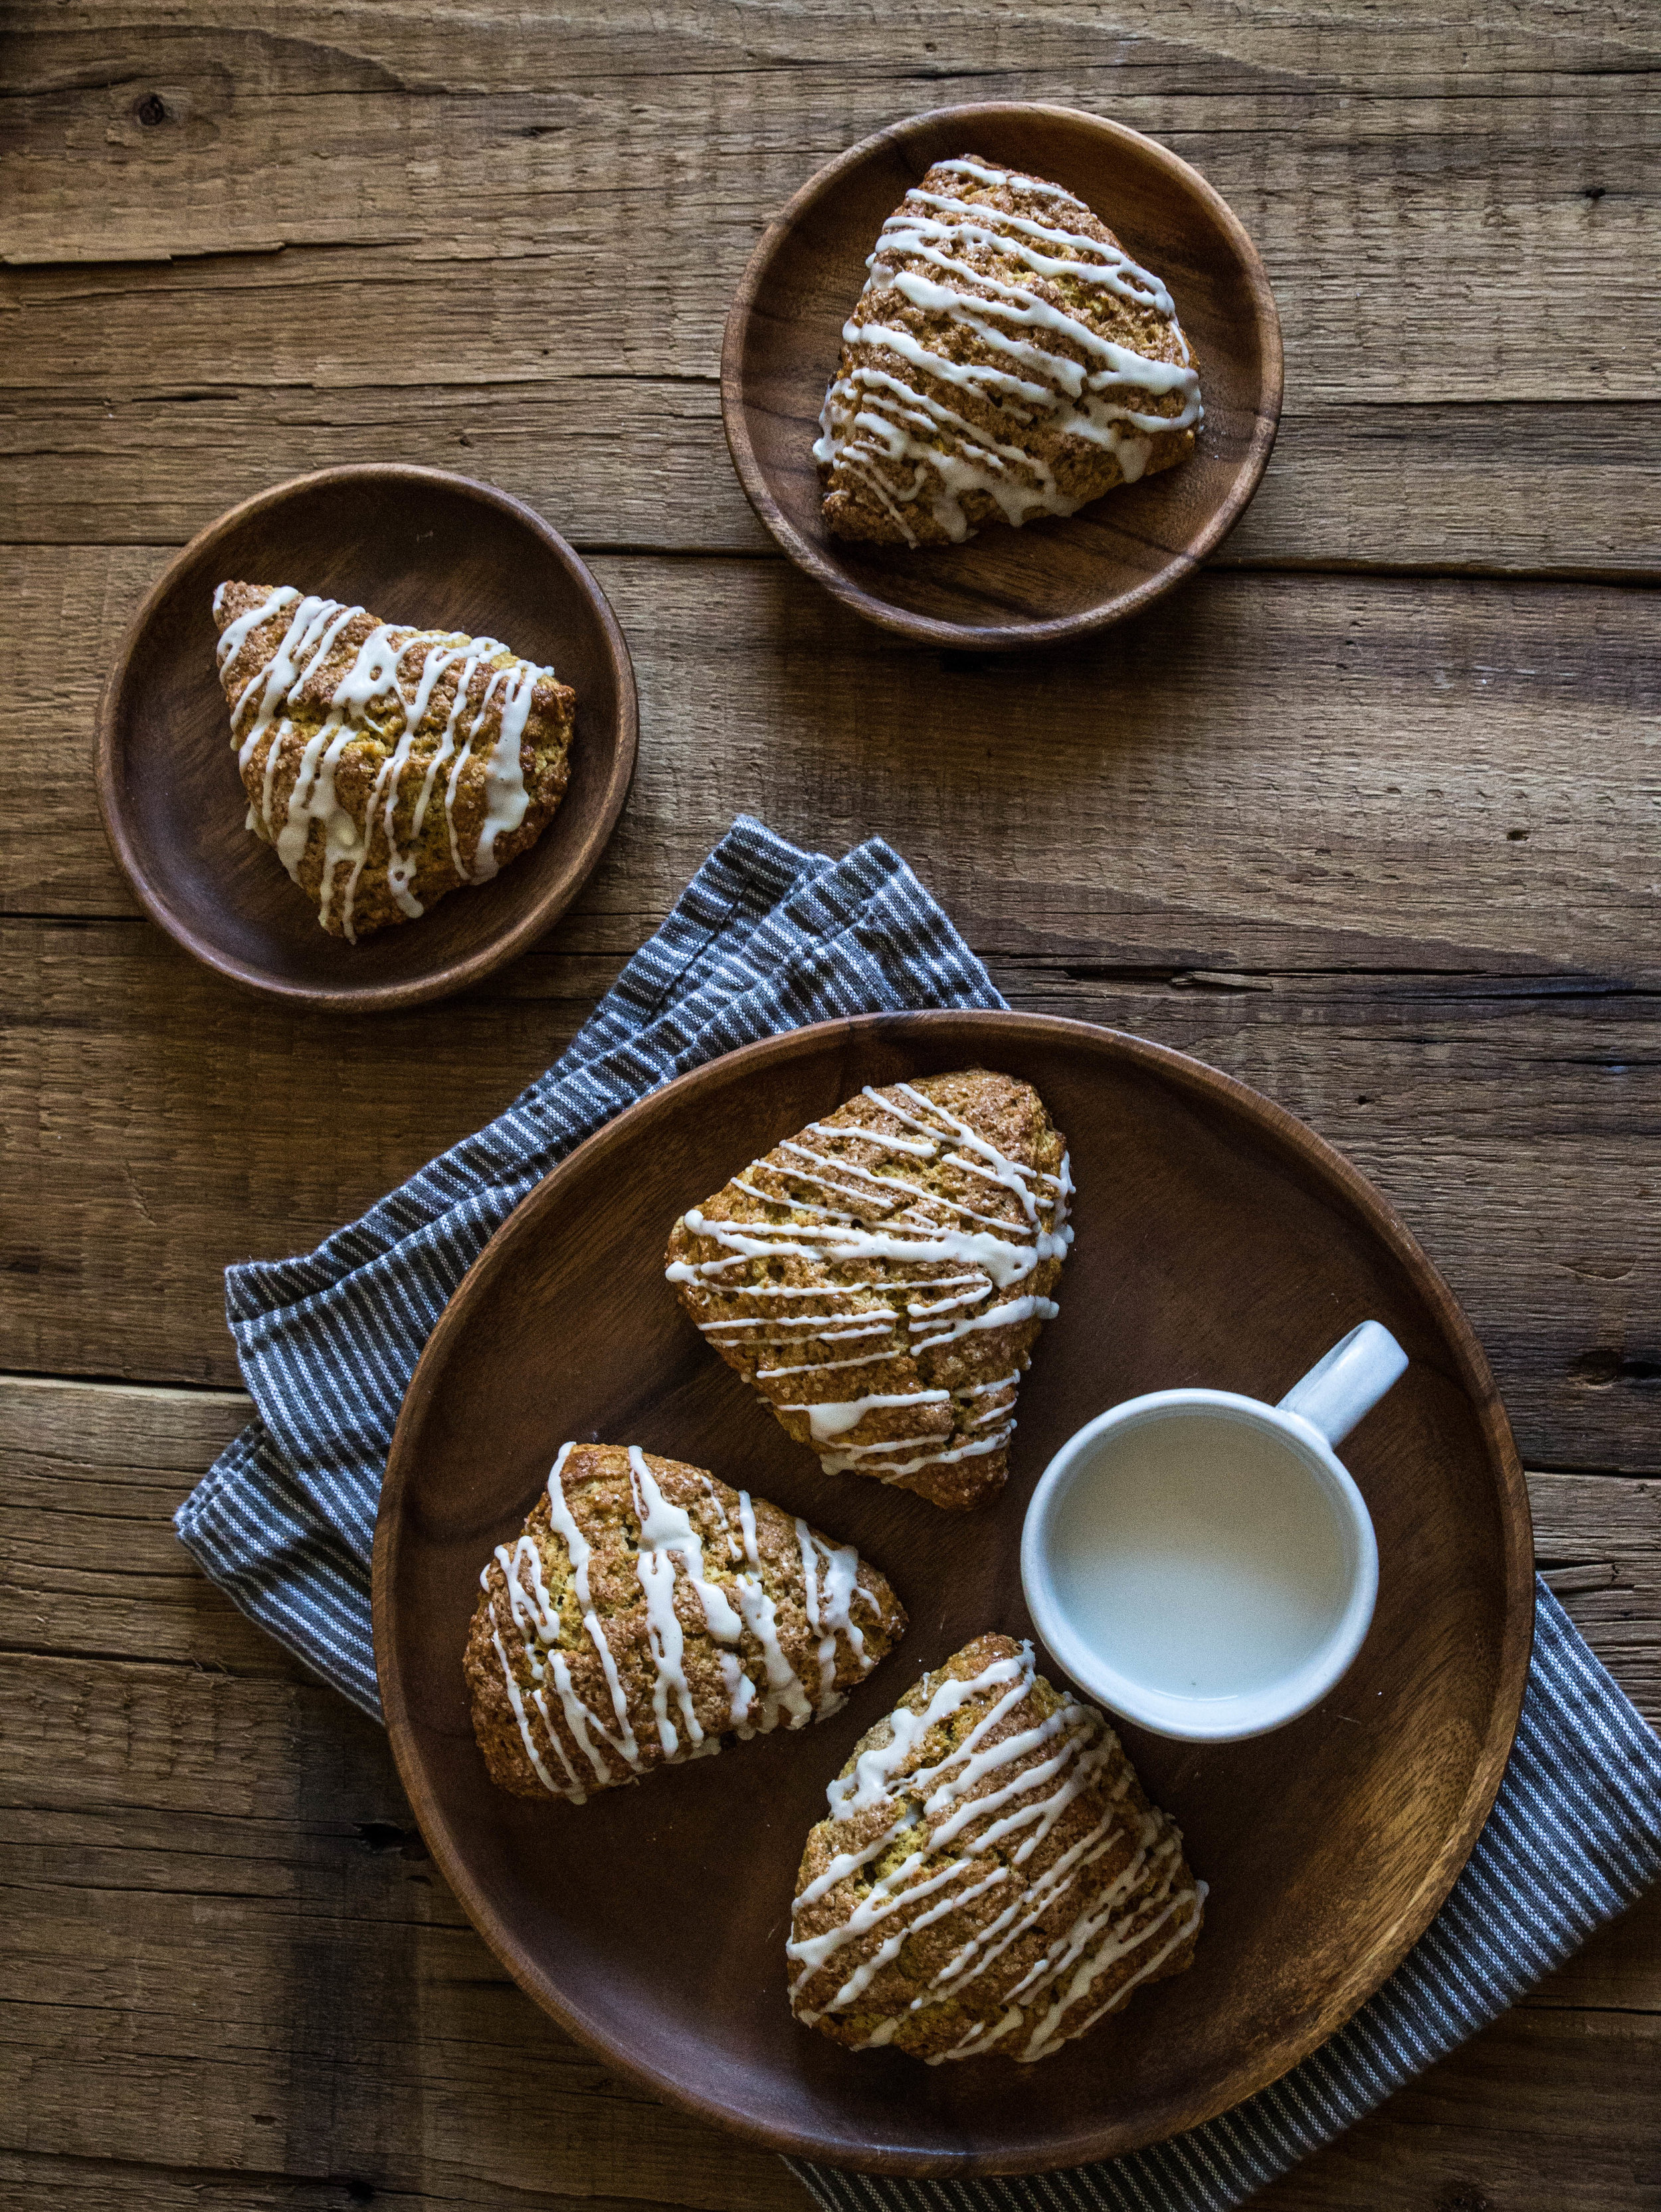
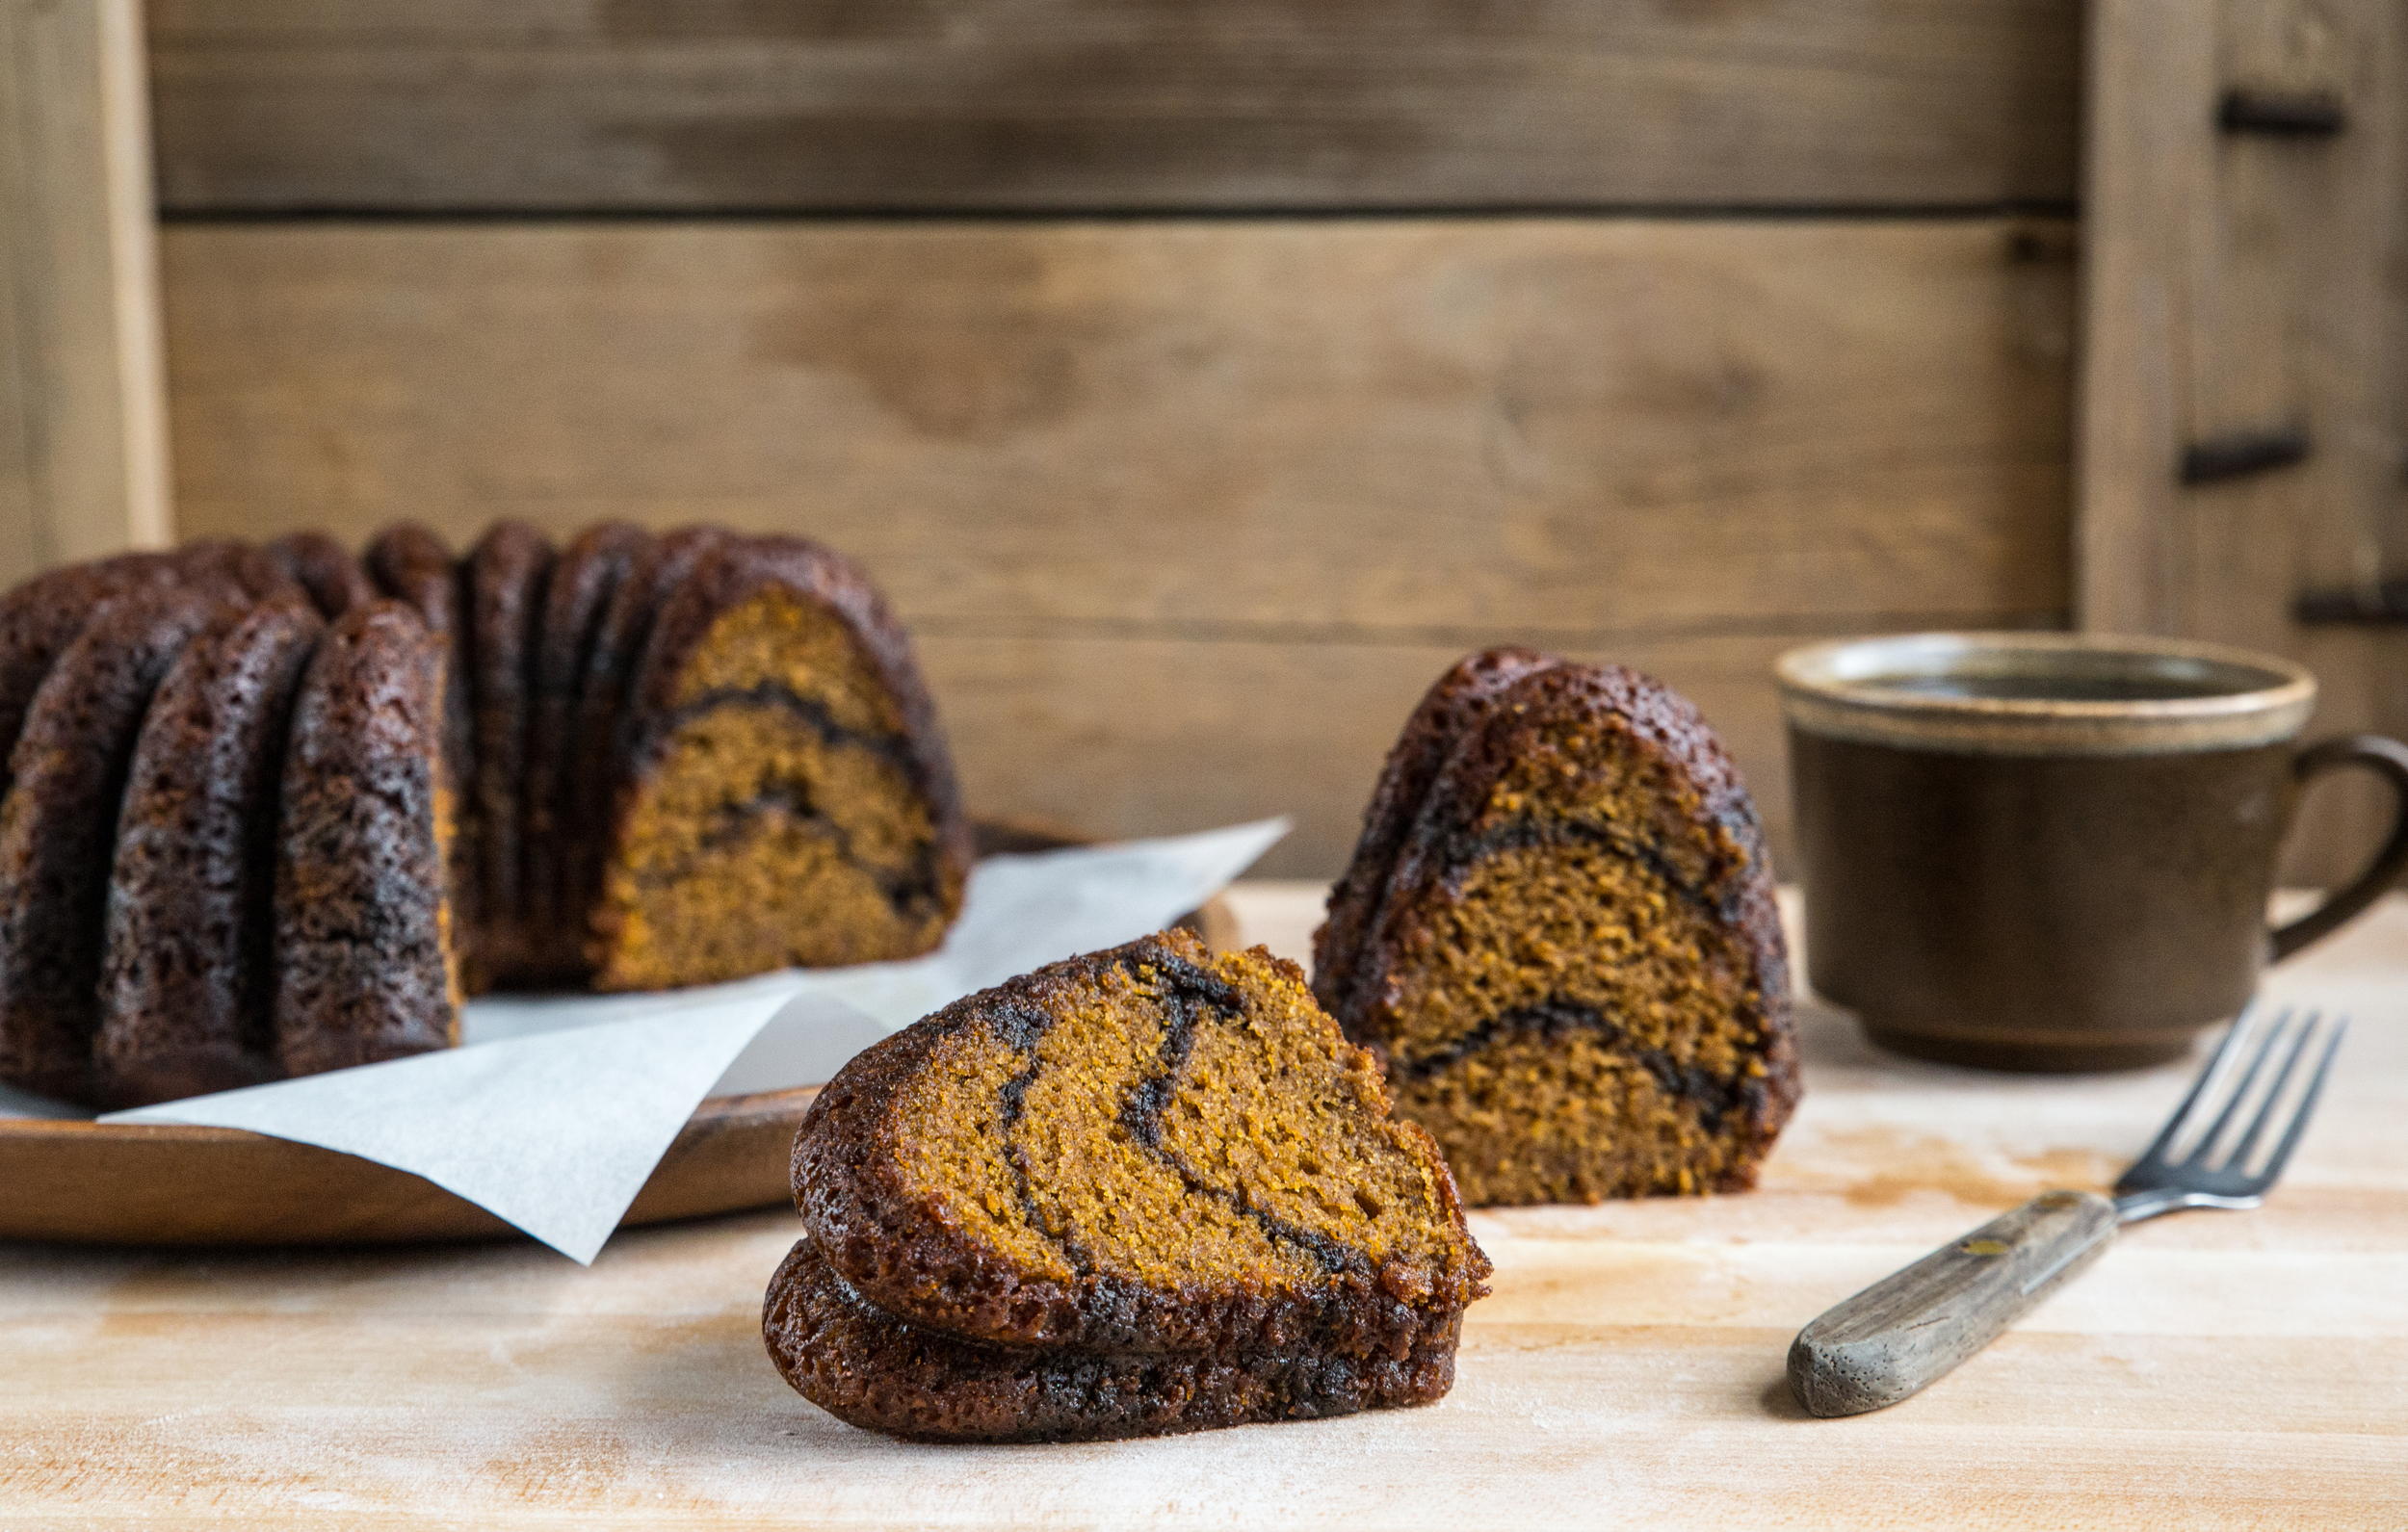
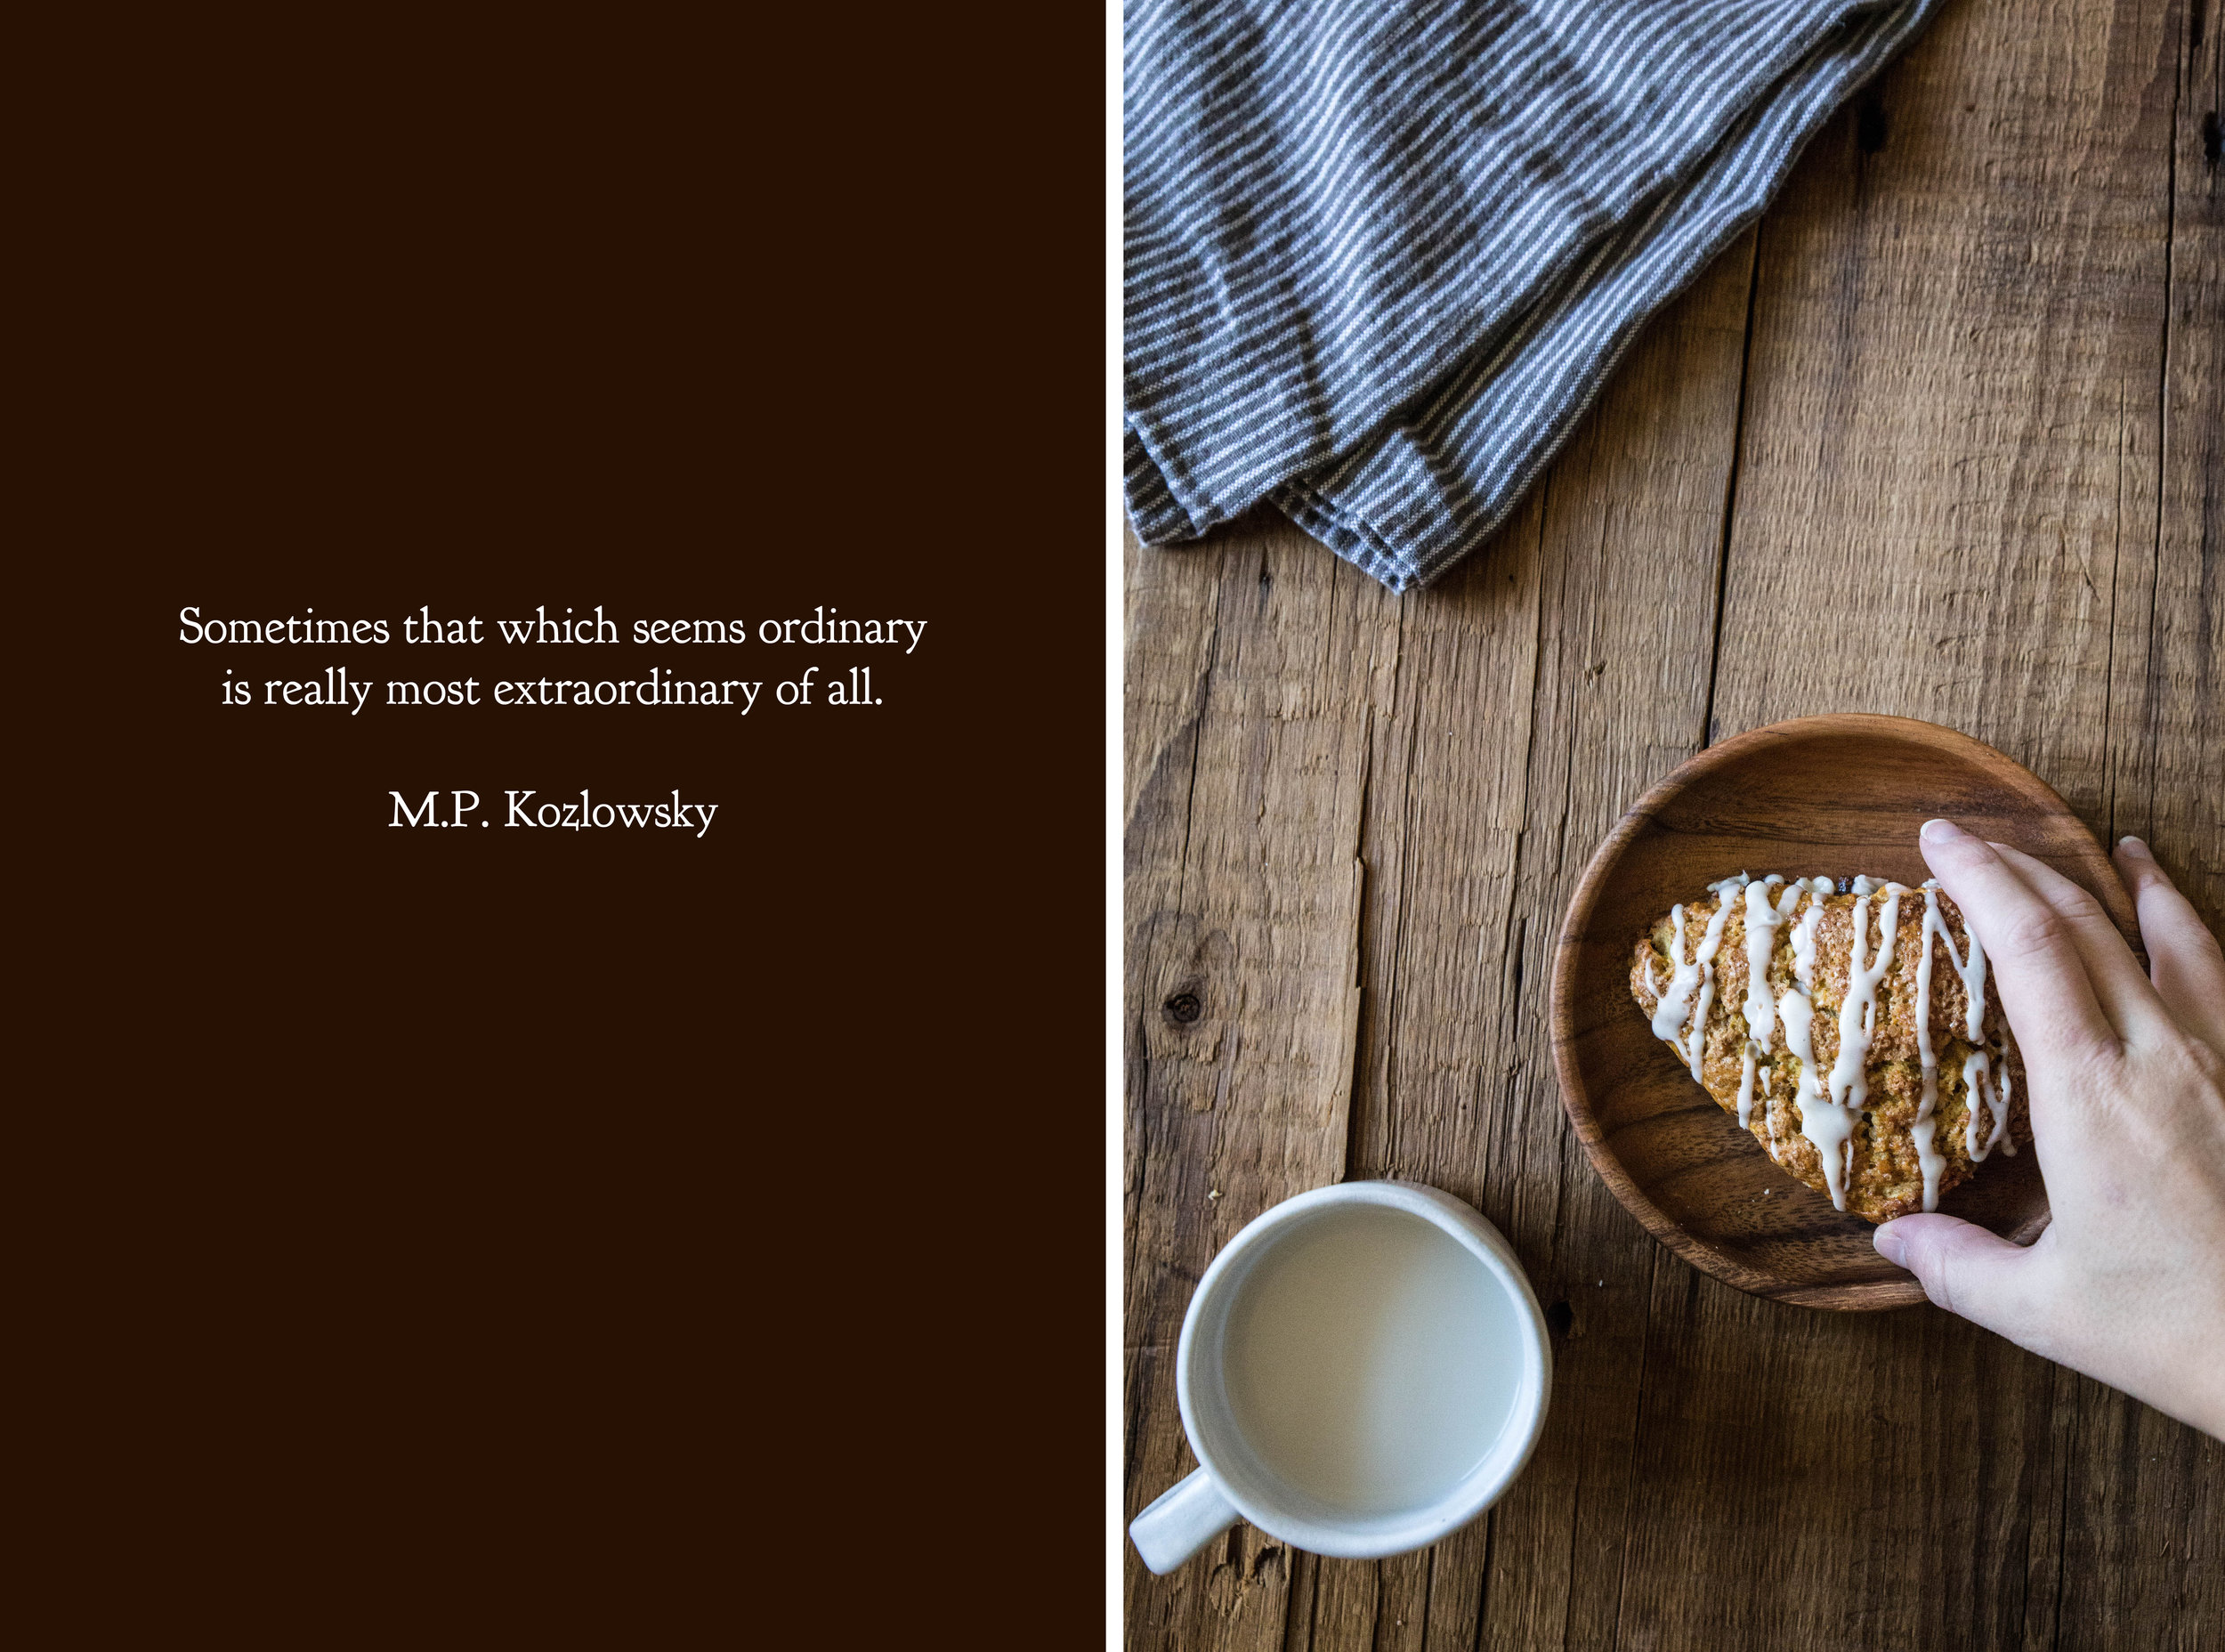
Maple Glazed Pumpkin Scones deliver classic autumn flavors in a warm, tender pastry for breakfast or an afternoon snack. The pumpkin scones are spiced and sweetened with brown sugar. Before baking, the scones are sprinkled with raw sugar to give the top of the scones a nice crunch. The maple glaze is optional, but it adds an extra level of sweetness and dimension of flavor which finishes off the scones just right.
One Year Ago: Caramel Apple Crumble Pie, & Rosemary Olive Bread
Two Years Ago: Maple Syrup Cake, & Pumpkin Pie (Dairy Free)
Three Years Ago: Butternut Squash Biscuits, Apple Crisp, & Pumpkin Spiced Doughnuts
Four Years Ago: Pumpkin Rolls, Butternut Squash Cake, Baked Apples, Filled Molasses Cookies, & Marbled Squash Bread
Five Years Ago: Grandma's Applesauce, Honey Cinnamon Chickpeas, Caramel Apple Tart, & Banana Espresso Muffins
Six Years Ago: Apple Chips, Fresh Ginger Pear Cake, Pumpkin Spice Oatmeal, & Raspberry Vanilla Bean Creme Brulée
Maple Glazed Pumpkin Scones
Yields 8 scones
Pumpkin Scone
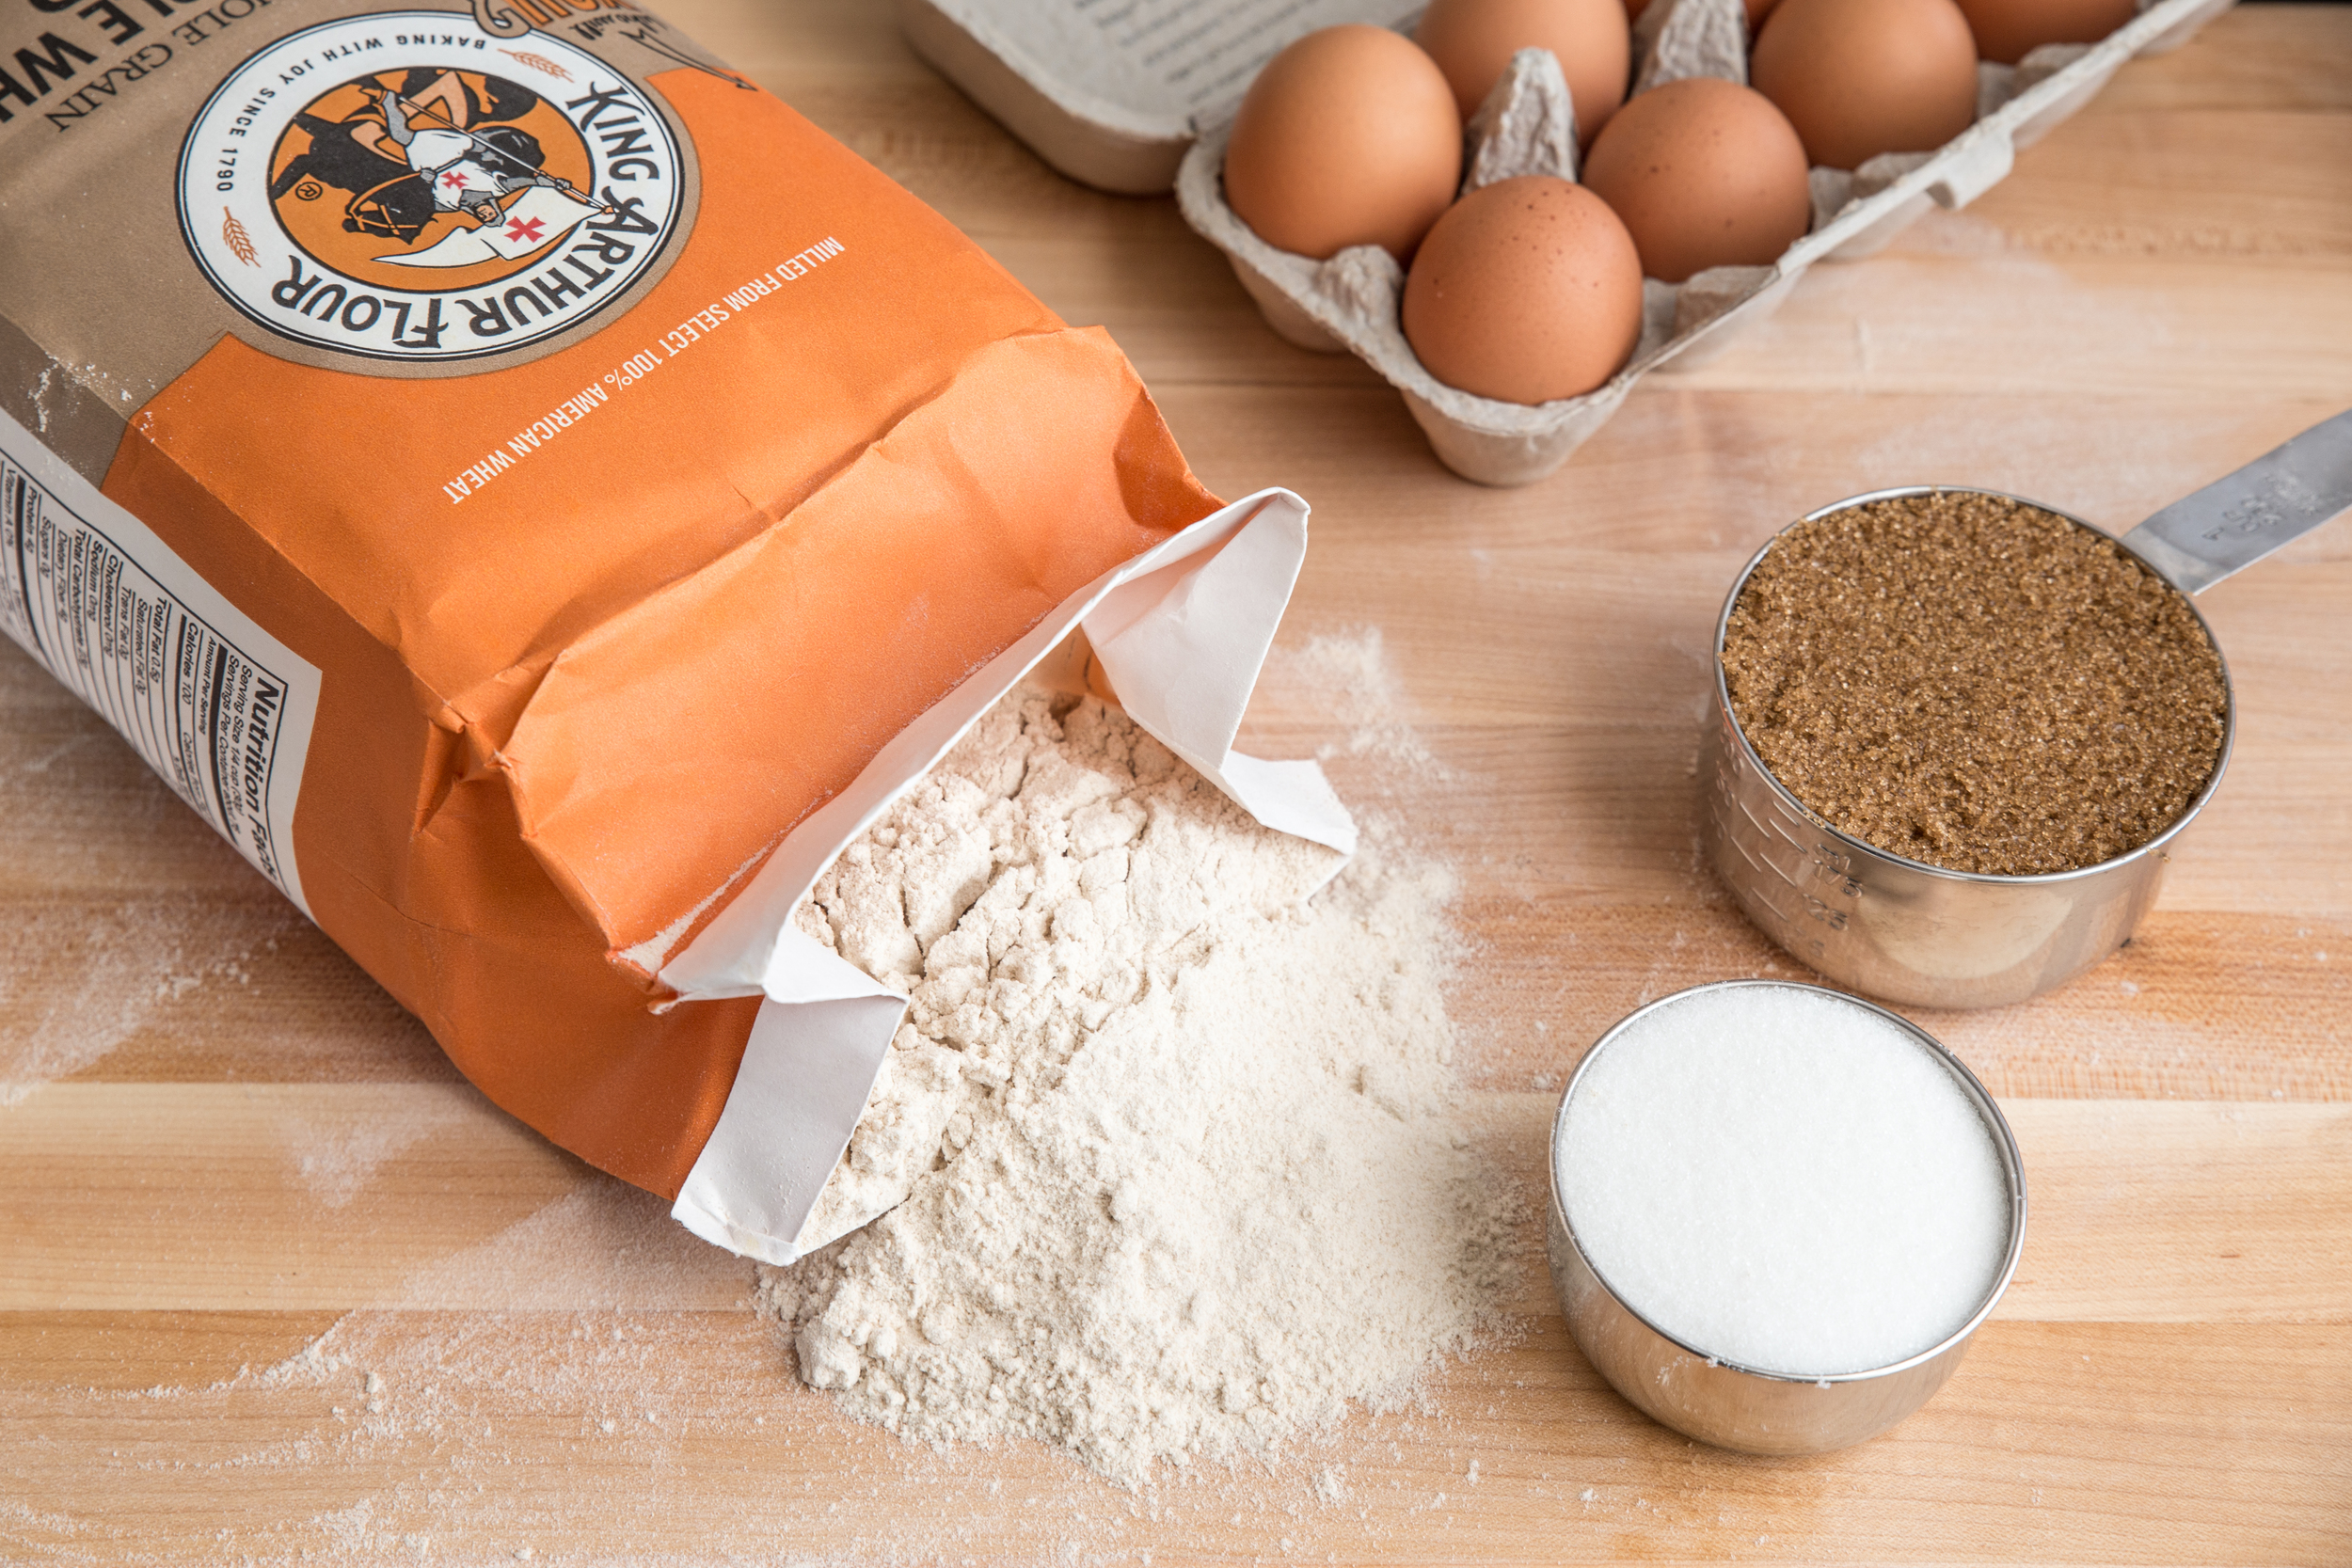
2 cups (250 grams) all-purpose flour
1/4 cup (50 grams) brown sugar, packed
1 tablespoon baking powder
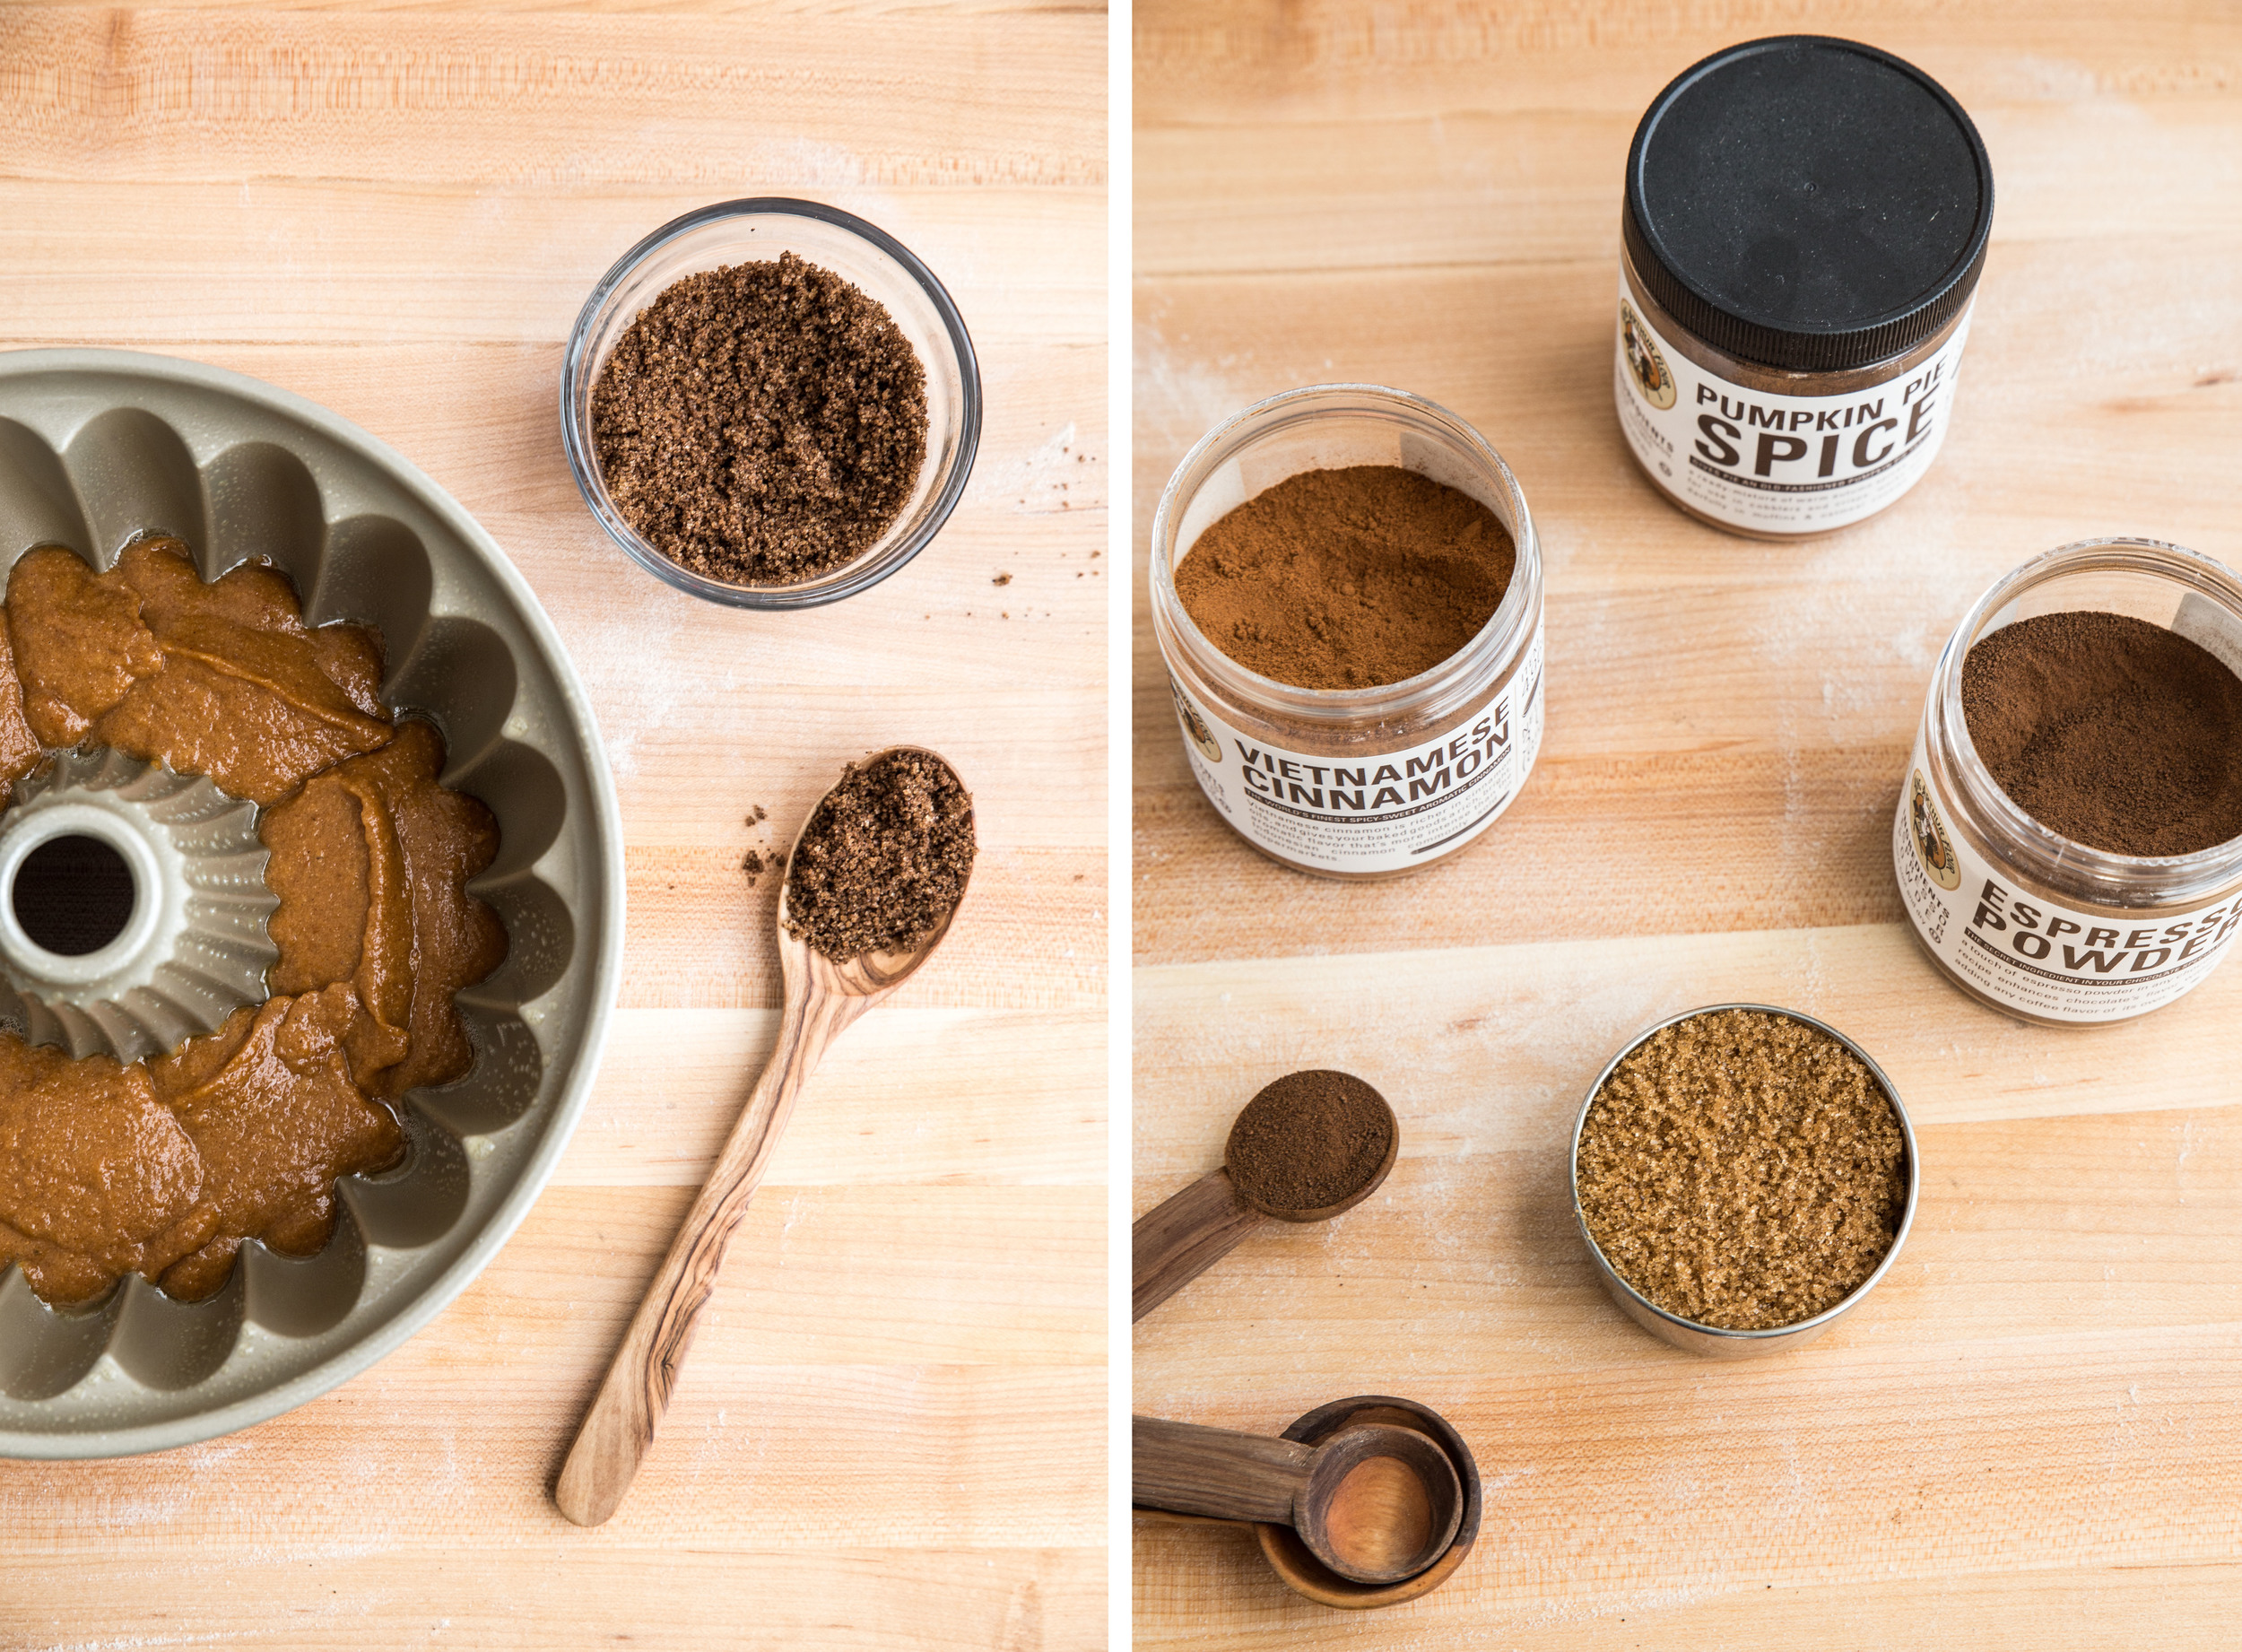
1/2 teaspoon ground cinnamon
1/4 teaspoon ground cloves
1/4 teaspoon ground ginger
1/4 teaspoon ground nutmeg
1/2 teaspoon salt
1/2 cup (113 grams) butter, cubed
1/2 cup (126 grams) canned pumpkin (or pumpkin purée)
1 teaspoon vanilla extract
1 large egg
1/4 cup (60 ml) heavy cream, plus extra for brushing
Raw sugar (turbinado or demerara sugar) for sprinkling, optional
Maple Glaze
1/2 cup (55 grams) powdered sugar
2 tablespoons pure maple syrup
1 teaspoon milk
In a large mixing bowl, whisk together flour, brown sugar, baking powder, spices, and salt. Cut in butter with pastry blender (or your hands) until mixture resembles coarse sand. Set aside.
In a small bowl, beat together canned pumpkin, egg, vanilla, and heavy cream. Pour over the scone batter and lightly mix until the dough comes together. The dough will be relatively sticky.
Turn out dough onto a lightly floured surface. Using floured hands, form the dough into a circle and flatten it until it is about 1-inch thick. Using a sharp knife dipped in flour, cut 8 equal pie wedges. Transfer scones to a baking sheet using a flat spatula dipped in flour. Place in freezer for 1/2 hour before baking.
Preheat oven to 425 degrees F (220 degrees C).
Brush top of scones with heavy cream and sprinkle with raw sugar. Bake for 18-20 minutes, or until lightly browned.
To make the glaze, stir together the powdered sugar, maple syrup, and milk. If too thick, add additional milk by the 1/2 teaspoon until the glaze drizzles in a continuous stream off the edge of a spoon. Drizzle glaze over cooled scones and allow glaze to set for 15 minutes before serving.