Cinnamon Star Bread

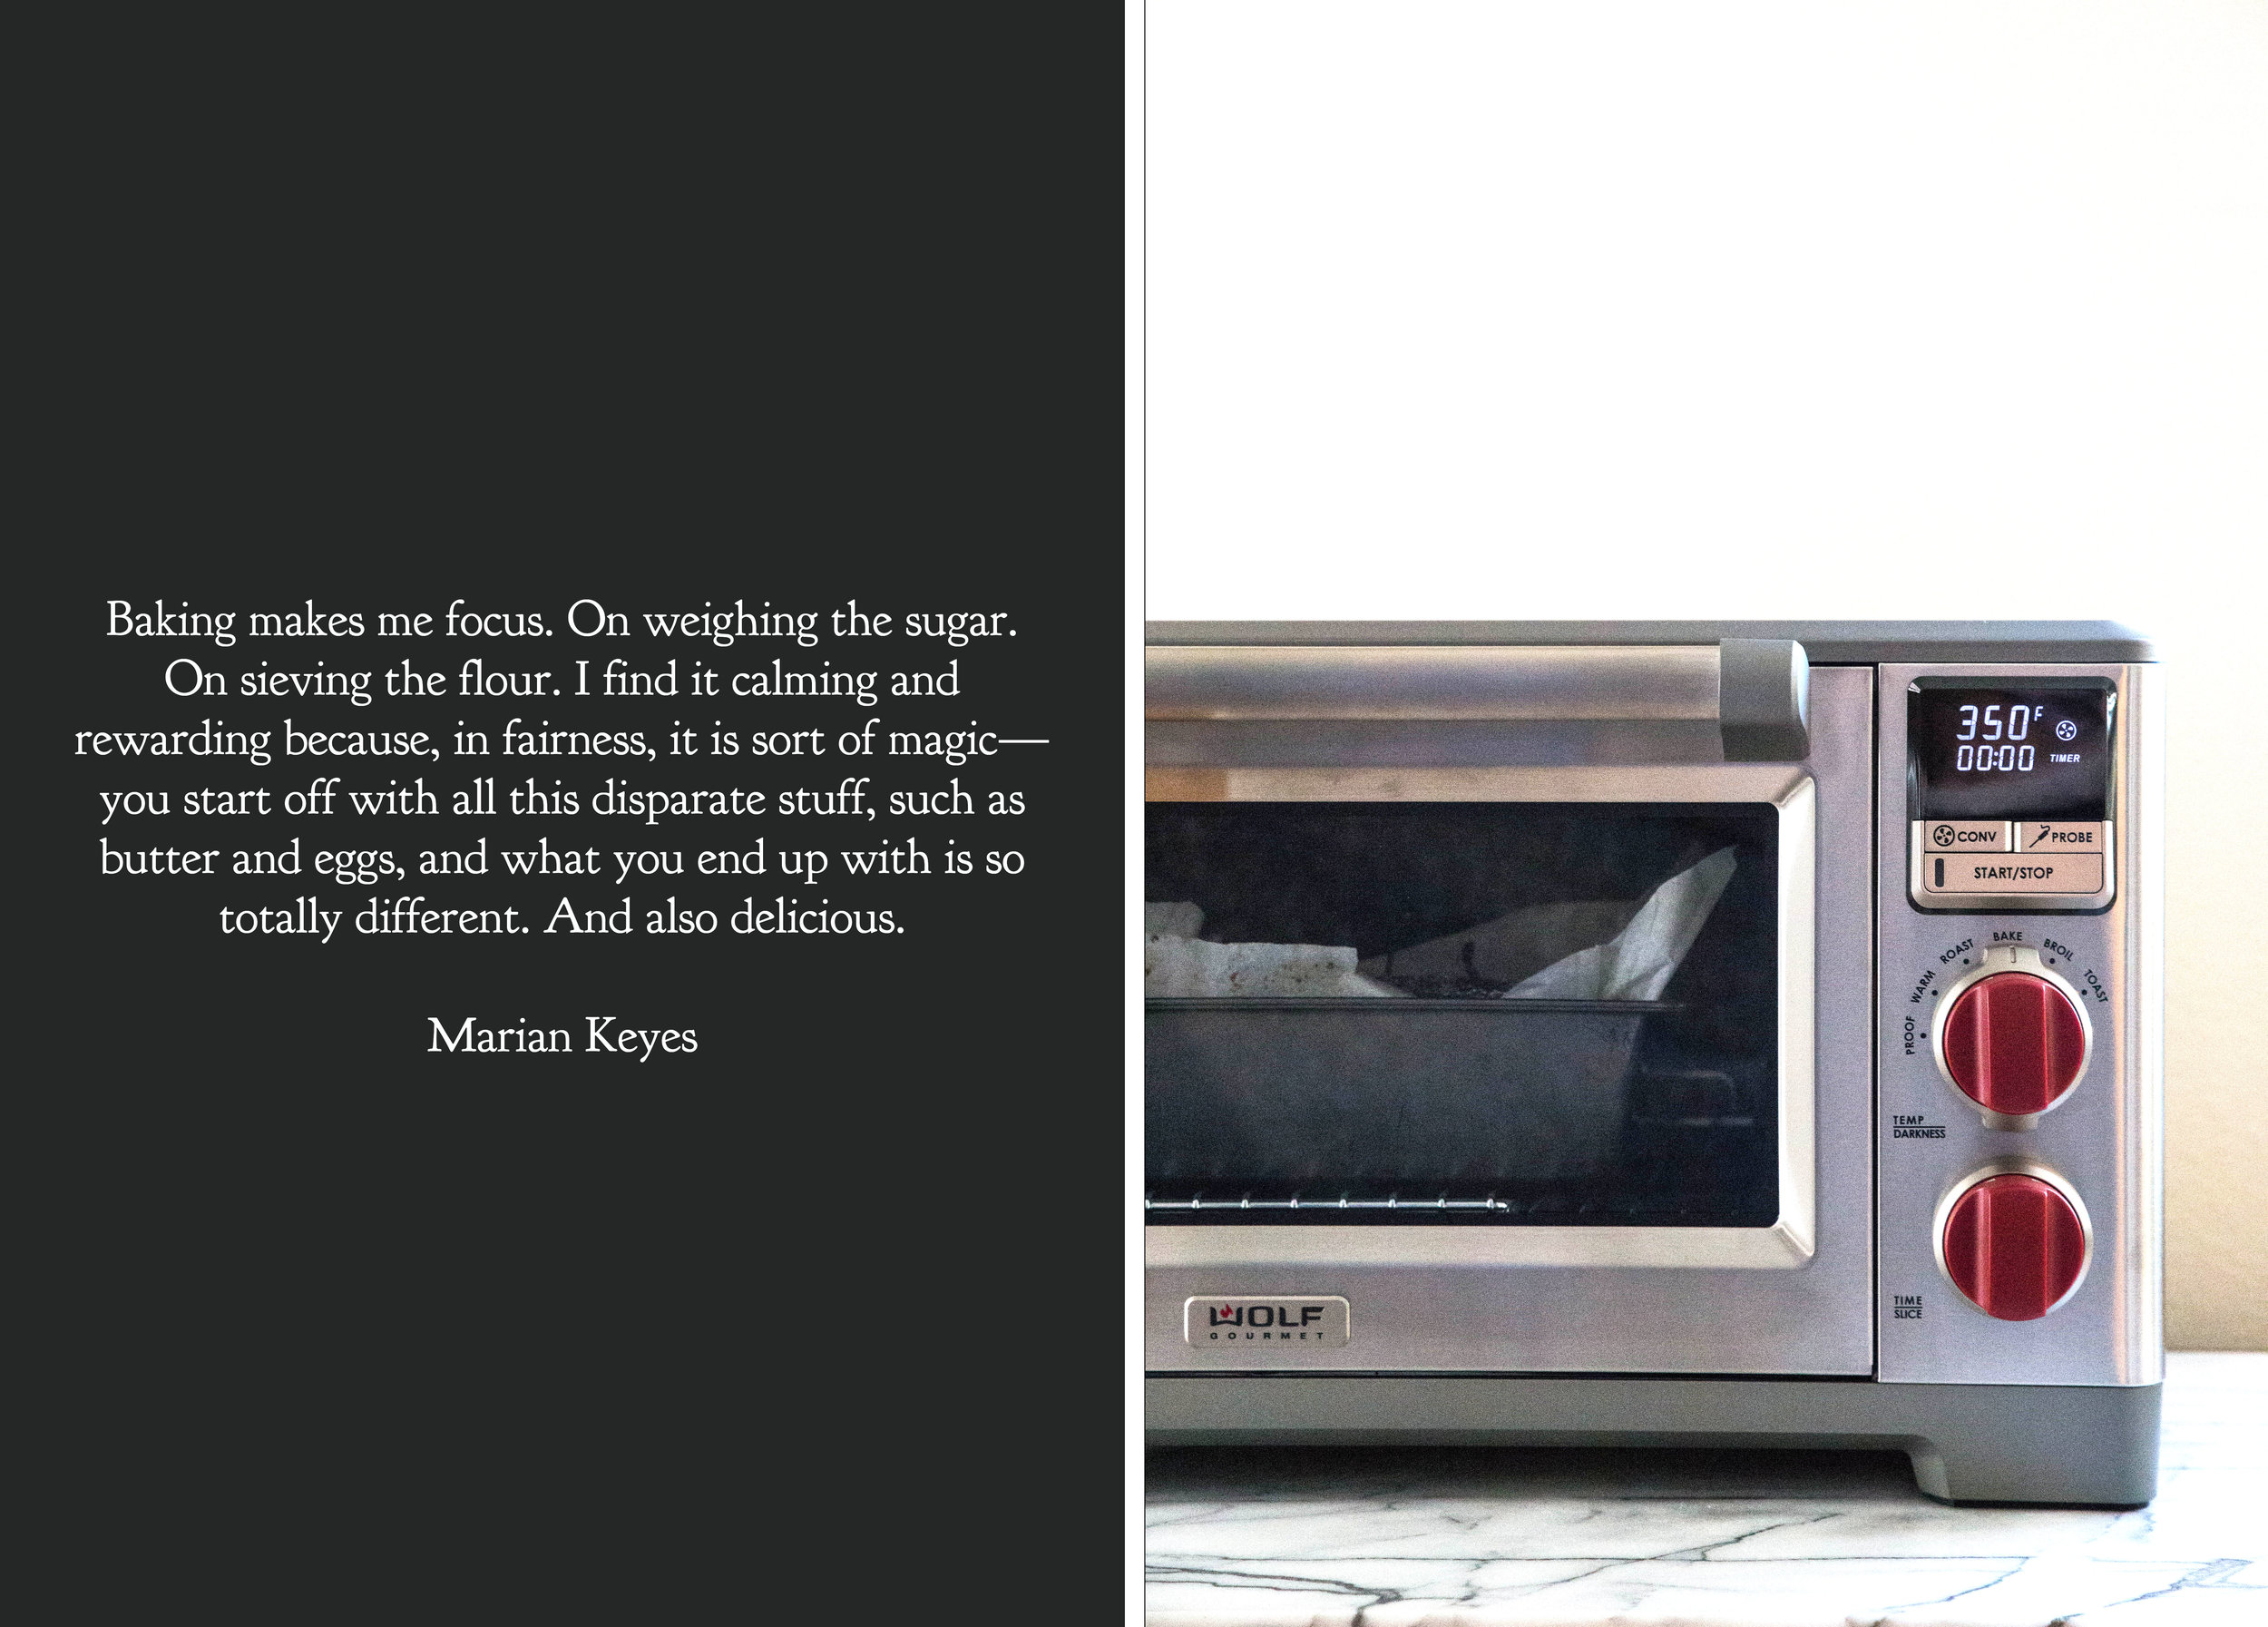
When the weather turns cold and the snow starts to fly, I use my oven to fill my home with the scents of the season—warm vanilla, spiced cinnamon, and intoxicating cocoa. The kitchen is my sanctuary, a place of peace and shelter from the stress the holidays can create. Baking is one of the ways I show and share my love towards friends and family. During this time of year, there is a lot of love to go around.

As a holiday tradition, each year I look for a new recipe to serve on Christmas morning. Since the days leading up to the holidays can be busy, the recipe needs to be simple, sweet, and easy to accomplish—there is no time to spend hours in the kitchen. When I found this recipe for Cinnamon Star Bread from King Arthur Flour, I knew it was the perfect fit. Though this twist on the classic cinnamon roll may not suggest simplicity, the reality is that this recipe does come together easily. While the bread takes about three hours from start to finish, only about a half hour of that time is active. While the dough rises, you are free to move about the house and do other things. Perhaps, best of all, the pull-apart shape of the bread is already suited for sharing. 

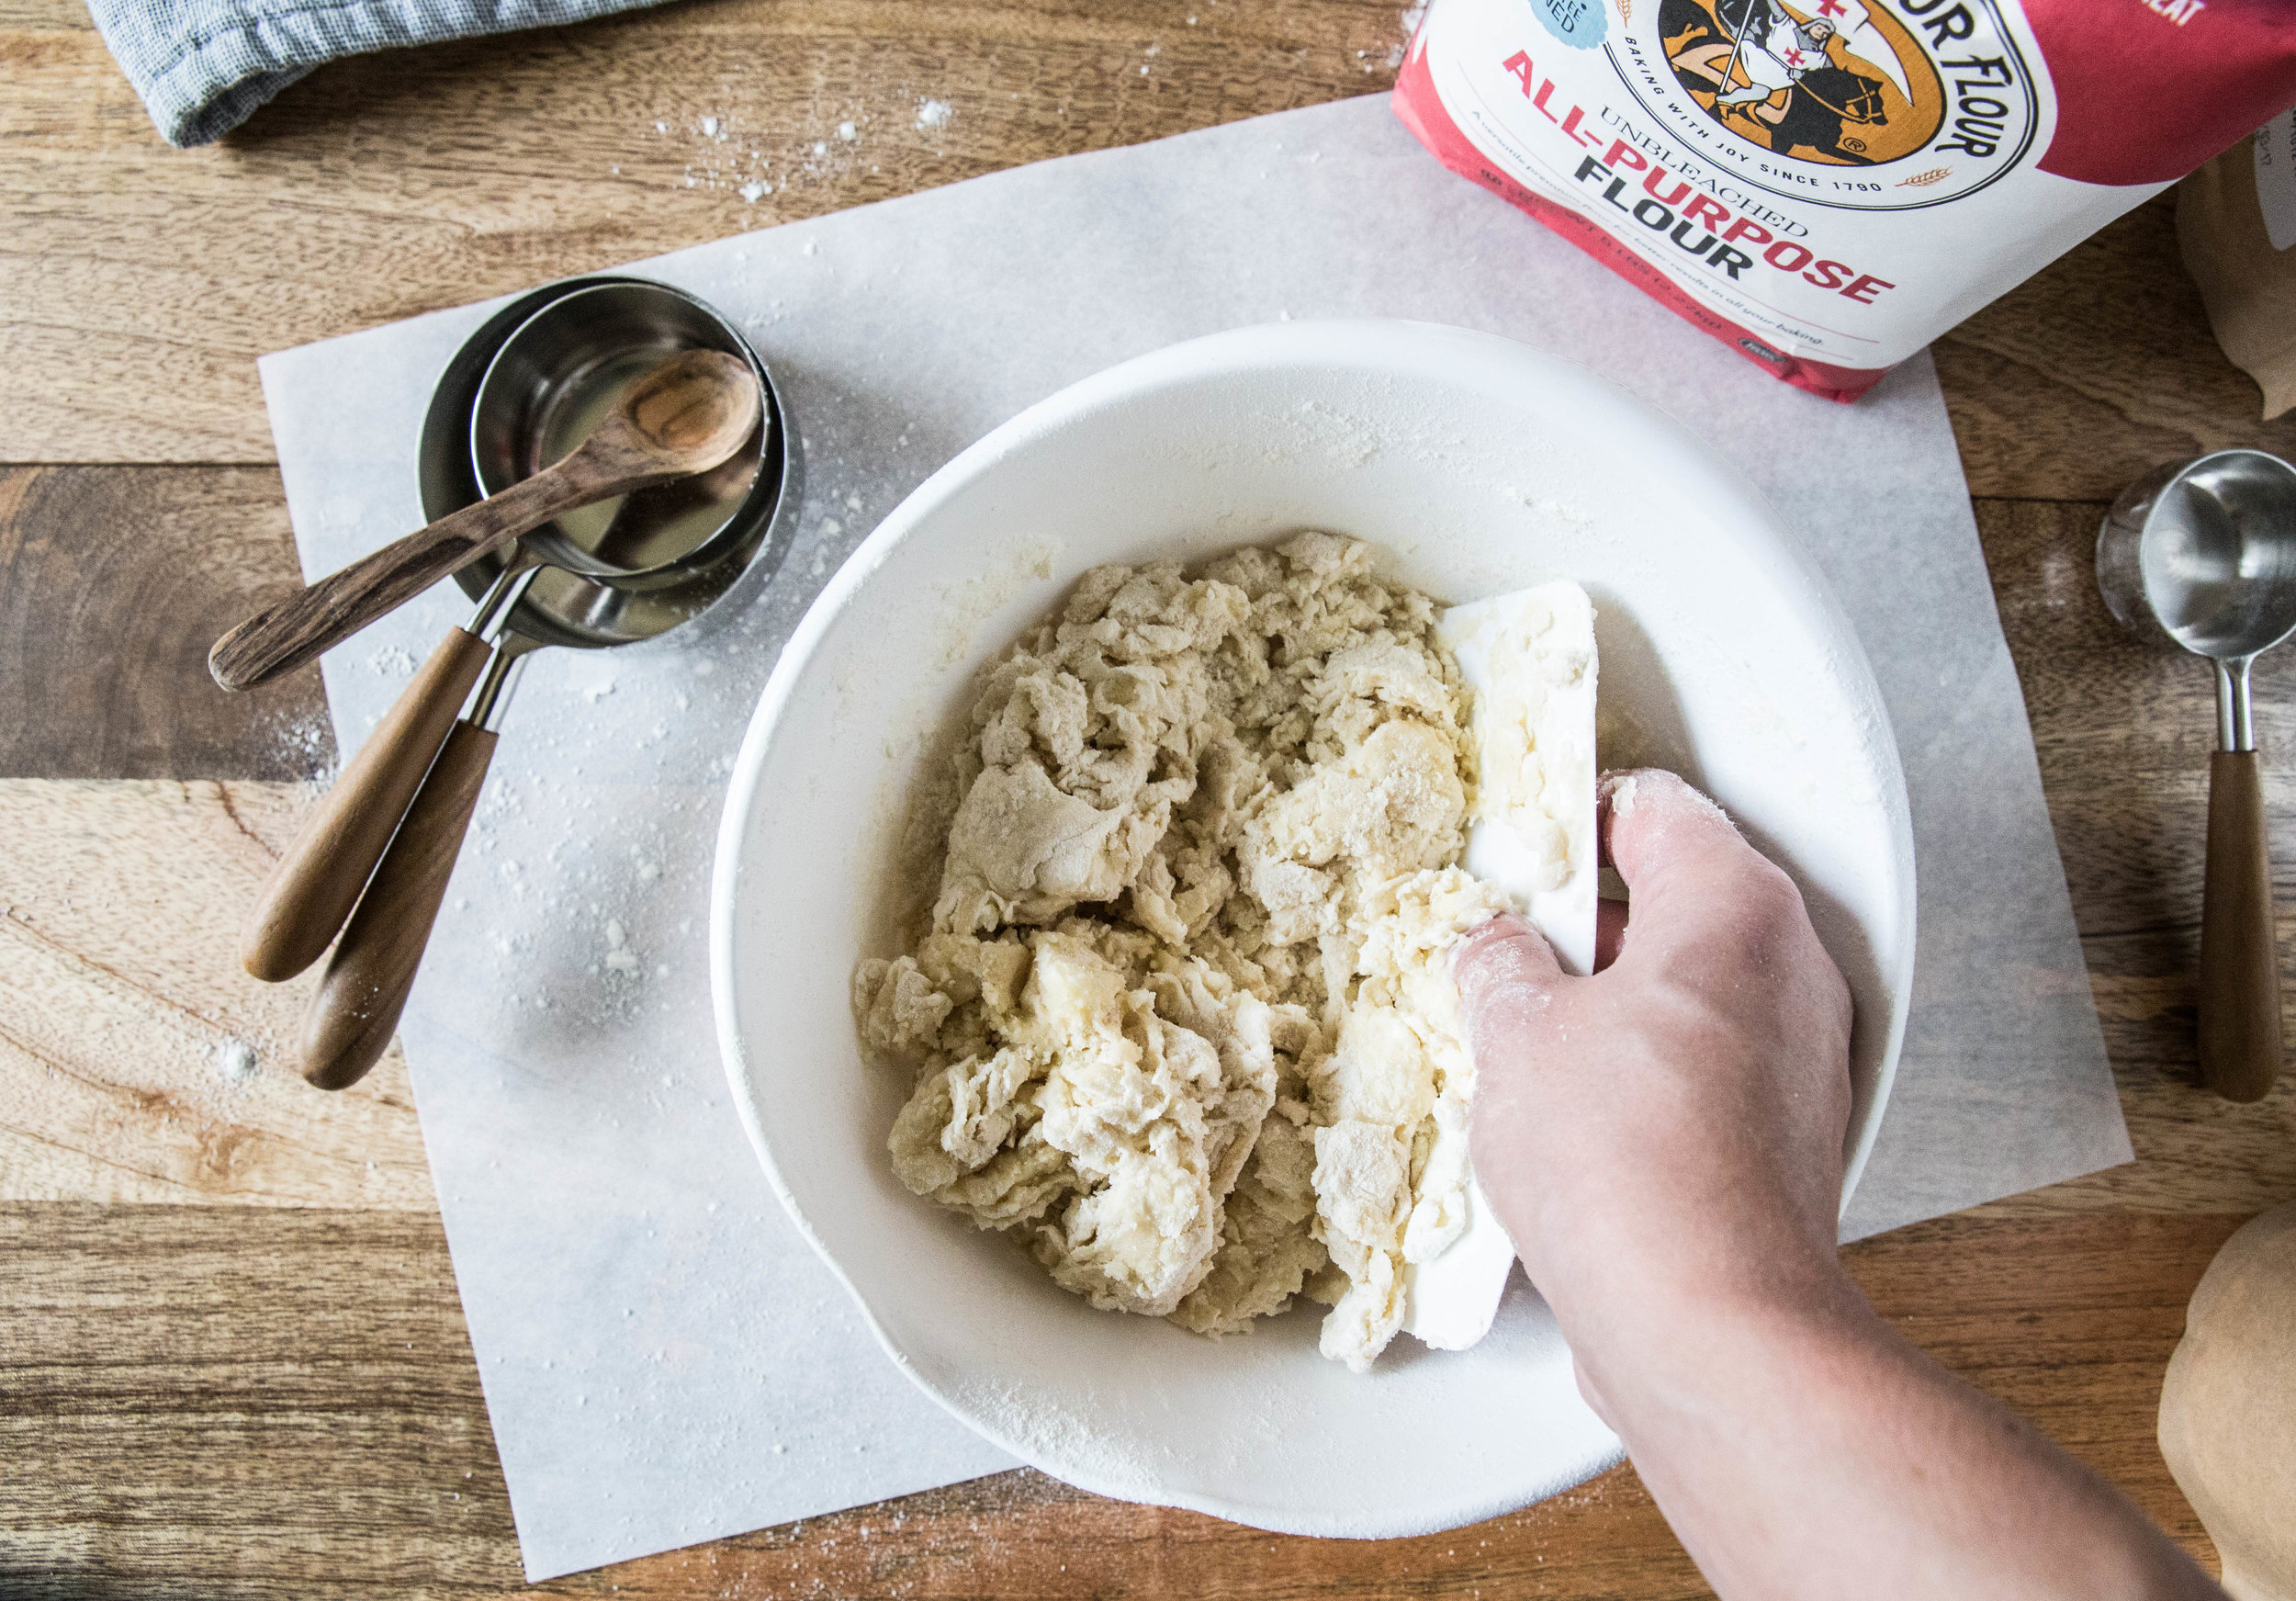
The sweet bread dough comes together quickly and easily. All dough ingredients are tossed into a mixing bowl and mixed either by hand (I prefer using a dough scraper) or machine until the dough comes together. Then, the dough is kneaded—again, either by hand or machine (using a dough hook with a stand mixer or bread machine)—for several minutes until it takes on a soft, smooth appearance. The process is simple, and the dough itself is very forgiving.

I prefer using all-purpose flour in this recipe because it yields a more tender dough. Traditional bread flour forms a more structured dough because bread flour has more protein than all-purpose flour, and forms more gluten when kneaded. Therefore, using a flour with less gluten, like all-purpose flour, creates a softer dough. In addition to the flour, nonfat dry milk and potato flour (or instant mashed potato flakes) are also added to create a tender bread. Don't worry—the potato doesn't add any flavor here; it just helps the bread retain moisture after baking. 

Once kneaded, the dough is placed in a lightly greased bowl, covered with a clean kitchen towel, and left to rise at room temperature for one hour, or until it doubles in size.

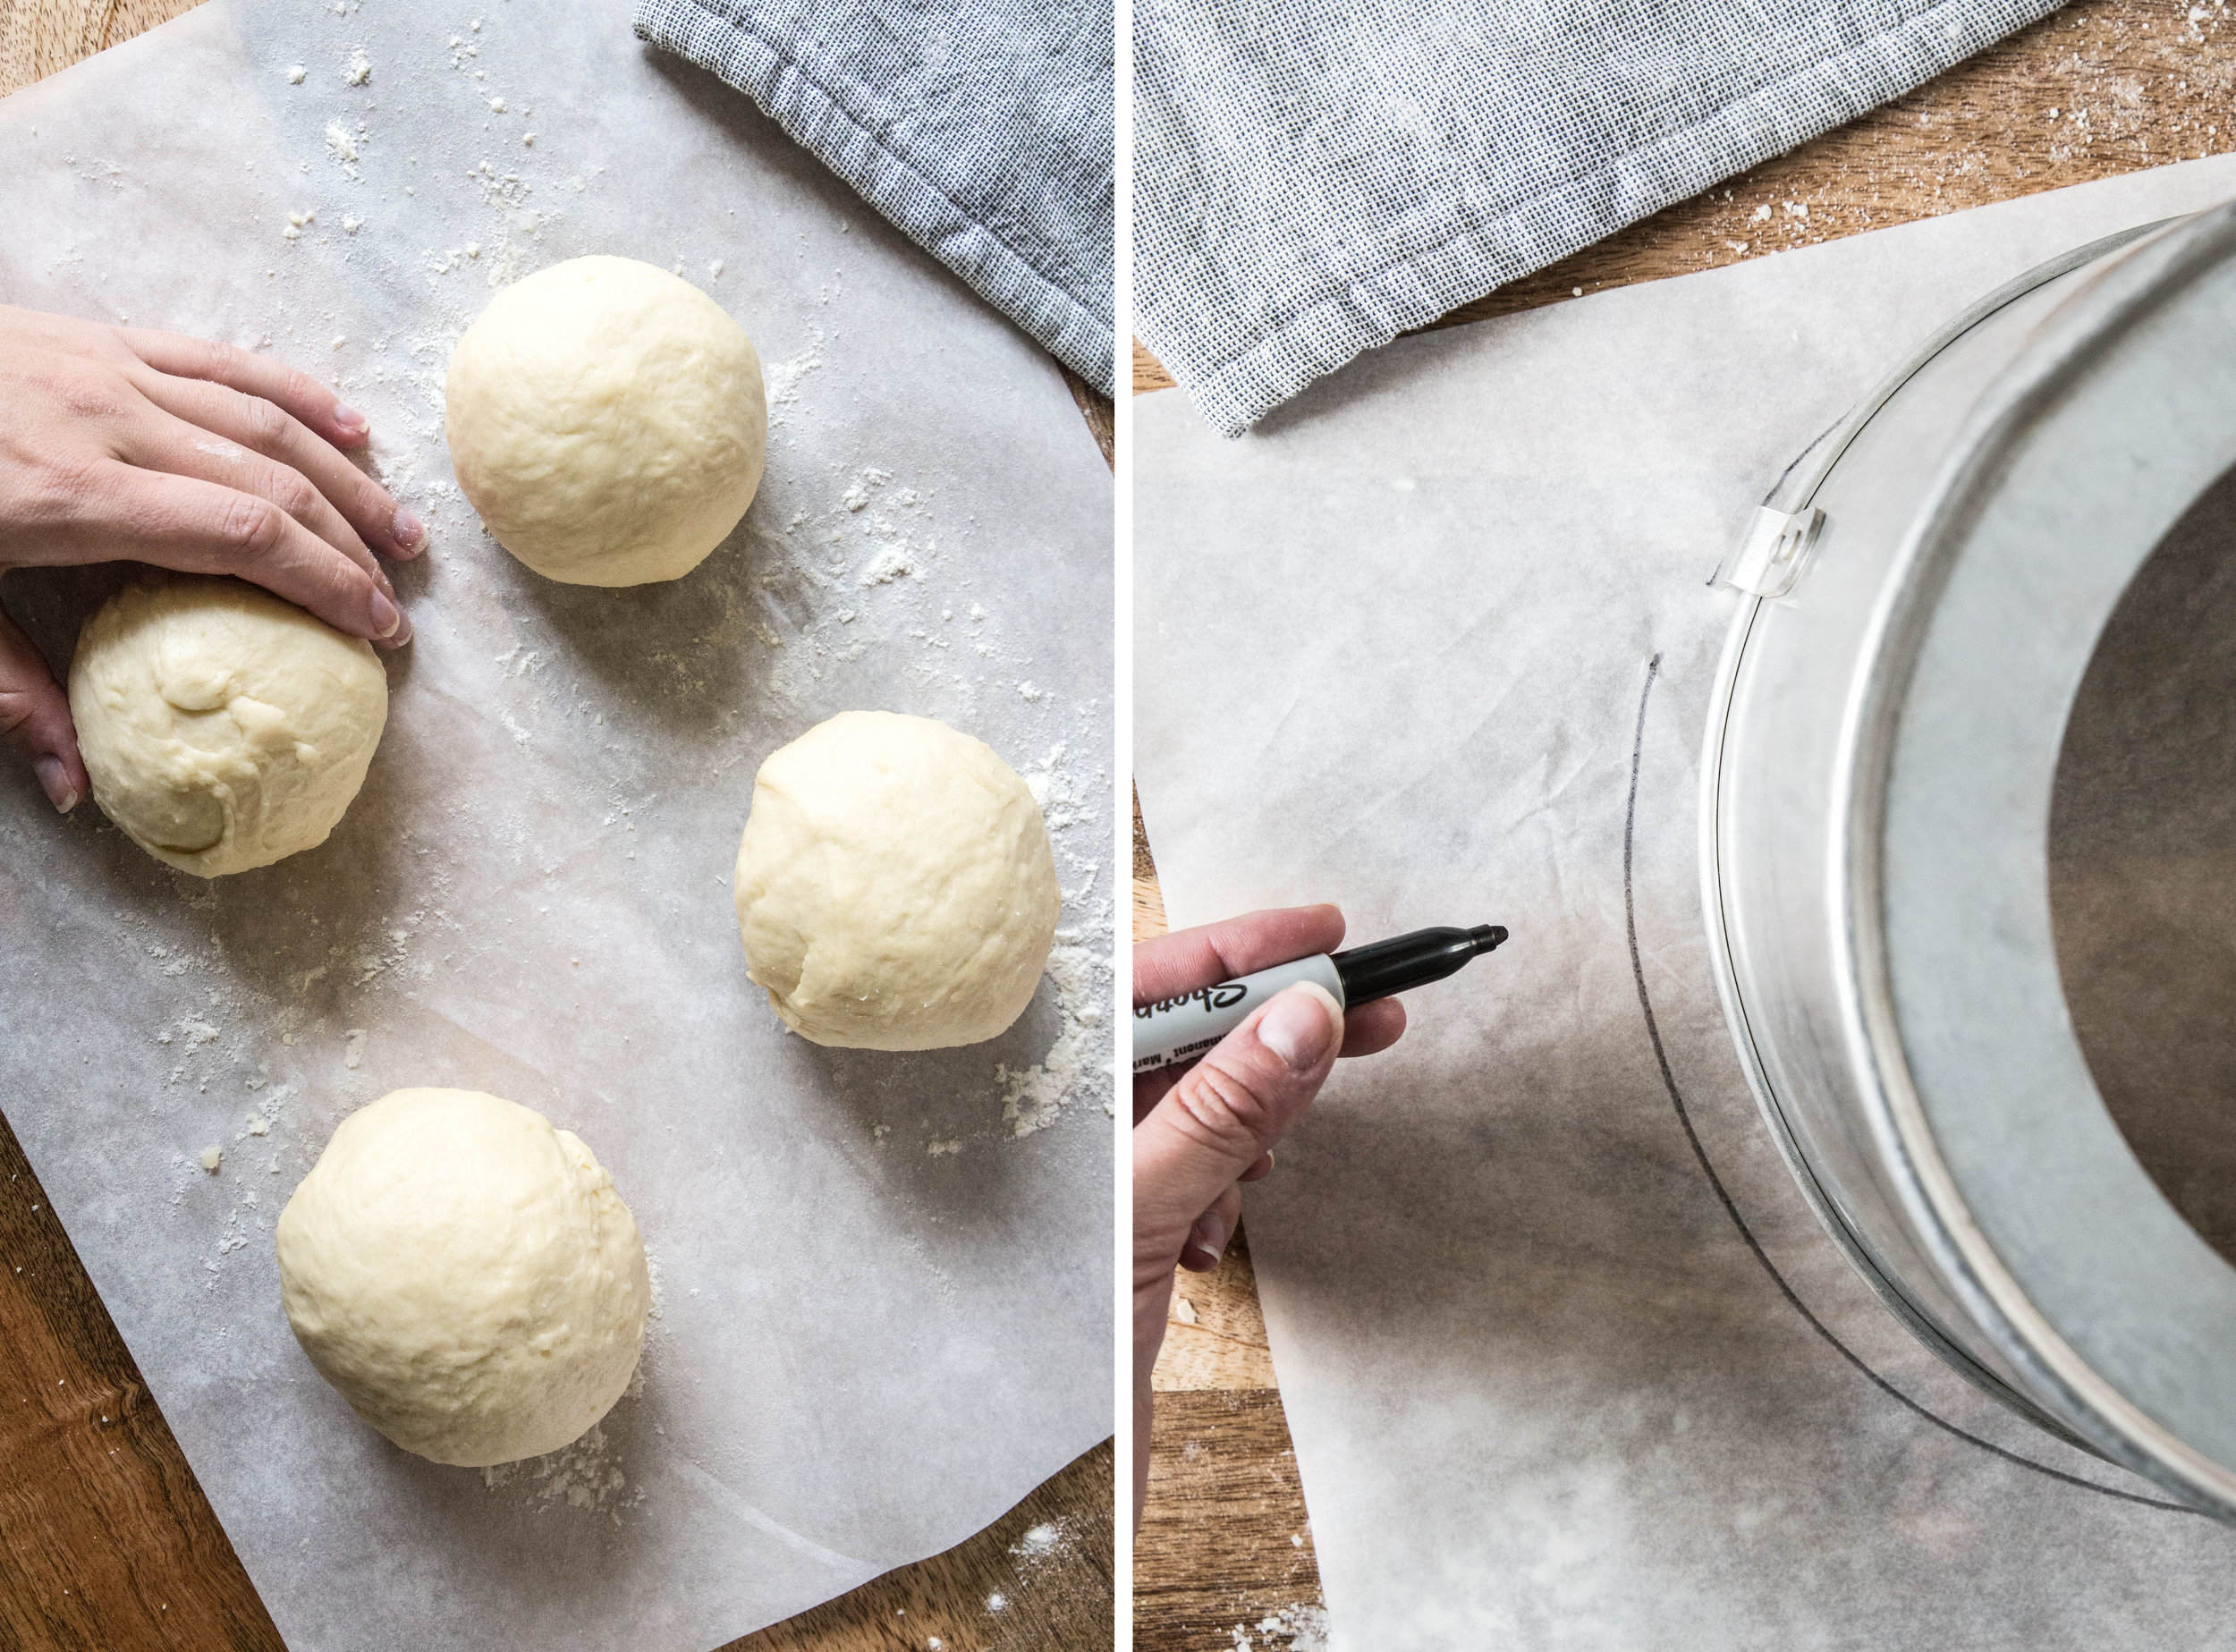
Once the dough has risen, divide the dough into four equal parts. Form the dough into balls and let rest for 15 minutes. Don't skip this step—the resting process relaxes the gluten in the dough and makes the dough easier to roll out. When time is up, roll out the dough into four 10-inch circles. I realize that sounds intimidating (I have a difficult time rolling out anything to a perfect size), but there's a quick trick that can help with the job. Trace the outline of a 10-inch springform or tube pan onto parchment paper, cut out the circle, and use it as a guide when rolling out the dough. It not only helps you visualize the size you need, but you can periodically place the parchment circle on the dough to check your progress.

The best part of the bread is the sweet, cinnamon sugar layers that saturate the loaf. To assemble the layers, place one 10-inch circle of dough onto a sheet of parchment paper. Brush the dough with a thin layer of beaten egg and sprinkle on 1/3 of the cinnamon sugar mixture, taking care to leave a 1/4-inch border around the edges. Repeat this process two more times, placing each layer on top of the other and adding the cinnamon sugar mixture. Place the last circle of dough on top, leaving it bare.

After making this bread several times, I found it is easier to twist the layers of dough if the dough circles are even. Even though you may have made best attempts to make perfect 10-inch circles, it's likely they still vary slightly on the edges—and that's okay. Simply place your parchment circle on top and use a pizza cutter to trim the very edge of the layers to an even size. 

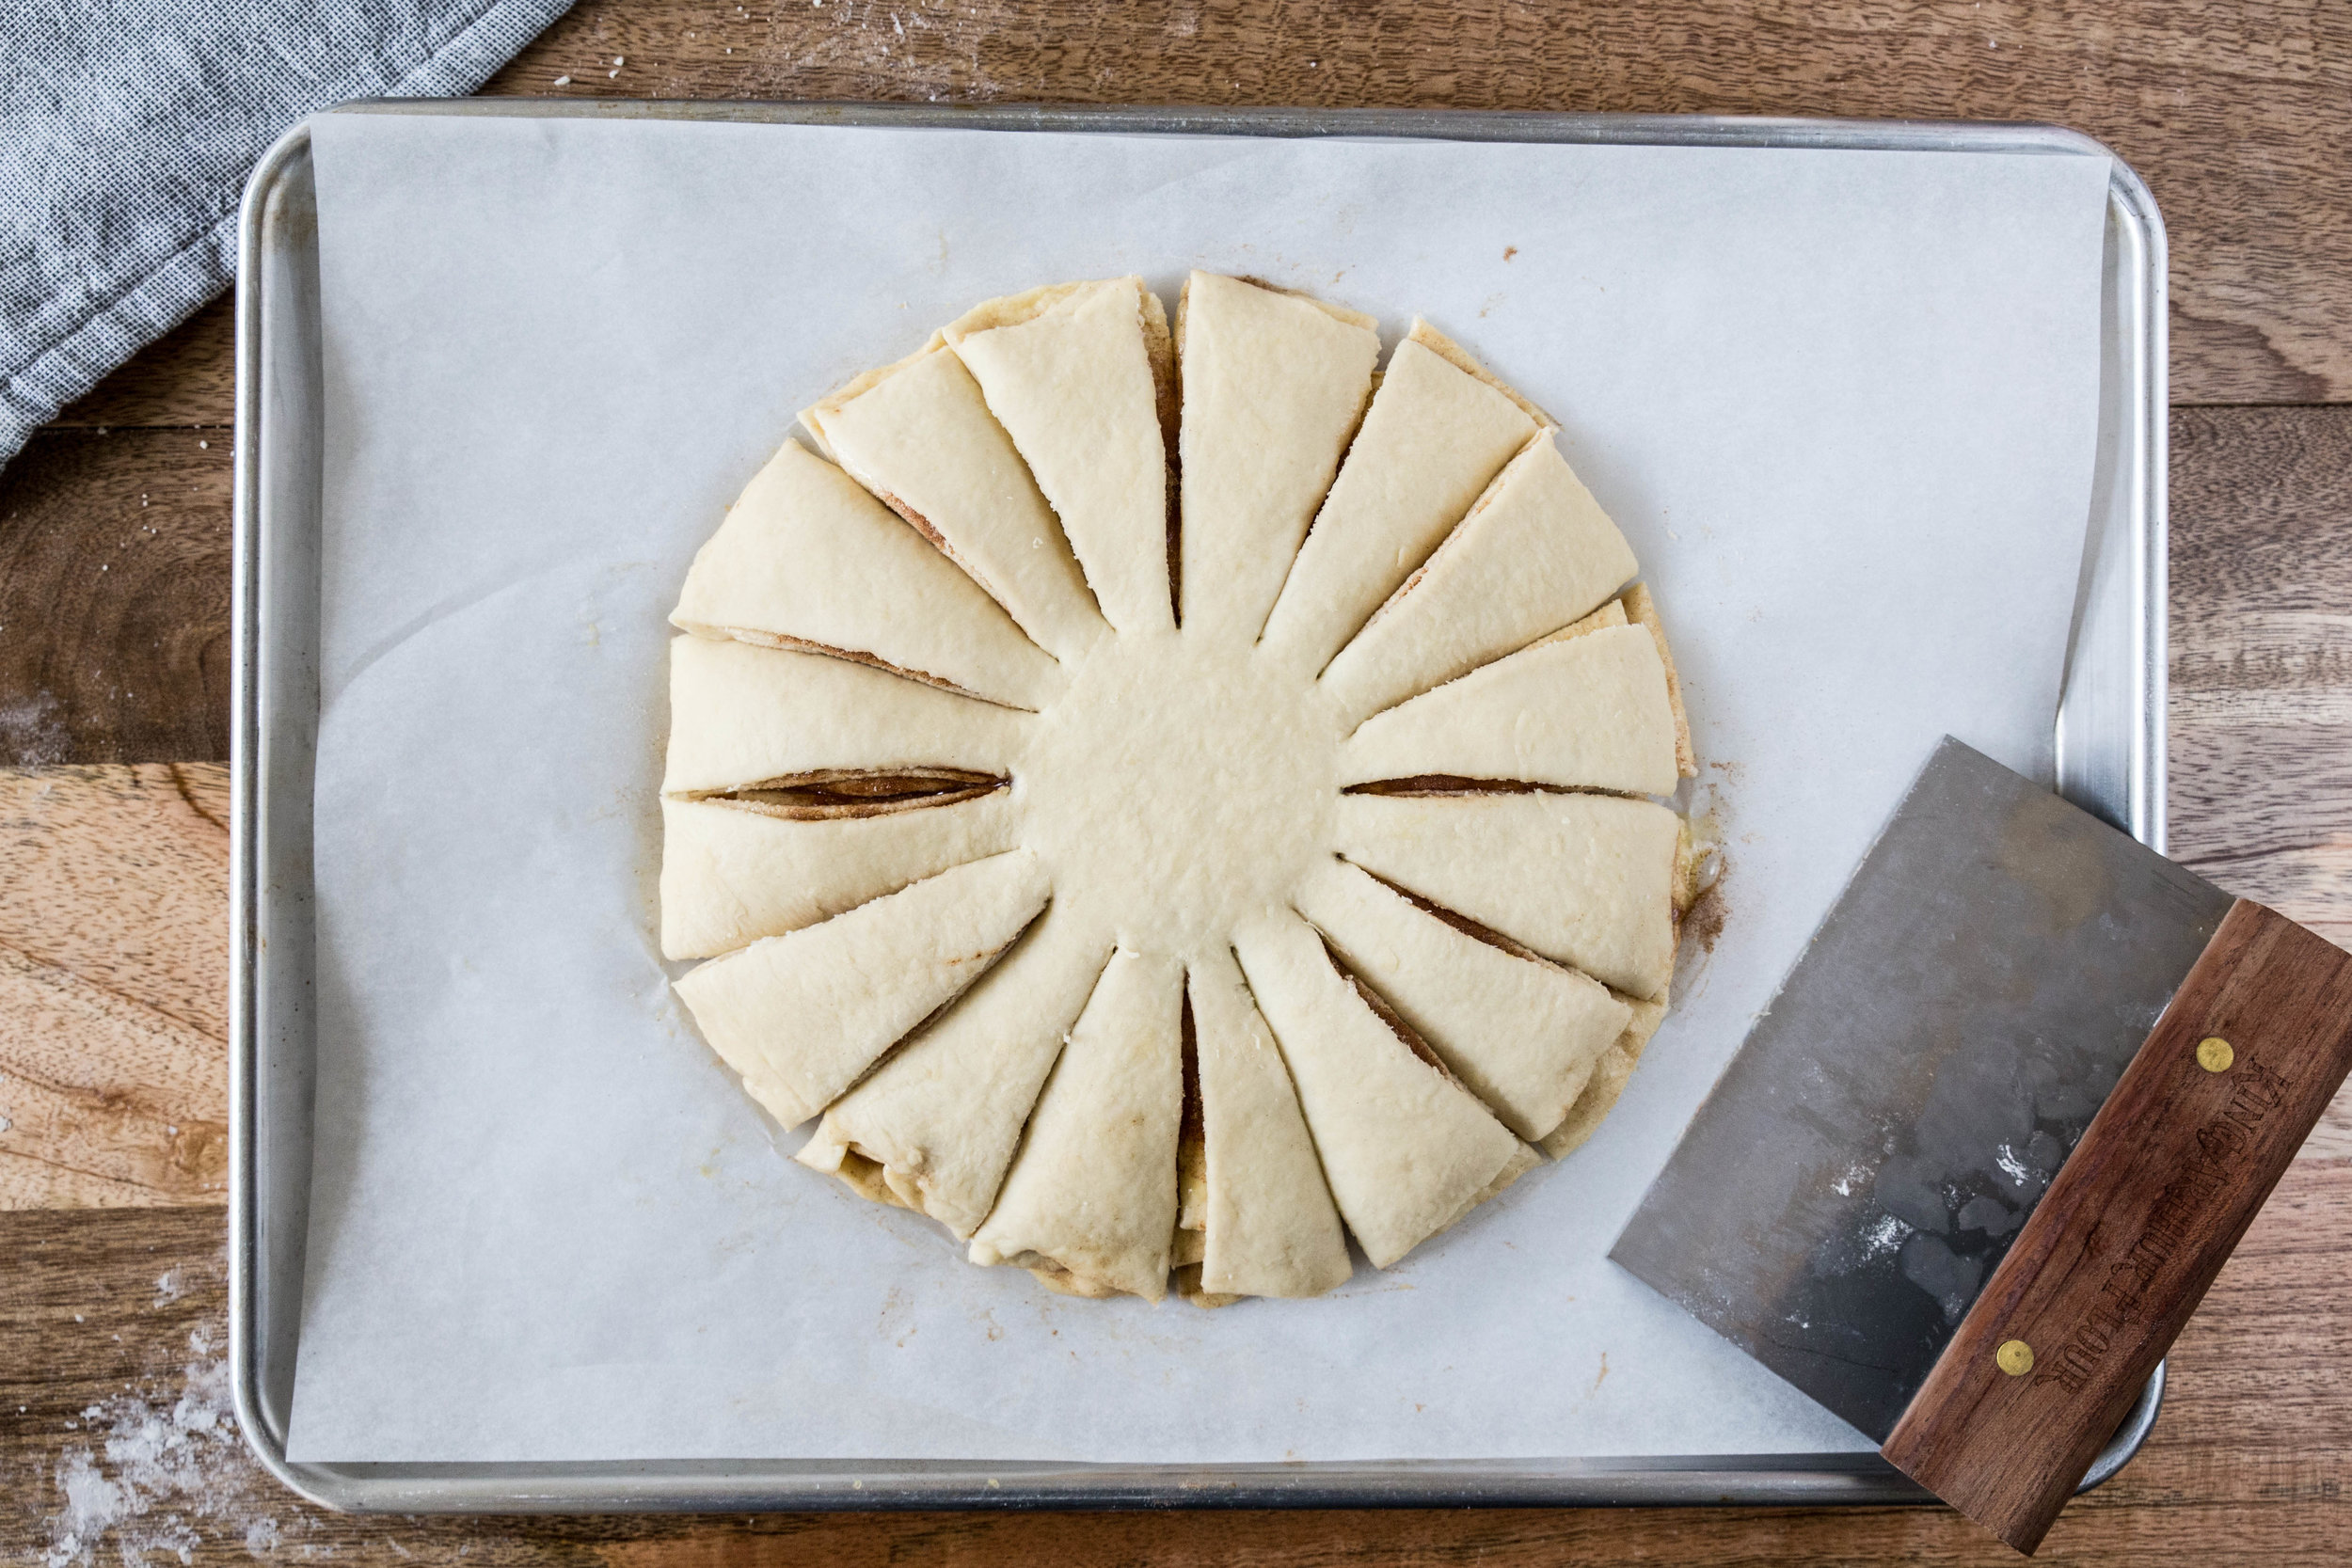
Once the dough is stacked and layered with the cinnamon sugar mixture, it is time to cut the dough into strips to twist. Place a 2 1/2 to 3-inch round cutter on the center of the dough to use as a guide (if you don't have this size cutter, a canning jar lid will work as well). Use a bench knife or sharp knife to cut the dough into strips. Start by cutting the circle into fourths, and then cut each fourth in half and then in half once more to create 16 even strips. 

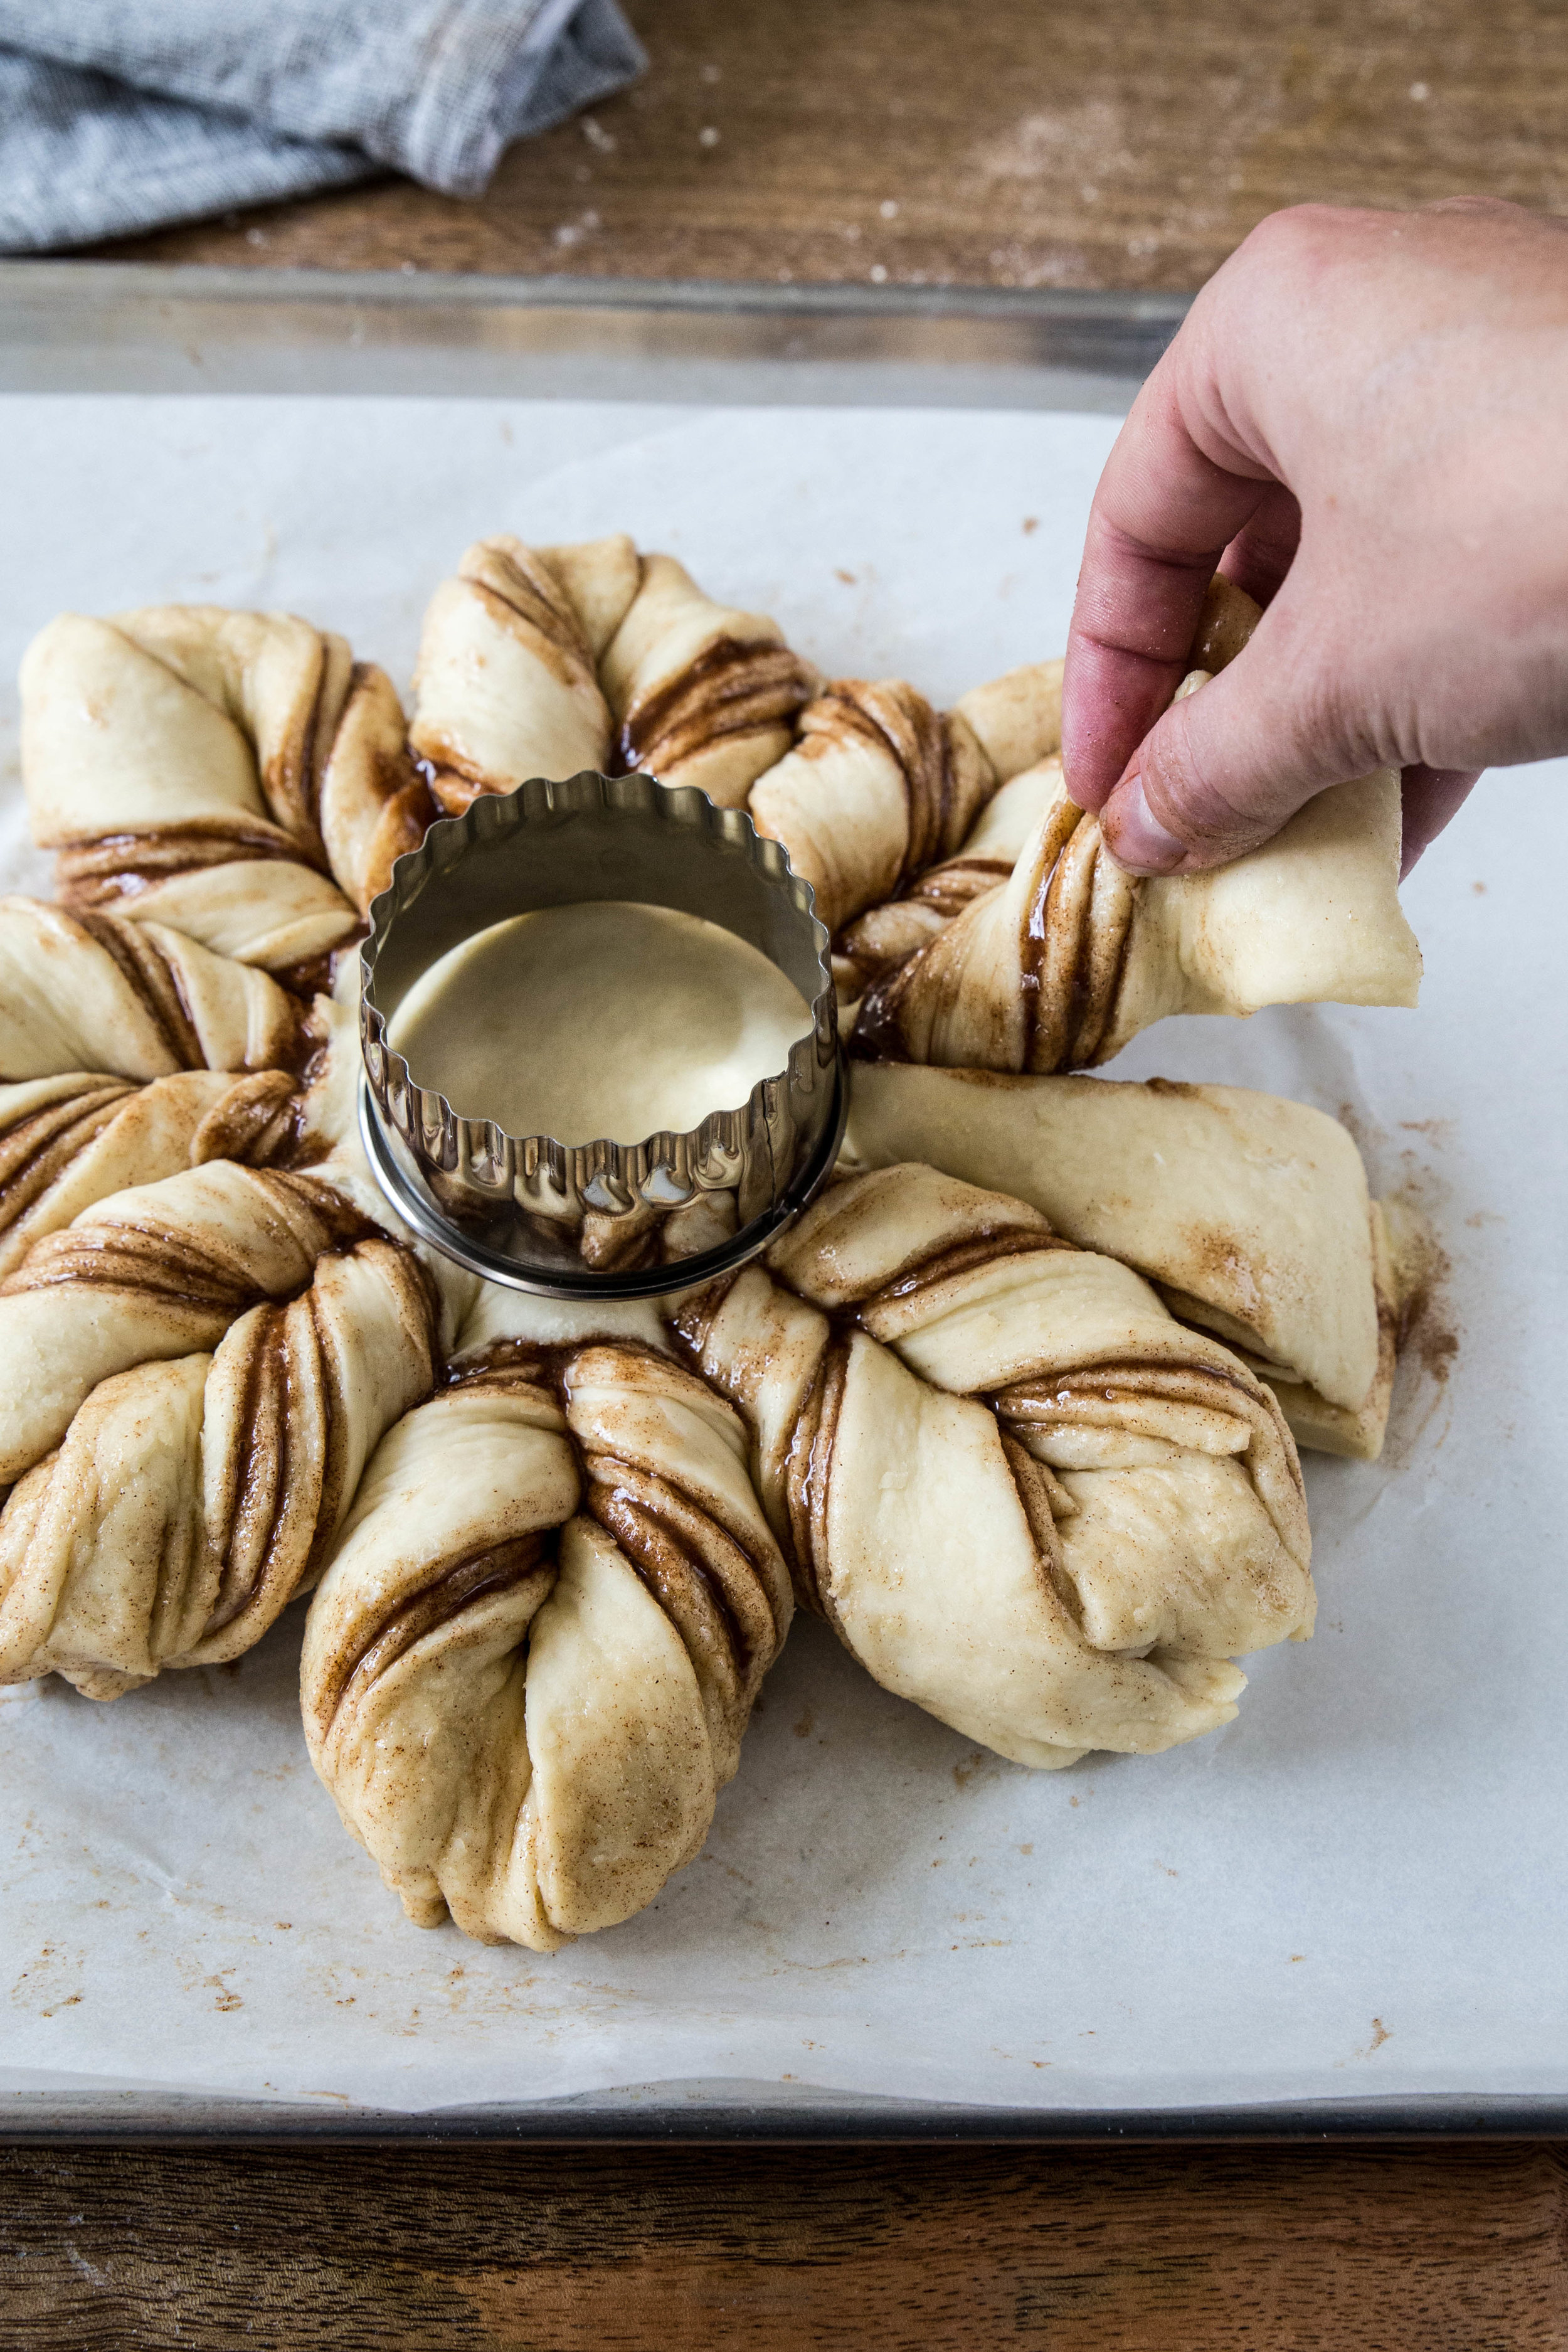
To twist the layers into the star pattern, take two adjacent strips and twist them away from each other twice (twist one clockwise, twist the other one counterclockwise). Since I do not have the fine motor skills to do both strips at the same time, I twist them separately and then pinch them together along the ends to hold them together. I also found it is easier to twist the dough if you lift it up slightly so it does not brush against the other strips of dough. 

Using the parchment paper, transfer the star to a baking sheet, cover with a clean kitchen towel and let it rise for another 45 minutes, or until noticeably puffy. While the loaf rises, preheat the oven. Just before baking, brush the loaf with a thin layer of beaten egg and bake until golden brown, about 12-15 minutes.

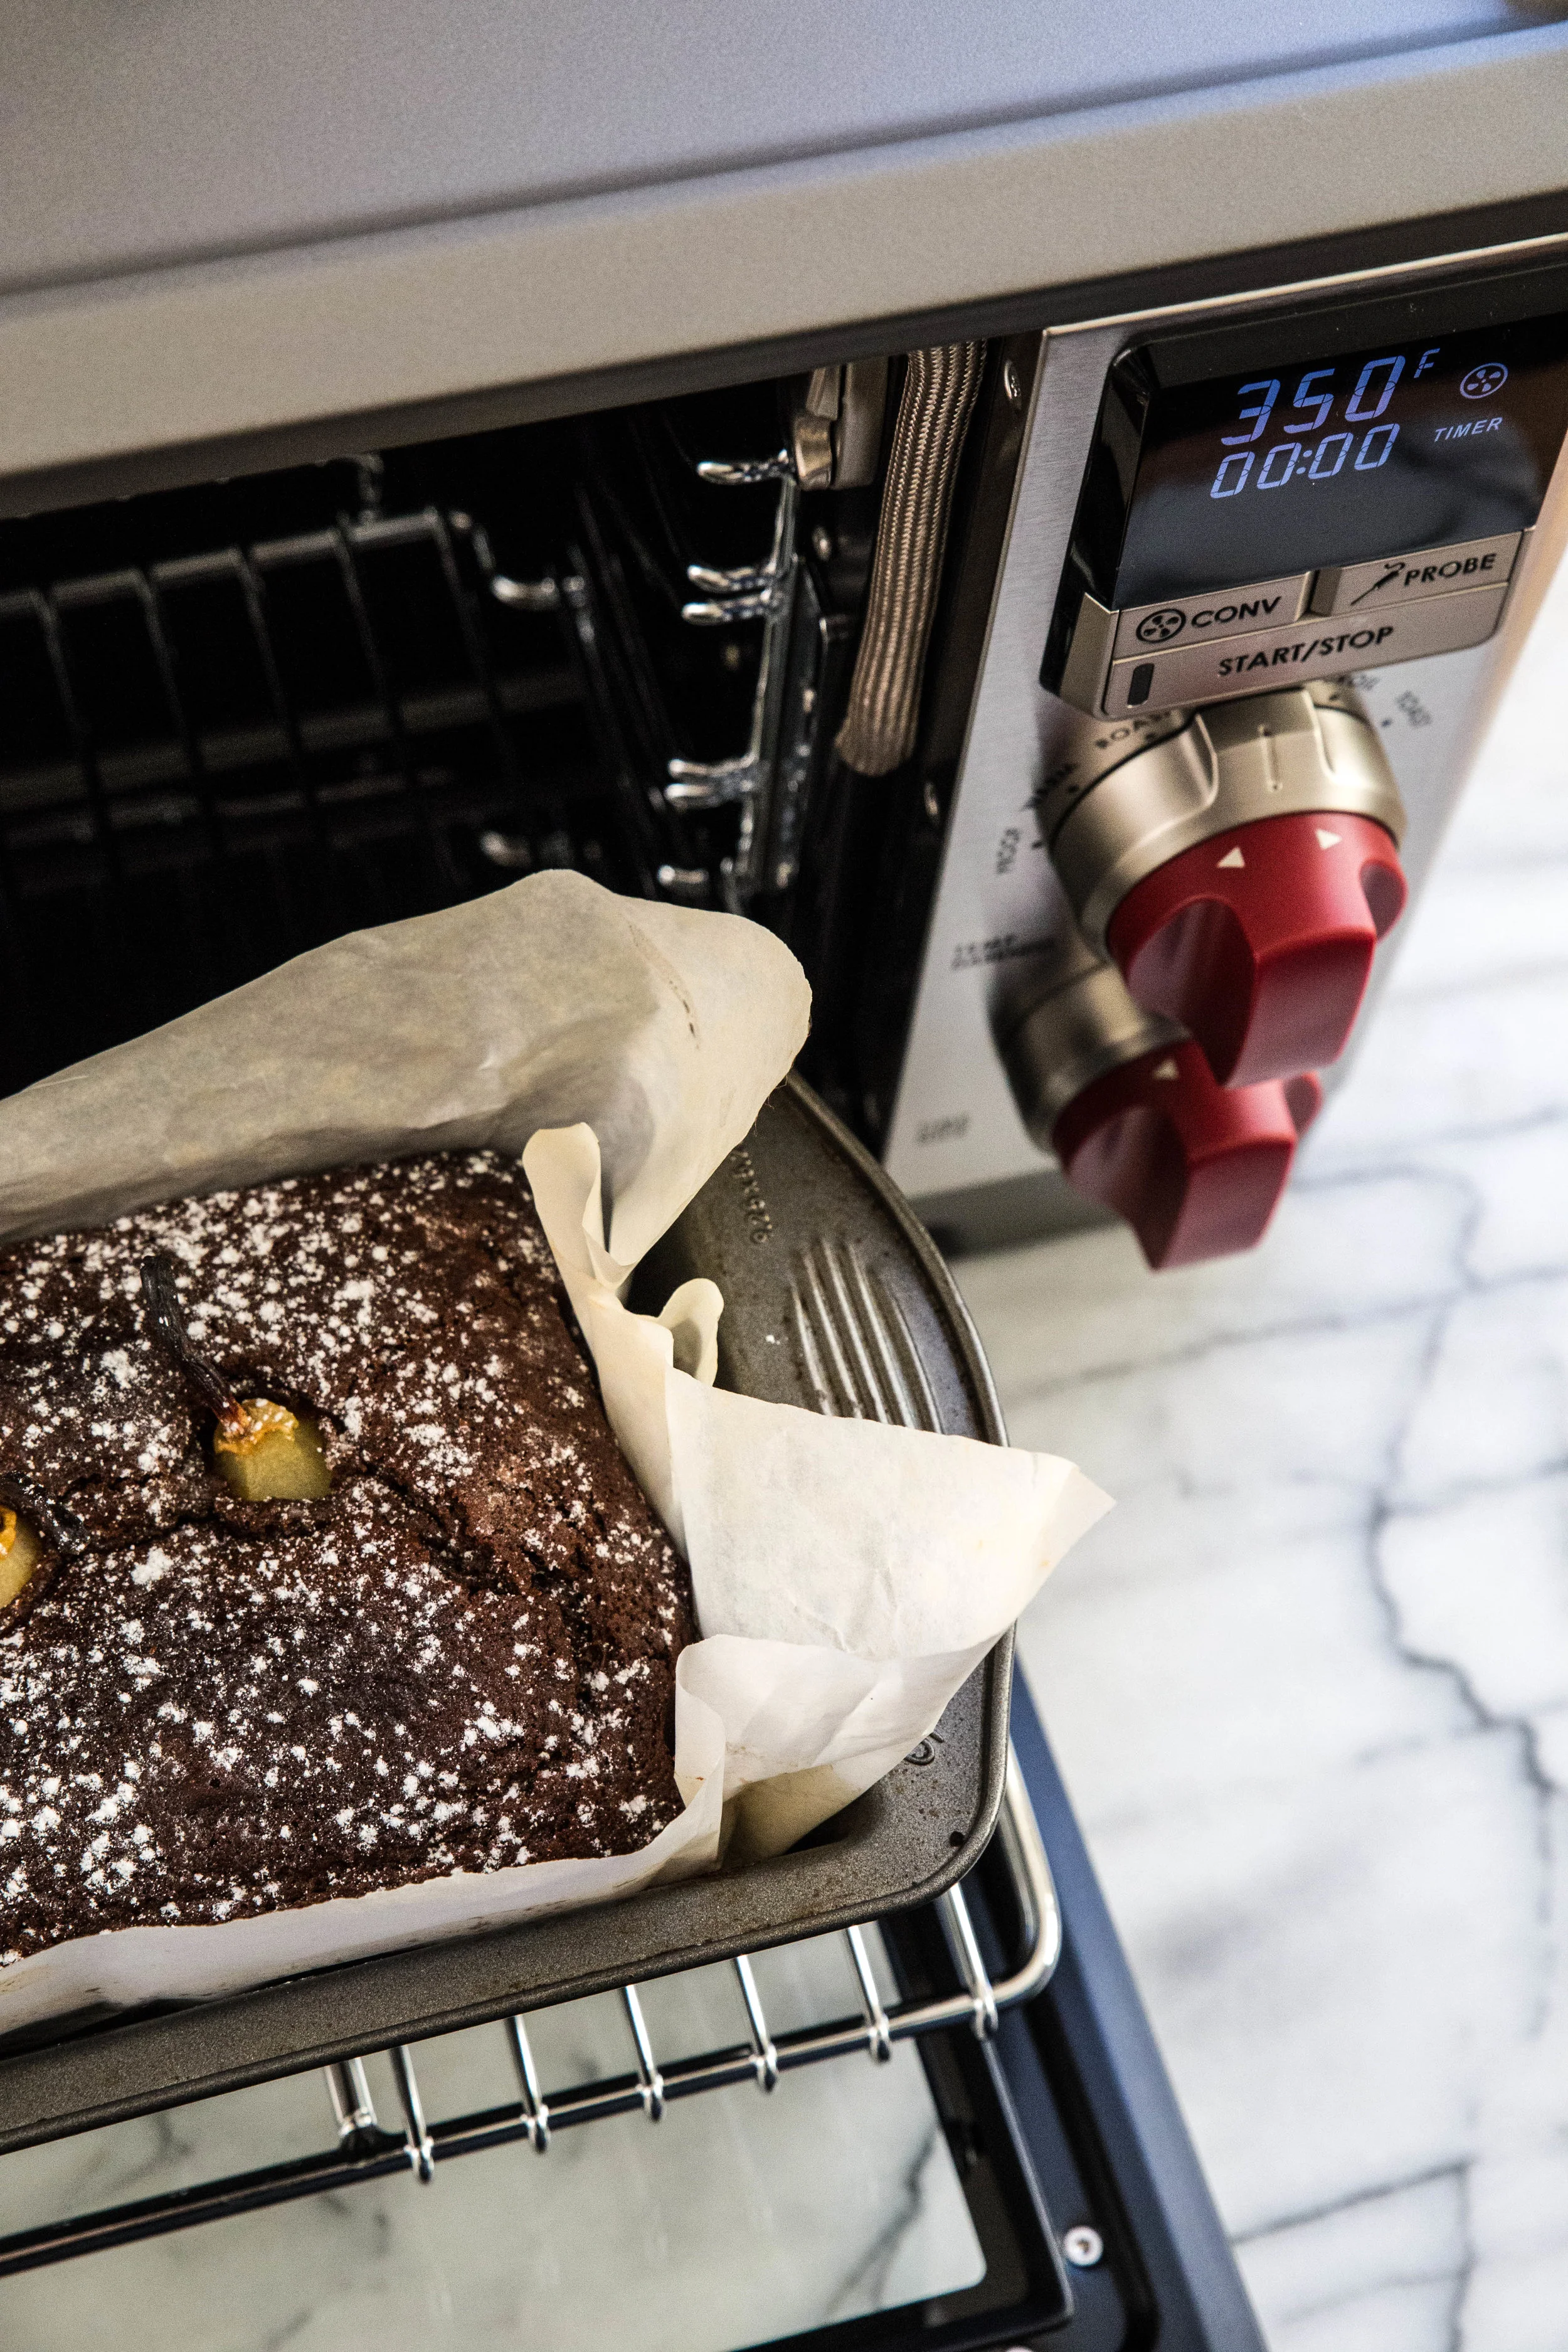
To serve the bread in the morning, I recommend baking the loaf the evening before and reheating the loaf in the oven the next morning at 350°F for 5-10 minutes, or until heated through. This bread is not a good candidate to raise overnight because the cinnamon sugar has a tendency to leak out of the loaf in a thin syrup if left too long. Since we want to keep as much flavor in the loaf, it is best to bake it on schedule. Reheating the bread in the oven will keep the texture and retain the moisture.

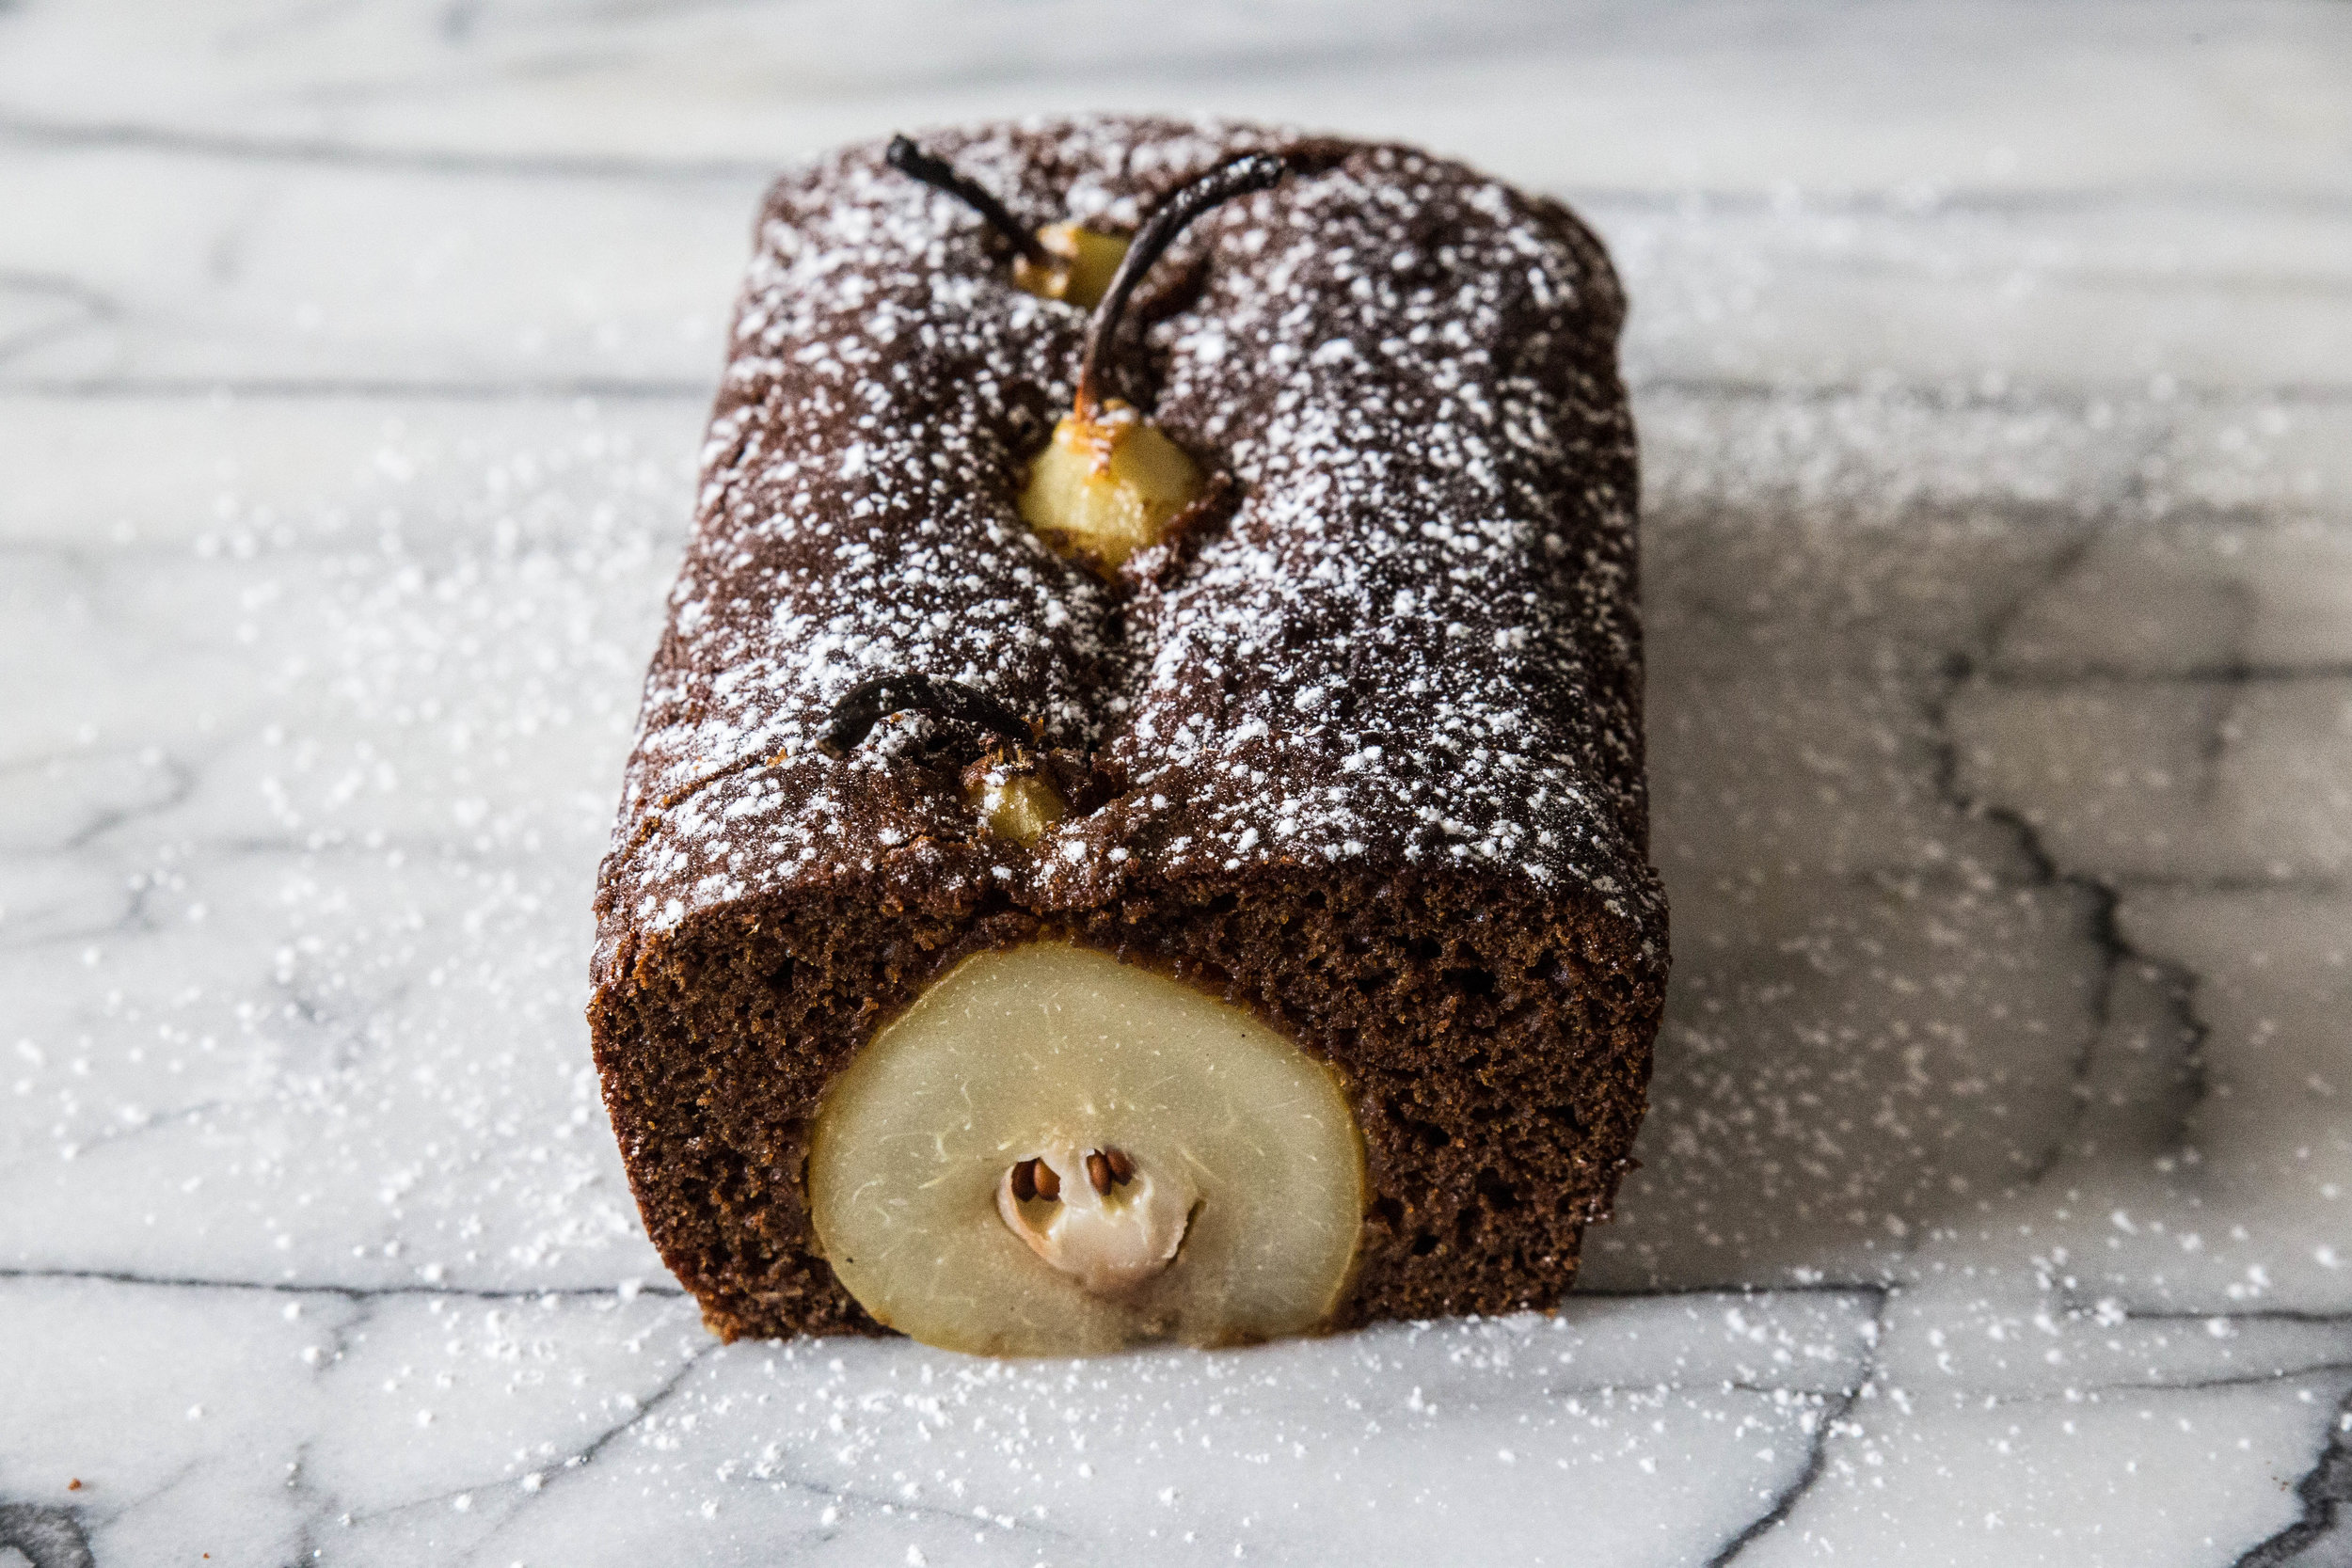
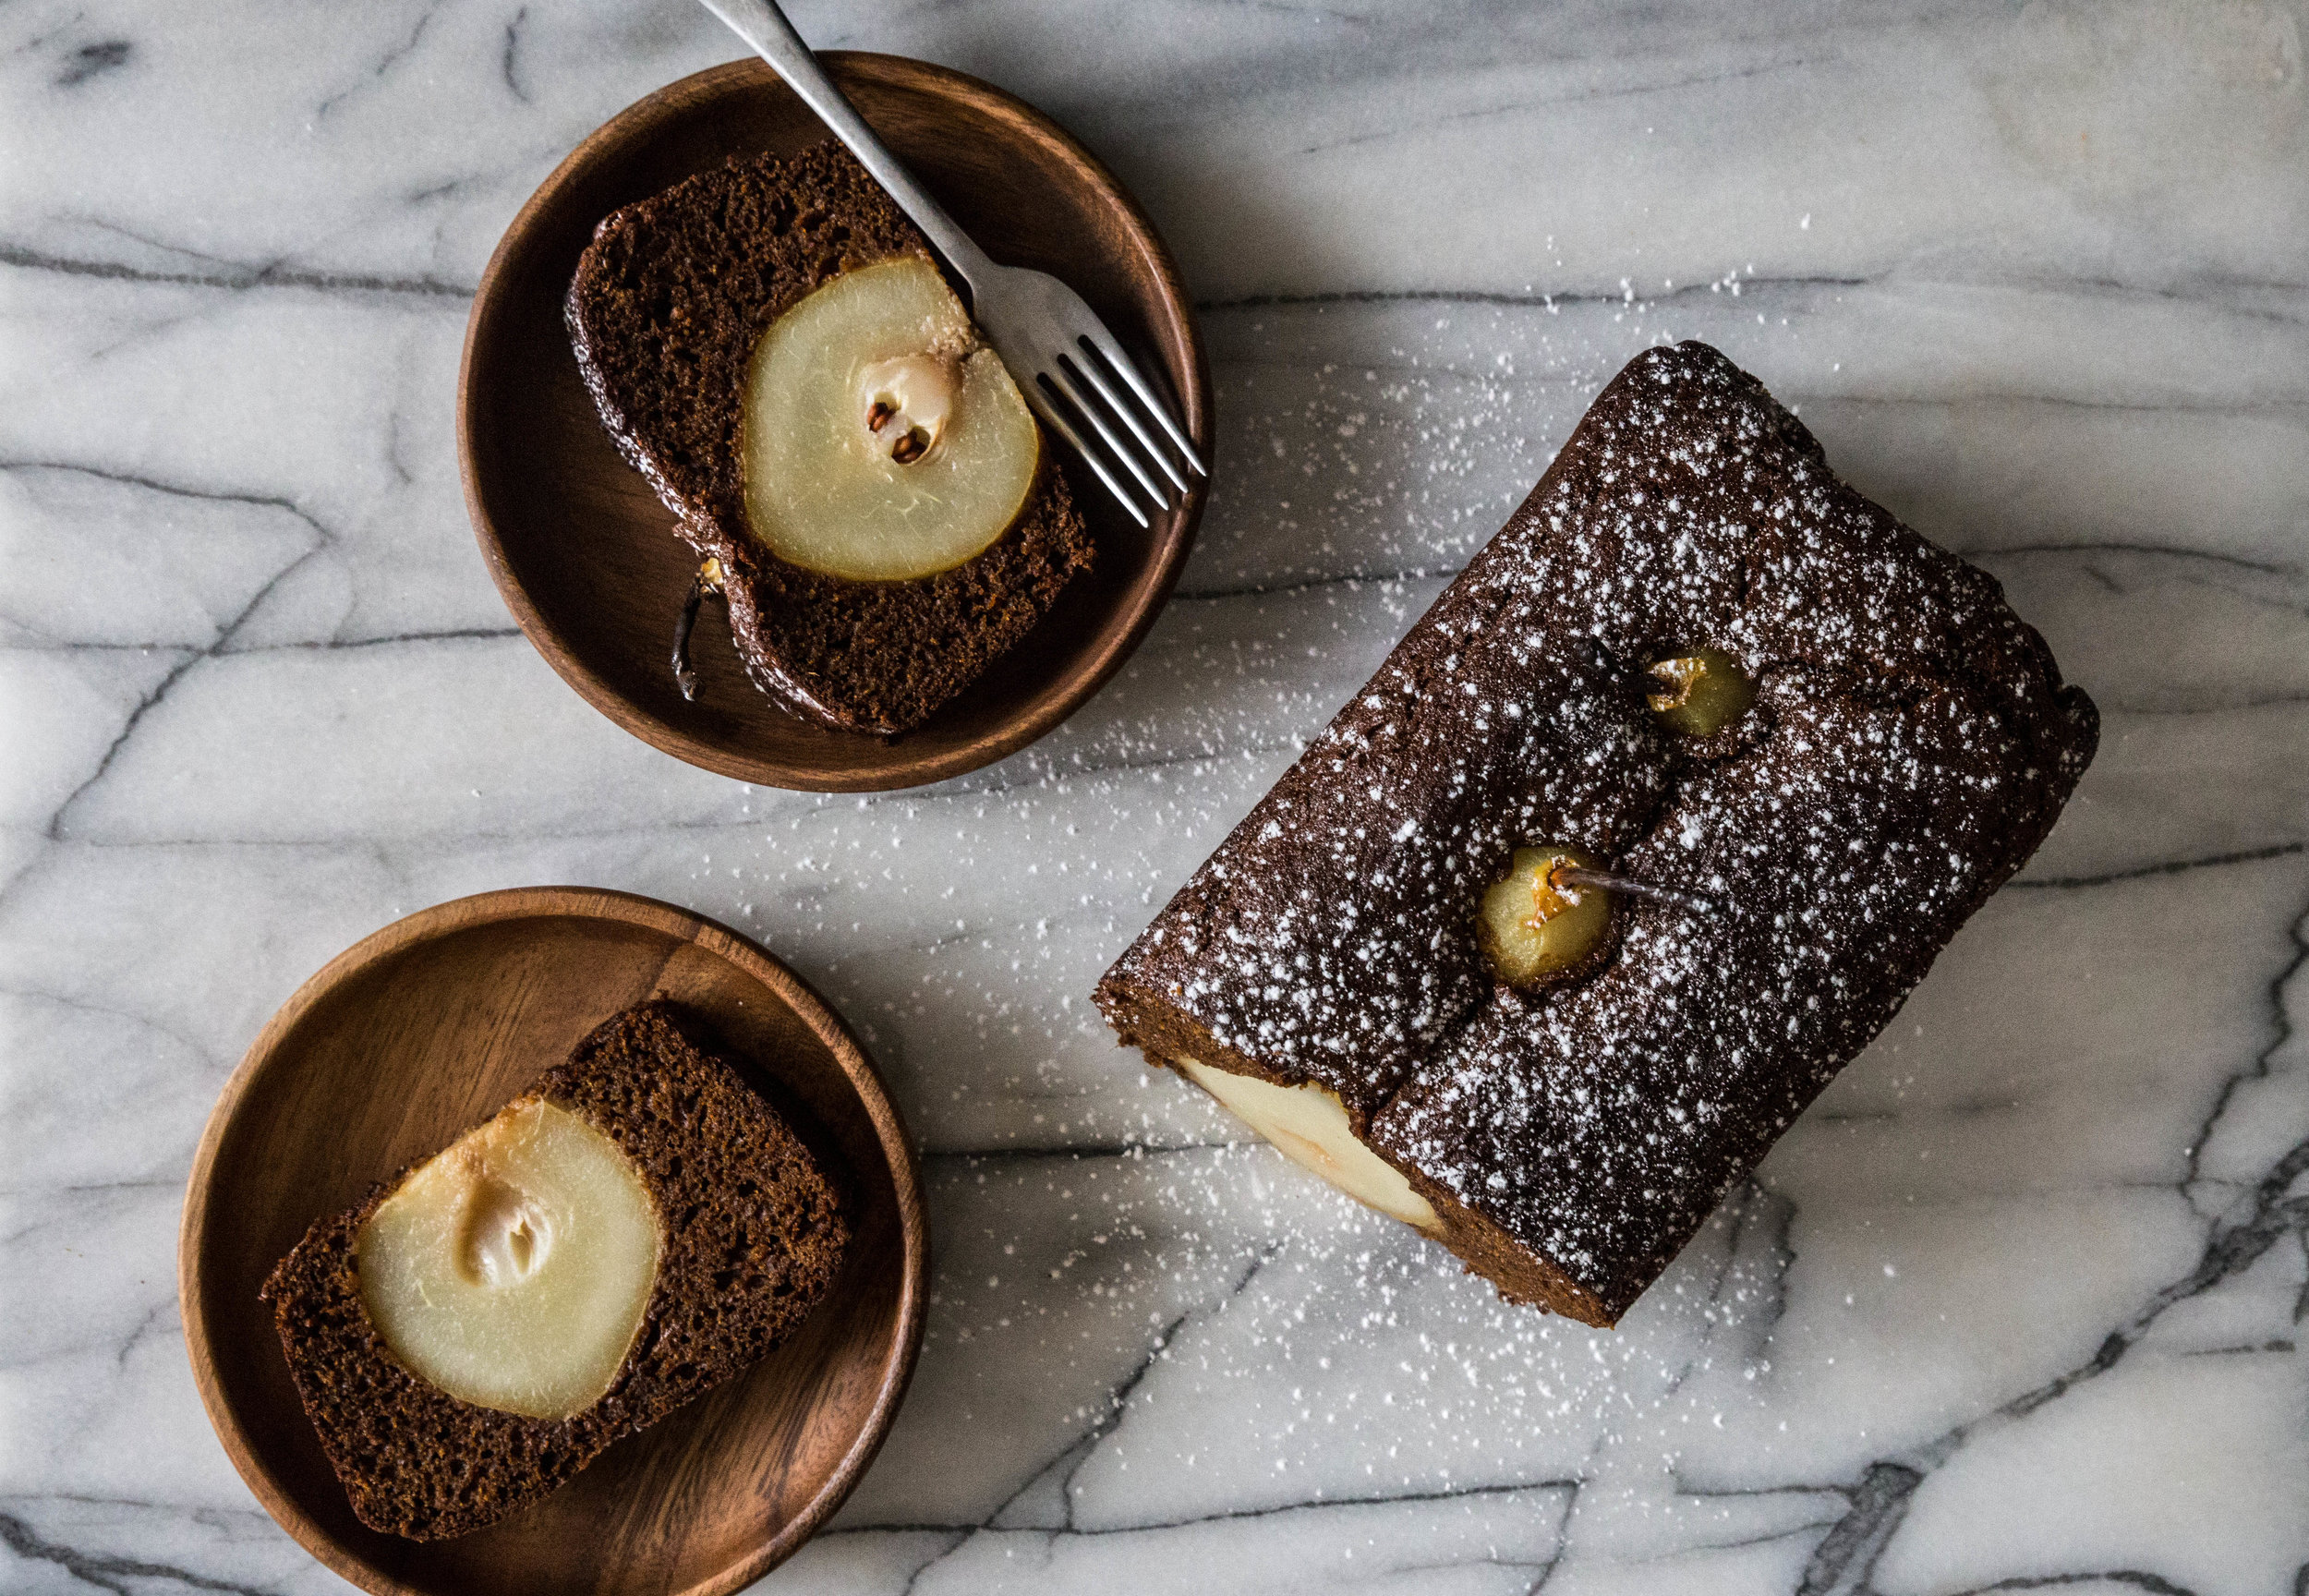
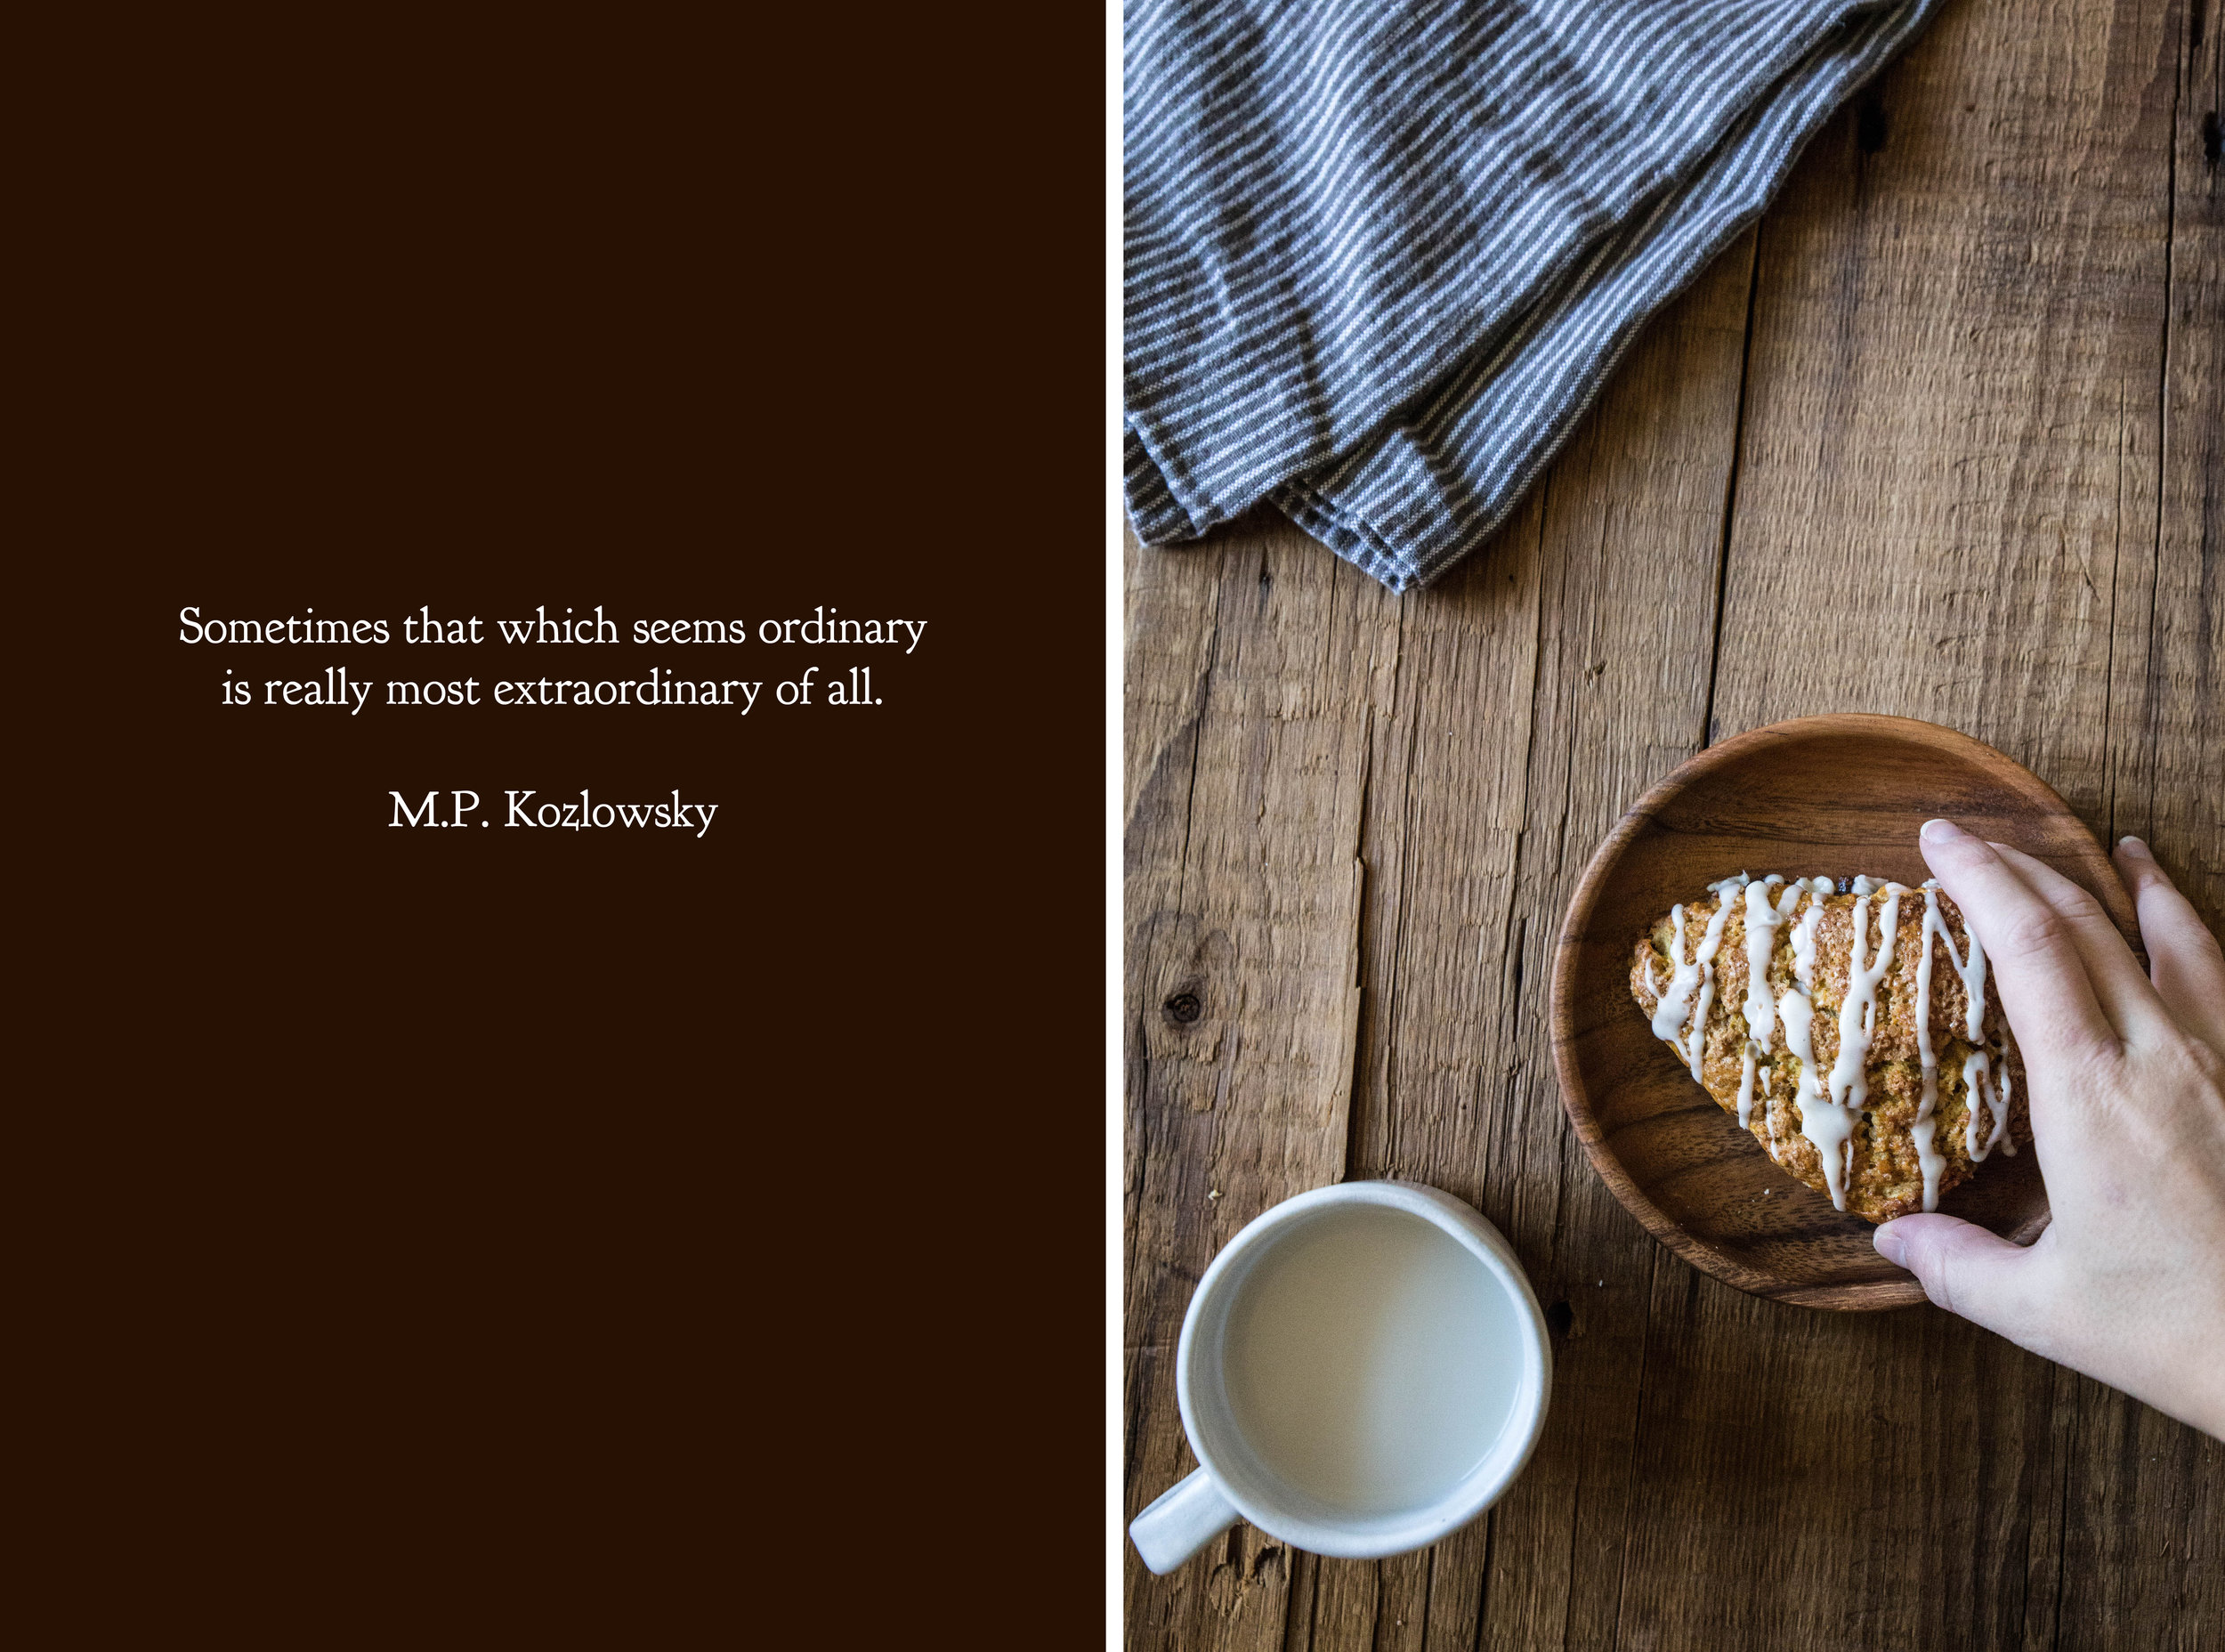
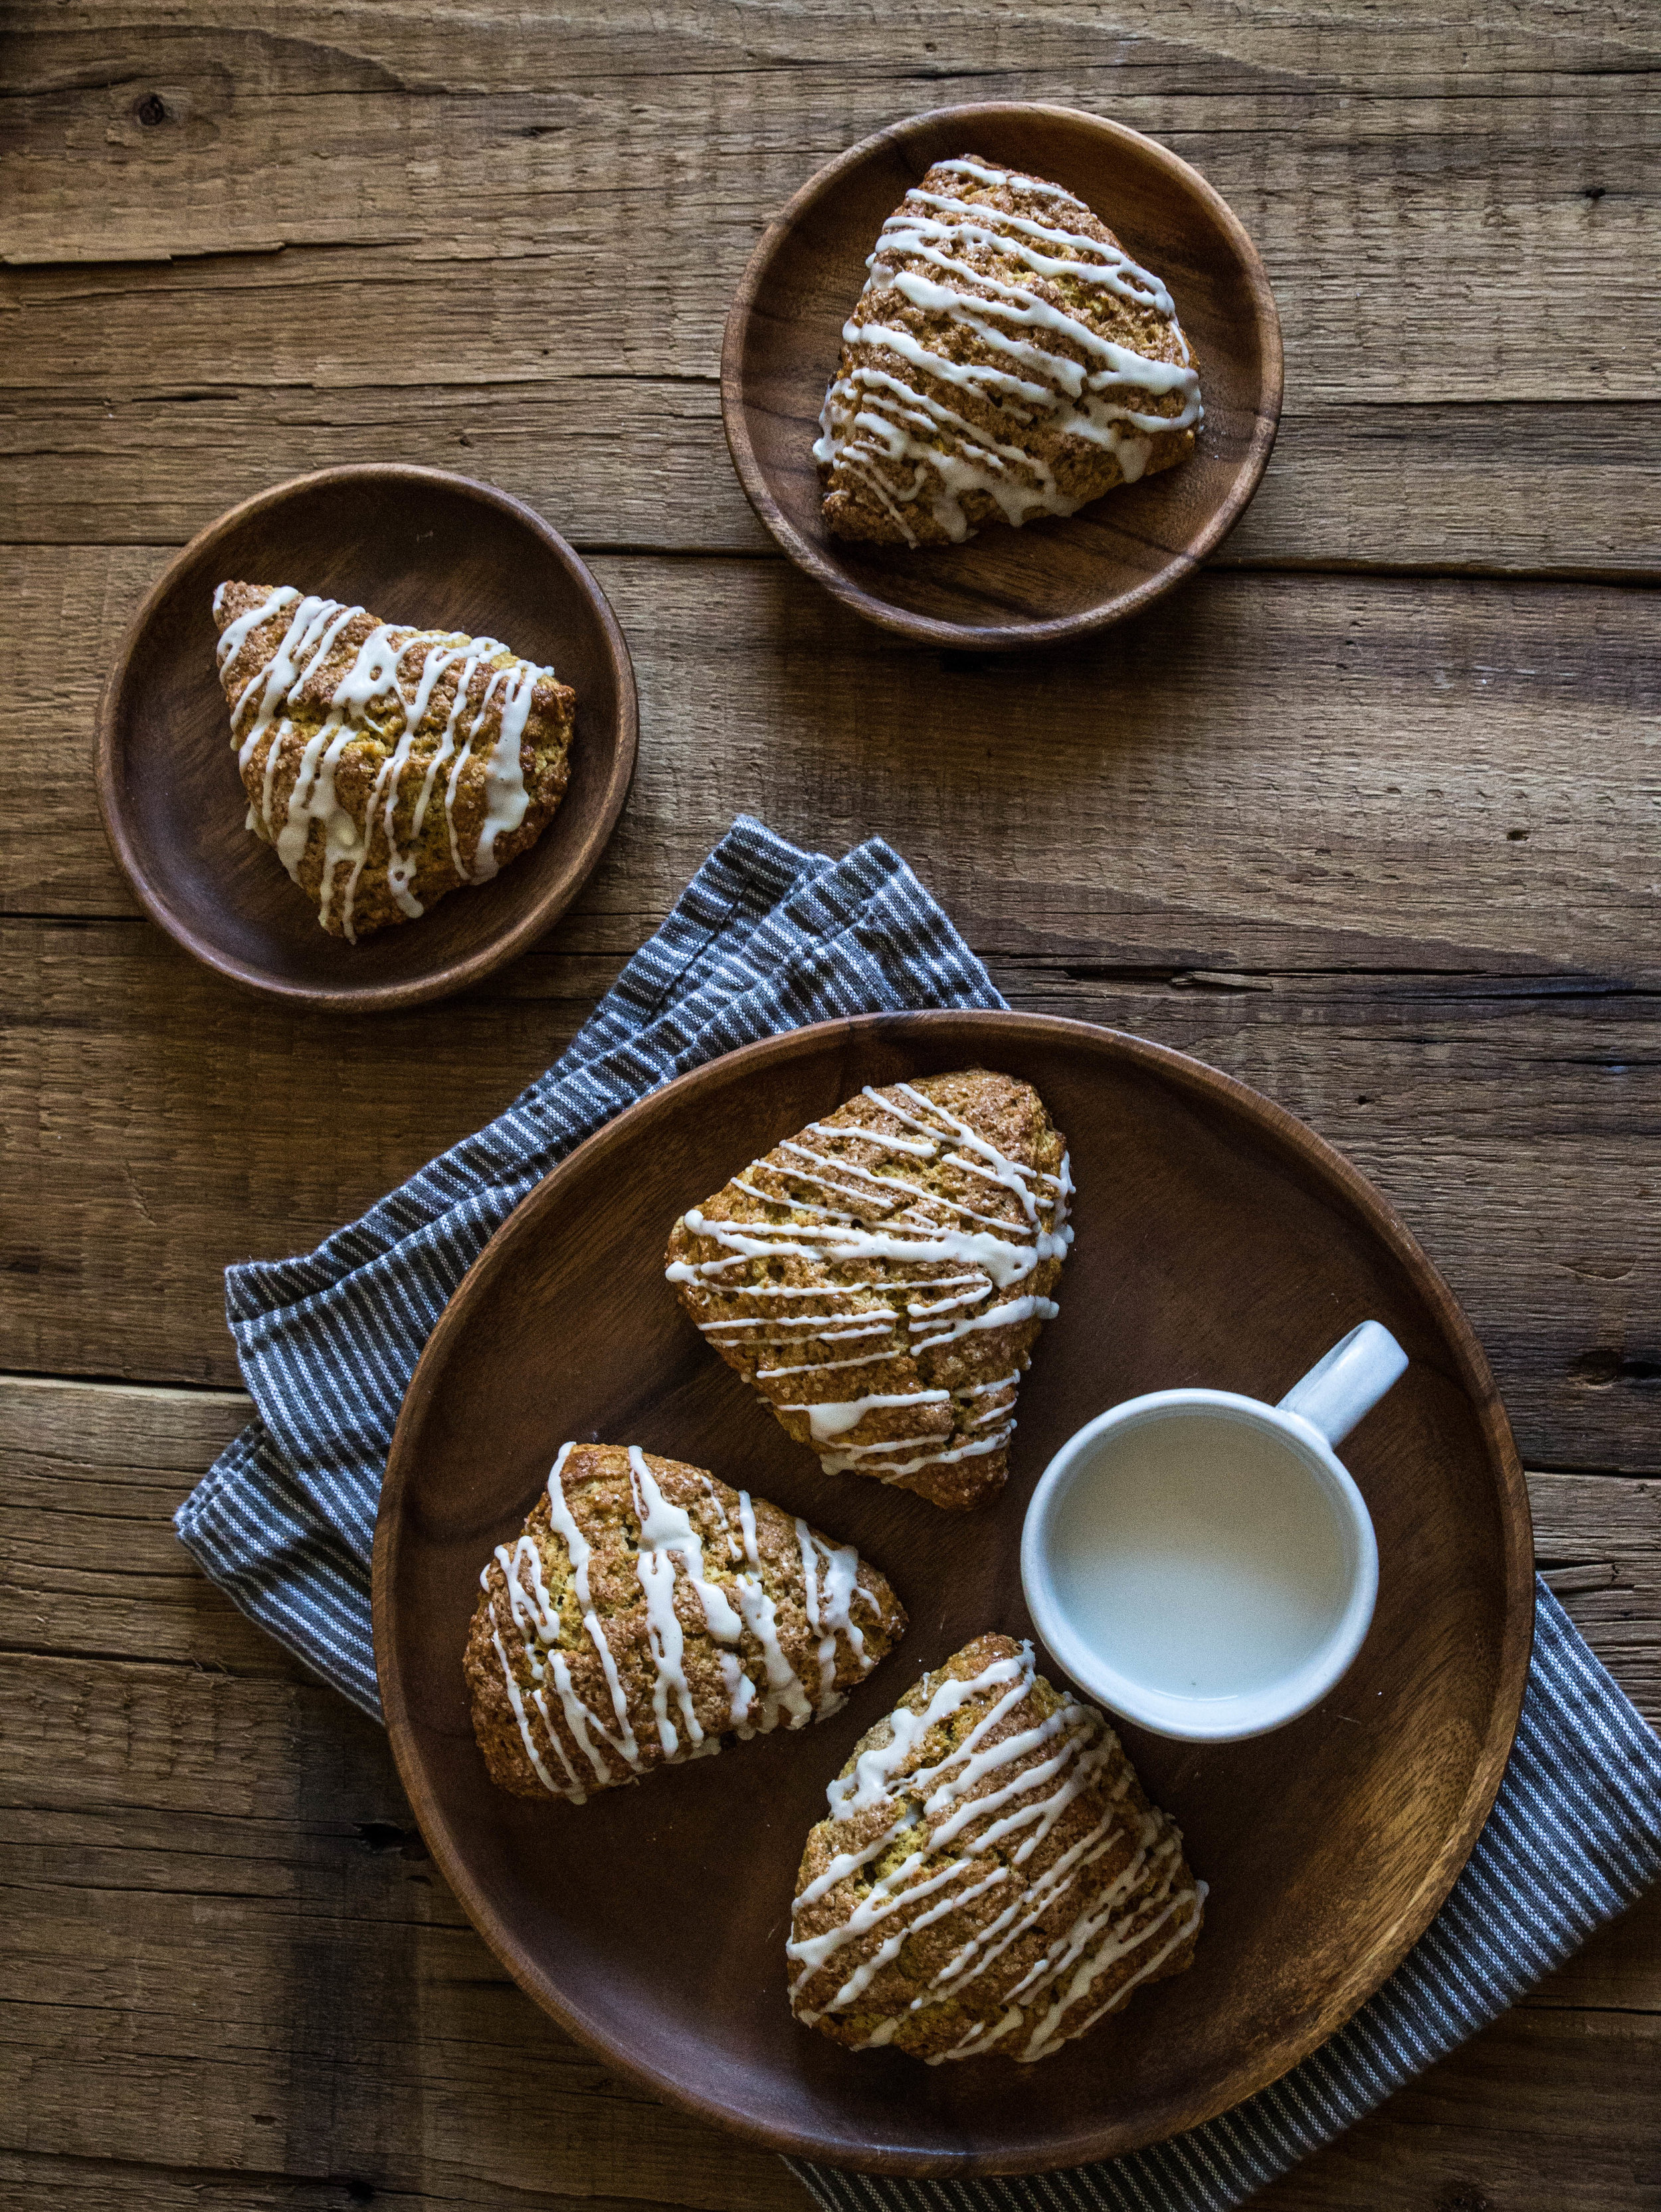
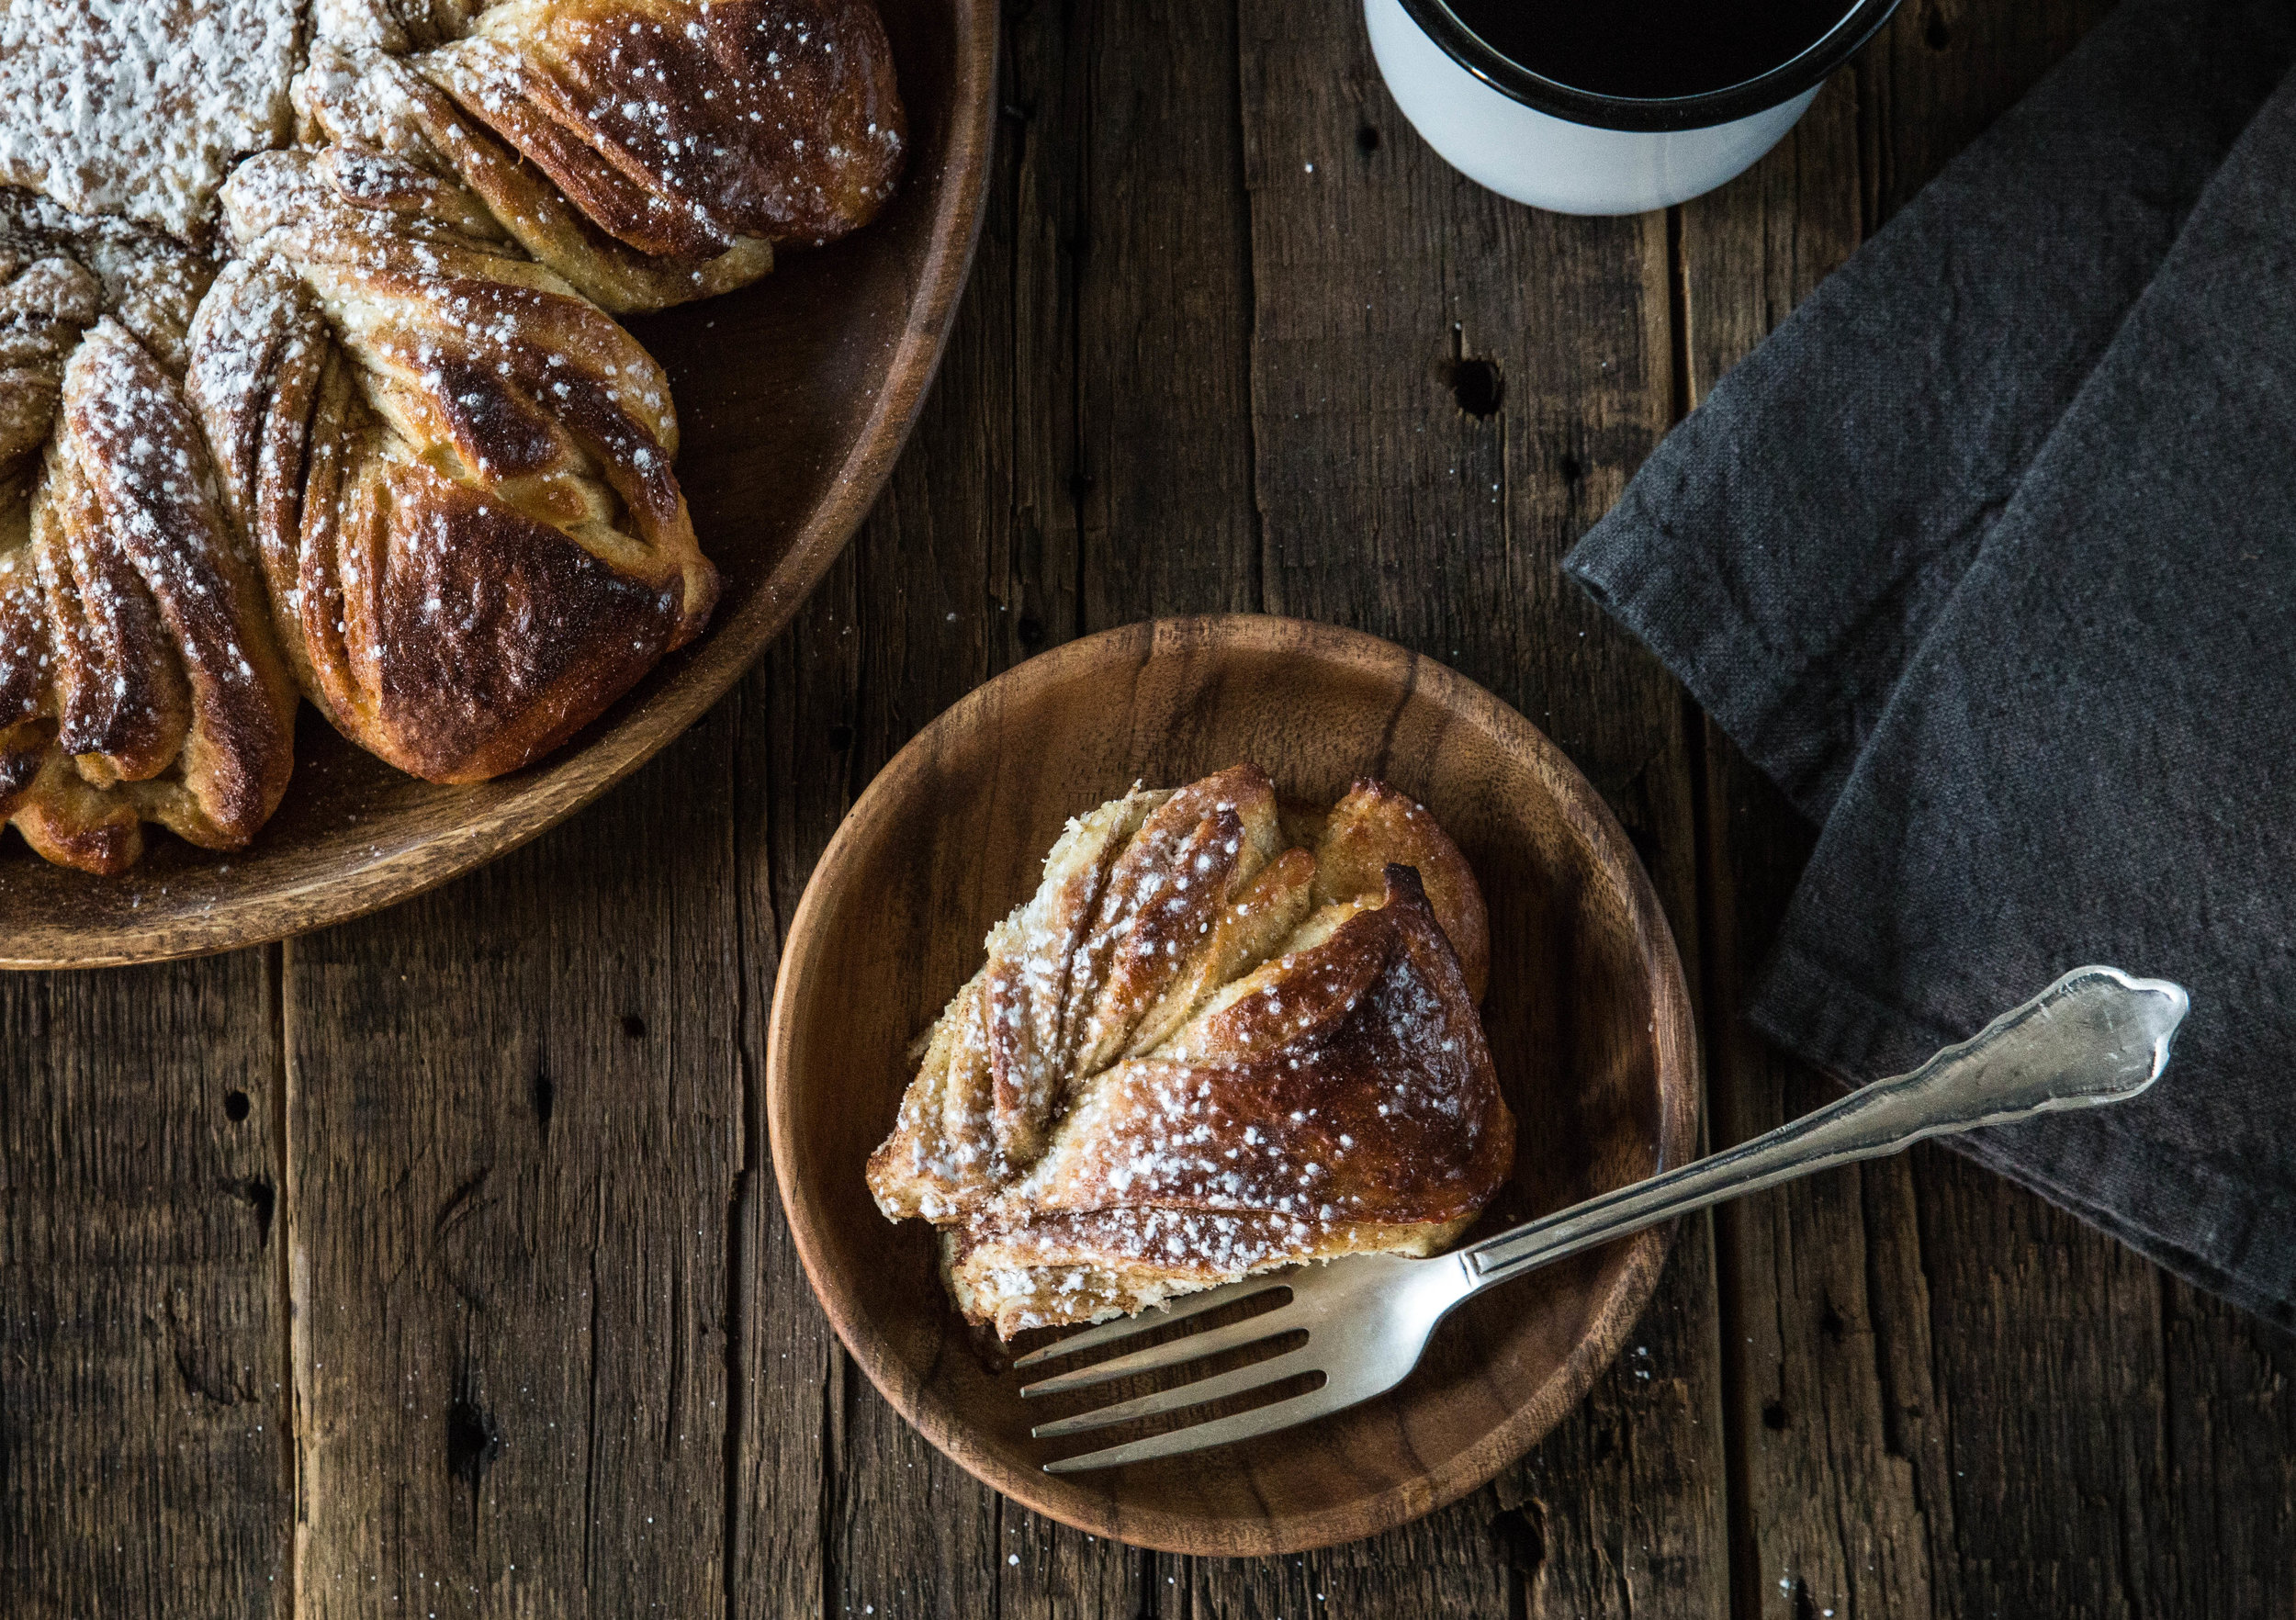
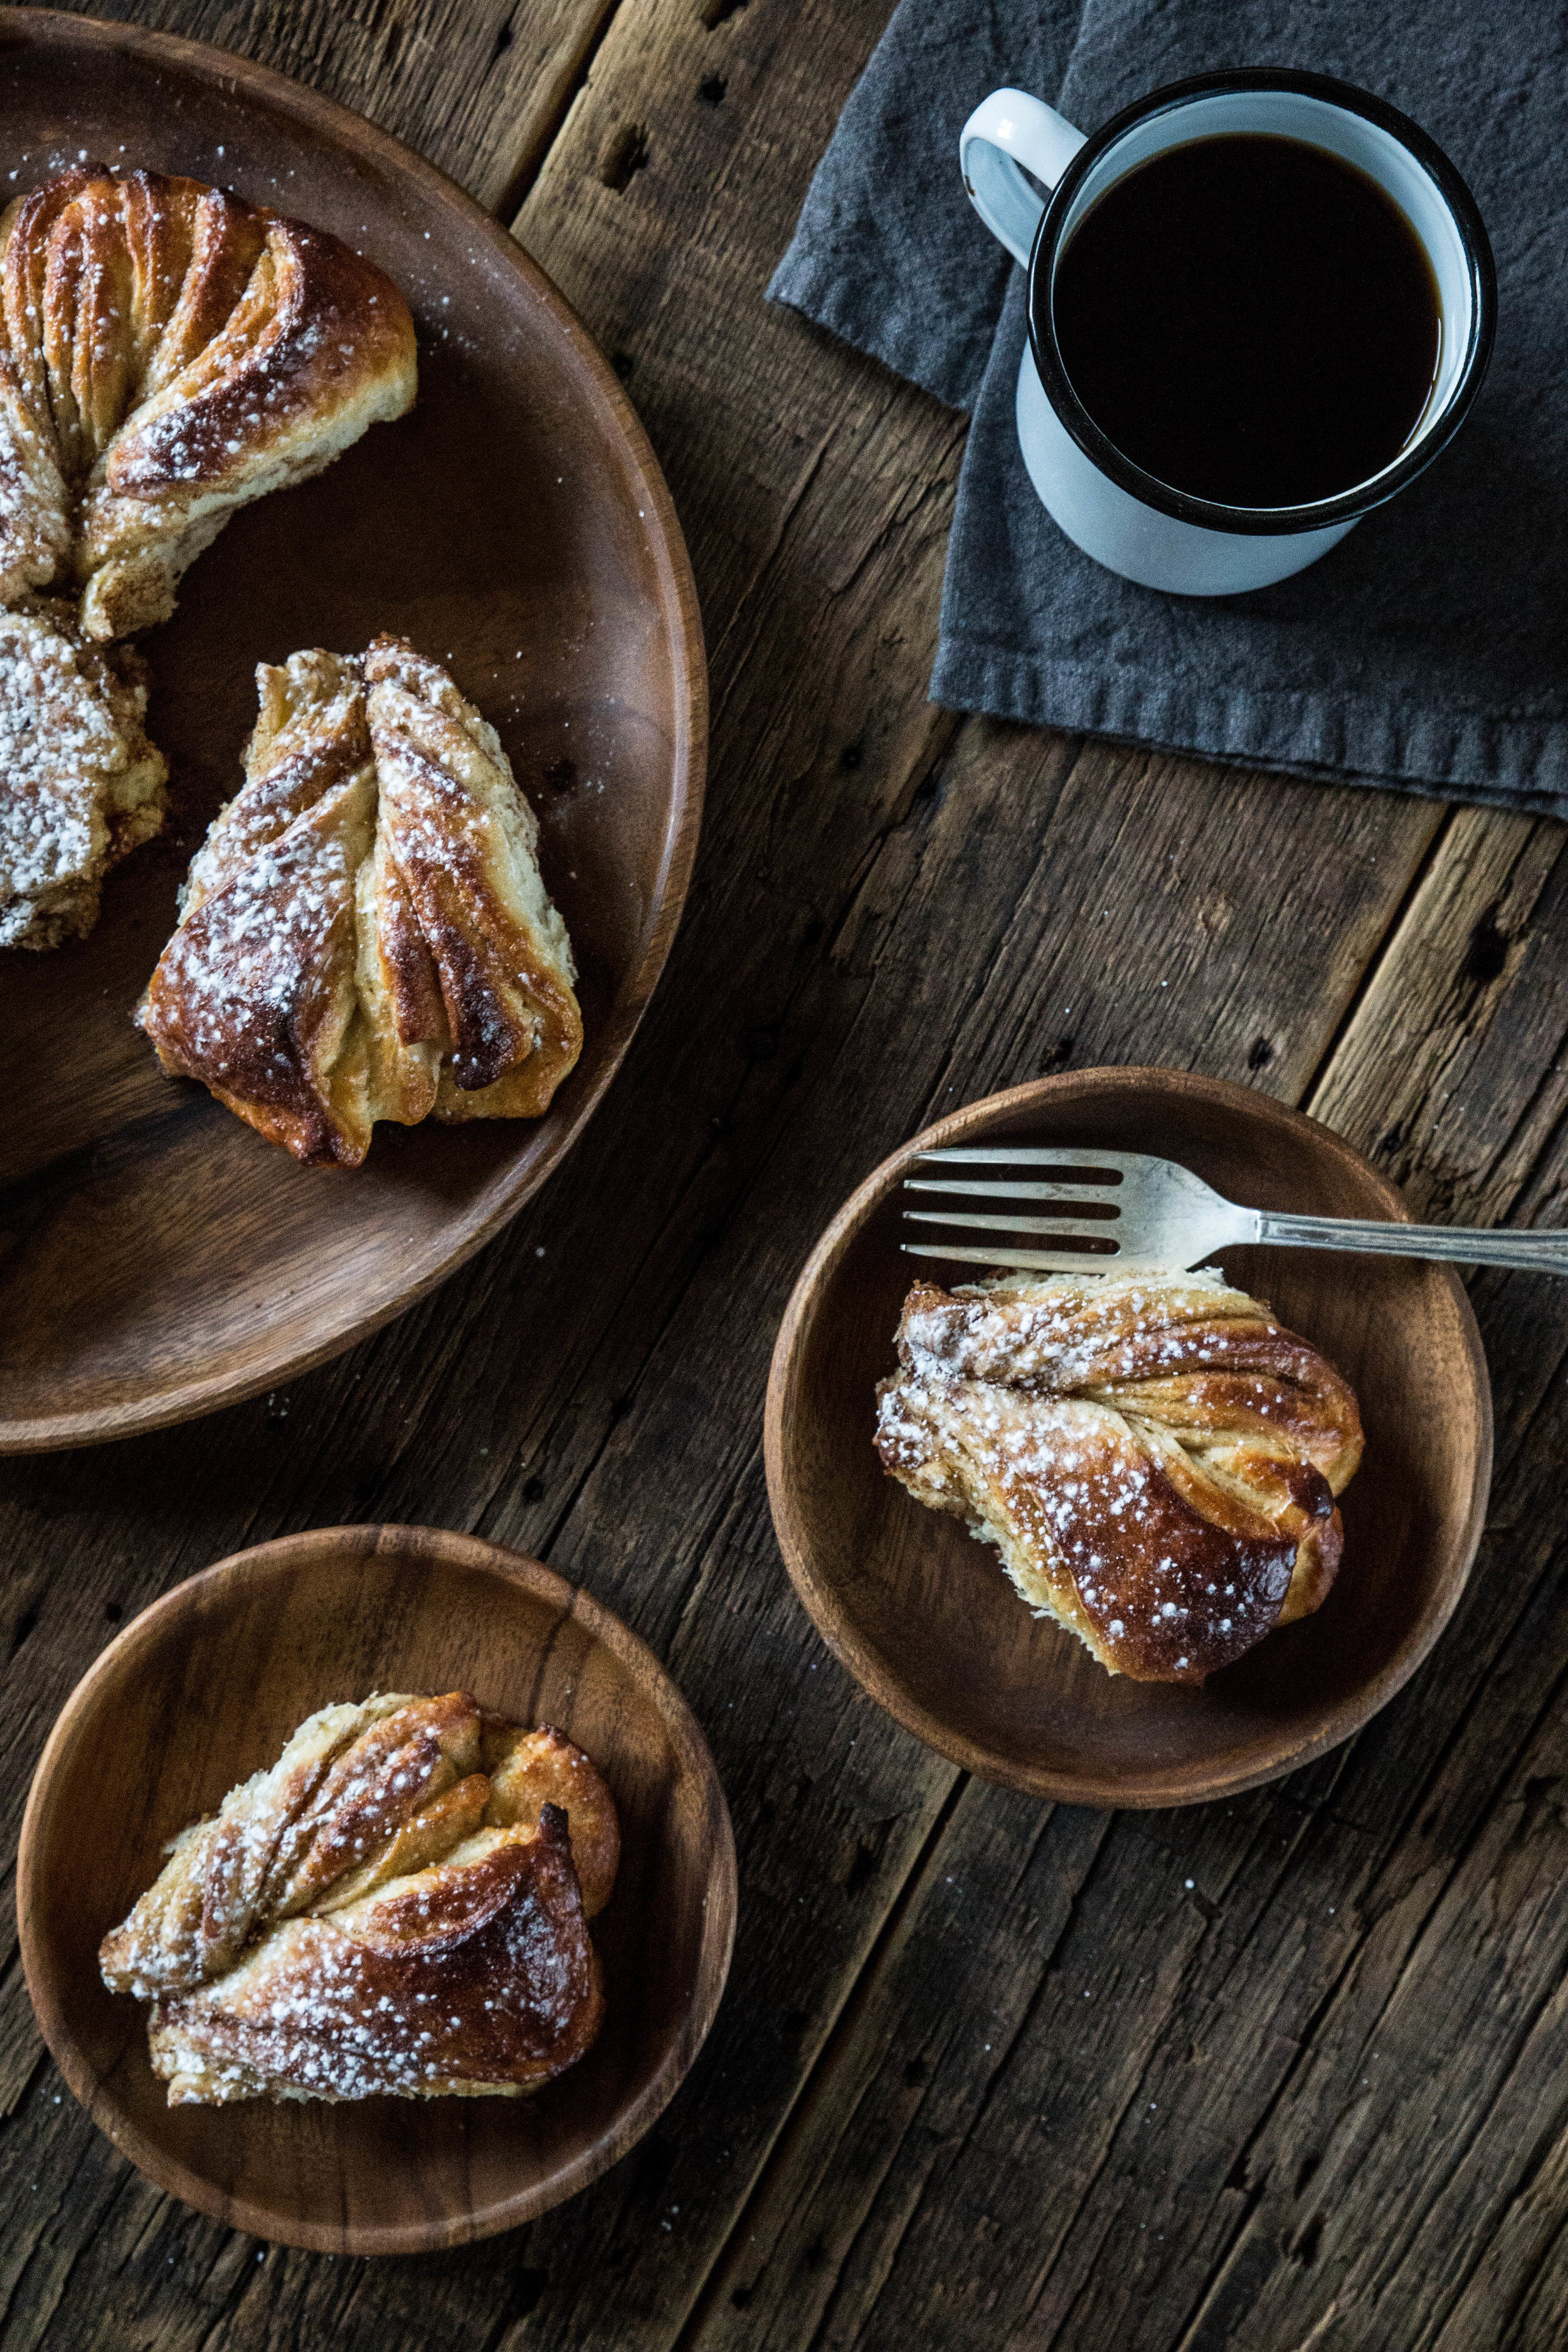
Sprinkle with powdered sugar after baking and serve warm. If you are feeling particularly festive, serve the bread alongside a mug of hot cocoa. In fact, I recommend it. 

For more of my favorite seasonal recipes from King Arthur Flour and additional baking tips, join me at their Holiday Table.

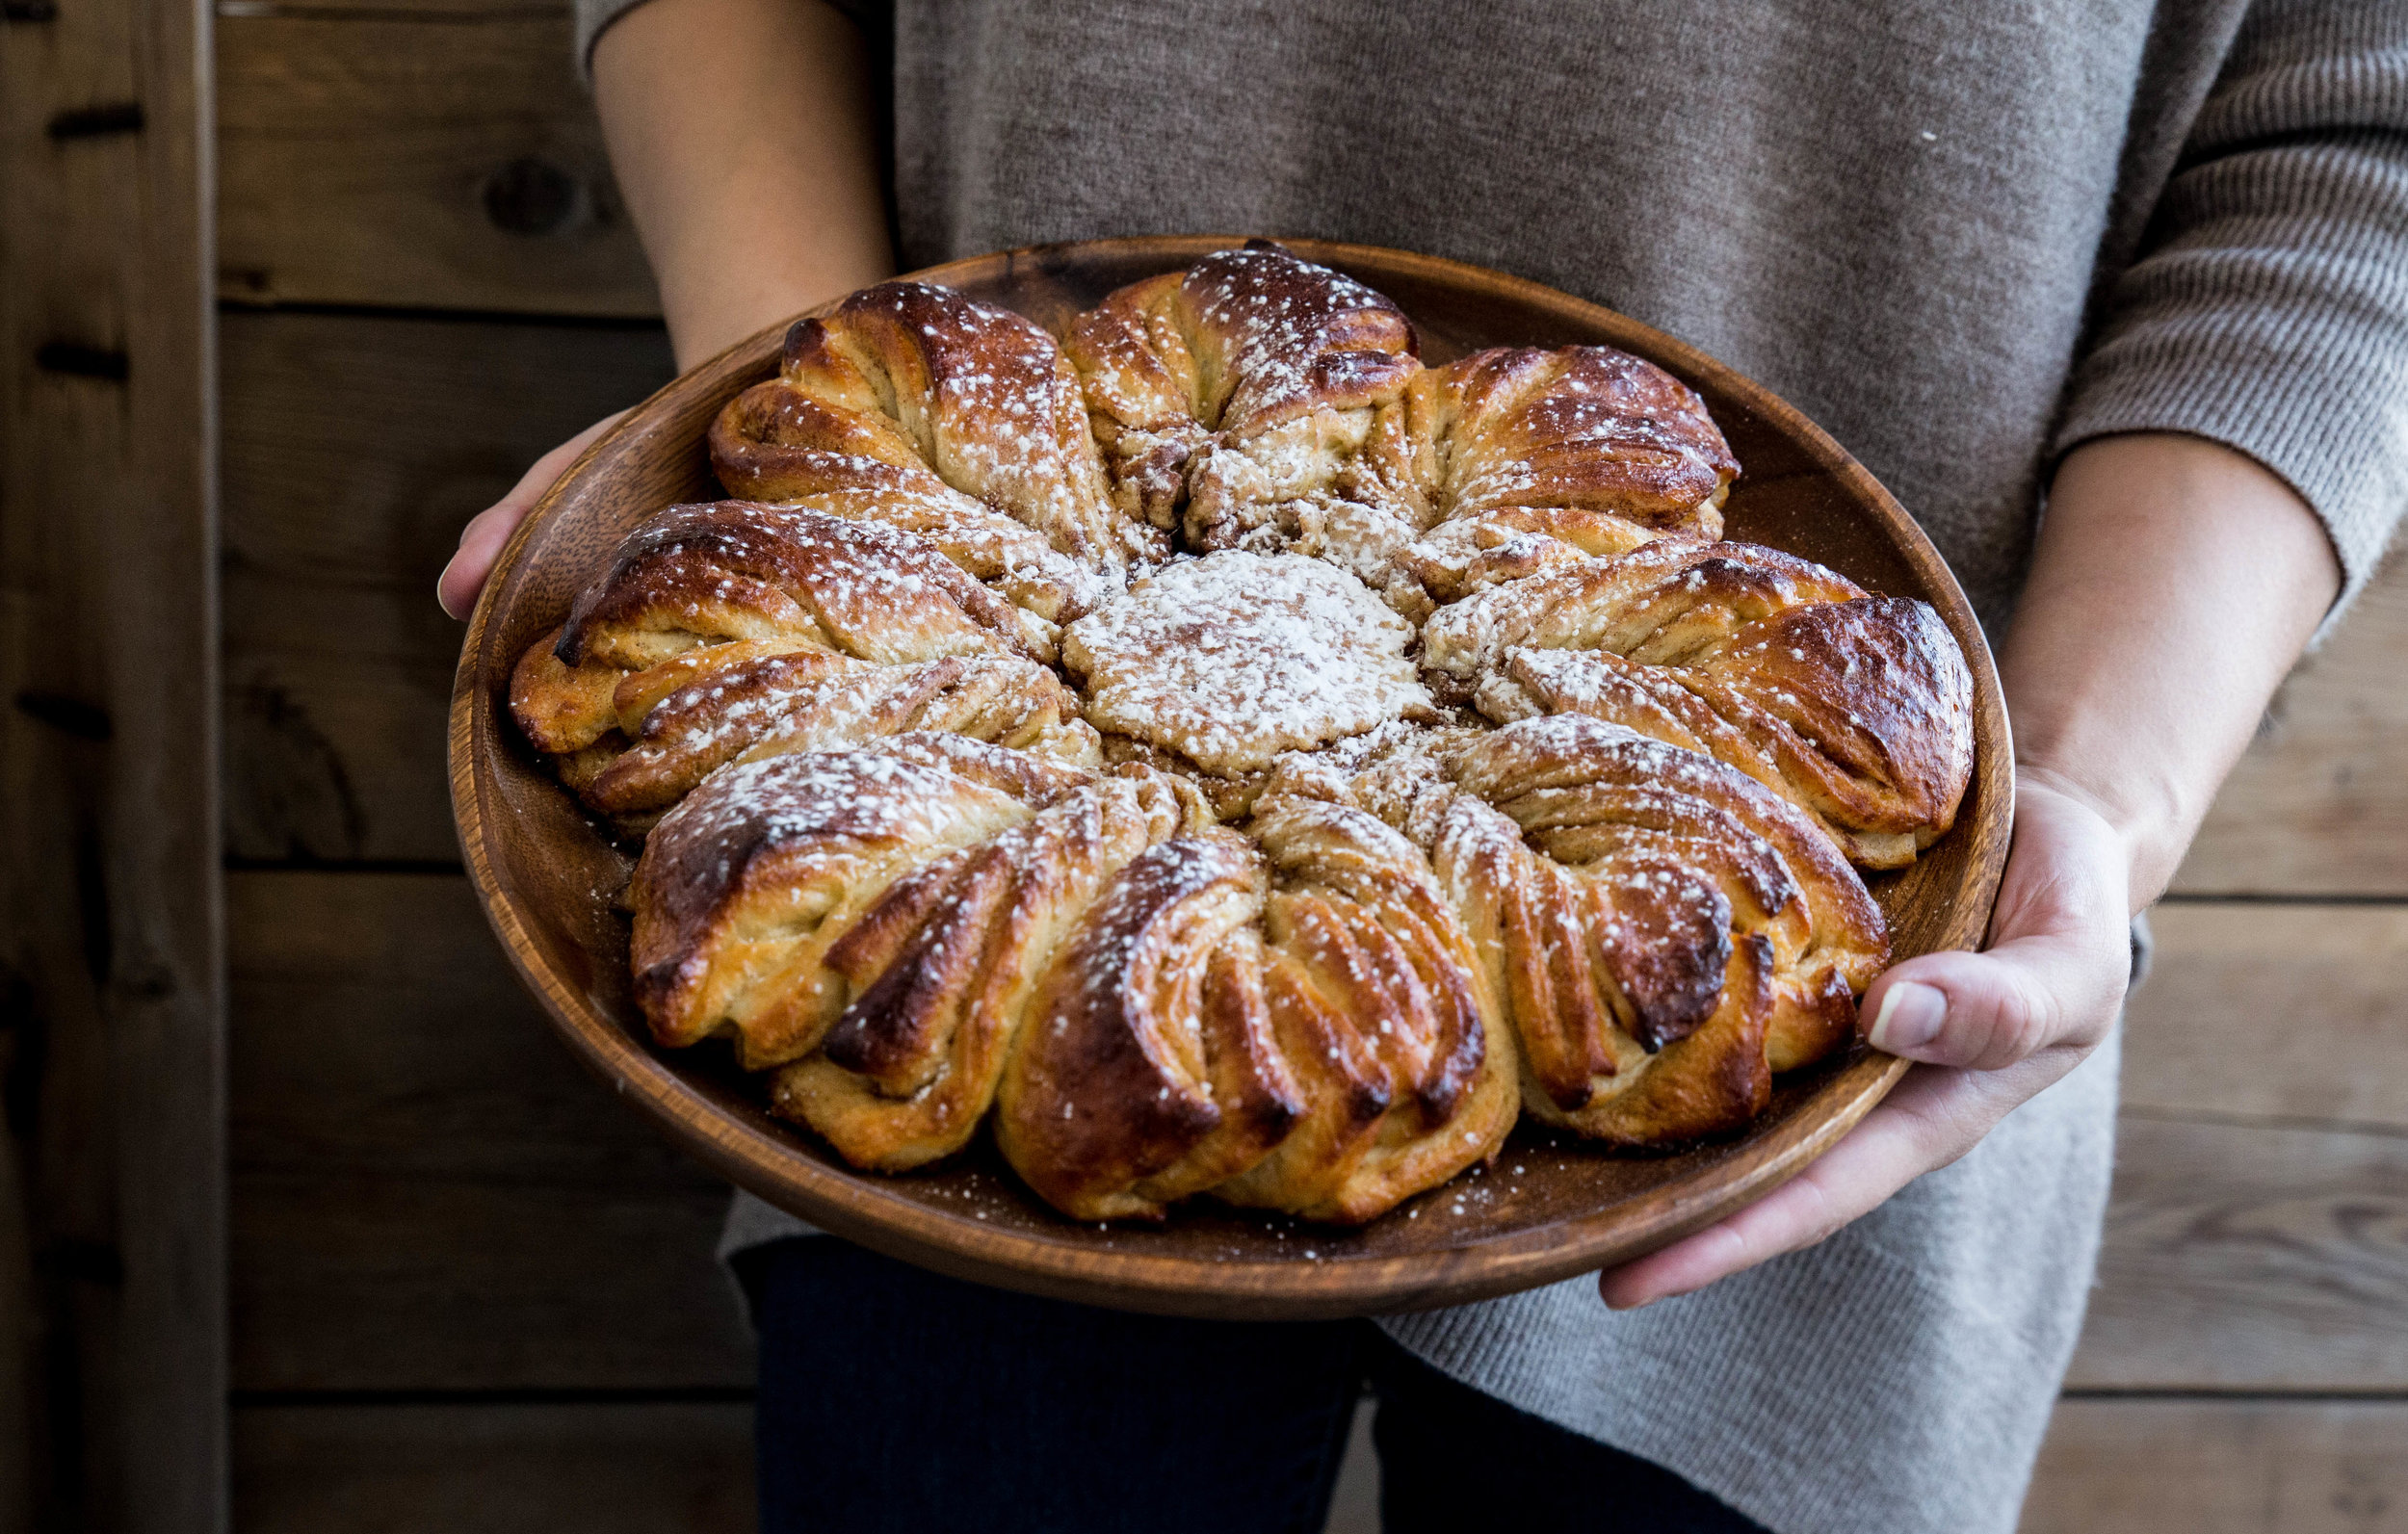
Cinnamon Star Bread is a pull-apart style bread that gives a twist to the classic cinnamon roll. The bread is layered with cinnamon sugar and twisted into a star shape. As the loaf bakes, the cinnamon sugar caramelizes the outside edges while the interior stays soft and tender. Sprinkle with powdered sugar and serve warm. Your friends and family will adore this sweet addition to your holiday table.

Cinnamon Star Bread
Recipe from King Arthur Flour

Yields 1 star loaf, or 8-12 servings

Dough
3/4 cup + 2 to 4 tablespoons (198-227 mL) lukewarm water, enough to make a soft, smooth dough
2 cups (241 grams) King Arthur Unbleached All-Purpose Flour
1/4 cup (4 tablespoons or 57 grams) unsalted butter, at room temperature
1 teaspoon Buttery Sweet Dough Flavor, optional; for enhanced flavor
2 teaspoons instant yeast, SAF Gold instant yeast preferred
2 tablespoons granulated sugar
1 teaspoon salt
1/4 cup (35 grams) Baker's Special Dry Milk or nonfat dry milk
1/4 cup (46 grams) potato flour or instant mashed potato flakes

Filling
1 large egg, beaten
1/3 cup (64 grams) cinnamon-sugar, or your own mix of cinnamon sugar*

To make the dough: Combine all of the dough ingredients and mix and knead — by hand, mixer, or bread machine — to make a soft, smooth dough. Place the dough in a lightly greased bowl, cover, and let it rise for 60 minutes, until it's nearly doubled in bulk.

Divide the dough into four equal pieces. Shape each piece into a ball, cover the balls, and allow them to rest for 15 minutes.

On a lightly greased or floured work surface, roll one piece of dough into a 10" circle. Place the circle on a piece of parchment, brush a thin coat of beaten egg on the surface, then evenly sprinkle with 1/3 of the cinnamon-sugar, leaving 1/4" of bare dough around the perimeter.

Roll out a second circle the same size as the first, and place it on top of the filling-covered circle. Repeat the layering process — egg, cinnamon sugar, dough circle — leaving the top circle bare.

Place a 2 1/2" to 3" round cutter in the center of the dough circle as a guide. With a bench knife or sharp knife, cut the circle into 16 equal strips, from the cutter to the edge, through all the layers.

Using two hands, pick up two adjacent strips and twist them away from each other twice so that the top side is facing up again. Repeat with the remaining strips of dough so that you end up with eight pairs of strips. Pinch the pairs of strips together to create a star-like shape with eight points. Remove the cutter.

Transfer the star on the parchment to a baking sheet. Cover the star and let it rise until it becomes noticeably puffy, about 45 minutes.

While the star is rising, preheat the oven to 400°F (or 205°C).

Brush the star with a thin coat of the beaten egg. Bake it for 12 to 15 minutes, until it's nicely golden with dark brown cinnamon streaks; the center should register 200°F (or 93°C) on a digital thermometer.

Remove the loaf from the oven and allow it to cool for about 10 minutes before serving.

* Stir together 1/3 cup granulated sugar with 4 teaspoons ground cinnamon for a homemade cinnamon sugar blend.

This post is sponsored through a partnership with King Arthur Flour. All thoughts and opinions are my own.

Poached Pear Gingerbread Loaf

The holiday season has arrived, with lights glowing and bells jingling. I spent the week of Thanksgiving visiting family, enjoying the food, and spending time in each other's company. It felt wonderful to get away from the everyday for awhile, to refresh and unwind in a familiar presence. Now that I am back home, I am finding it difficult to fall back into the daily routine (and even harder to wake up to the morning alarm). However, the excitement of the holiday season is in the air—on television, in stores, and on the faces of my students—which keeps the energy high. 

I haven't caught the holiday spirit yet, but I imagine spending more time in the kitchen baking up holiday classics will make the spirit easier to find.

The holiday season is one of my favorites for baking. While there will always be the traditional foods (like Grandma's Honey Cookies), I like to use the holidays as an excuse to try new ideas. When Wolf Gourmet asked me to test their countertop oven, it felt like permission to play in the kitchen. I currently live in a small, one bedroom apartment, where space comes at a premium. I initially thought I would store the countertop oven in the closet when it wasn't in use, but I use it so often now that it found a permanent place in my kitchen.

This countertop oven is great for baking, but I use it just as often to heat up a quick dinner. It takes much less time to heat up (and is much more energy efficient than my current standard conduction oven). The countertop oven also has a "Proof" setting, which is a low-temperature setting that helps yeast dough rise faster than it would at room temperature. I have tried to mimic this setting in my standard oven without success, so my yeast doughs—whether pizza or bread—find their way in the countertop oven too. 

My favorite oven setting by far is convection. The convection setting circulates the air in the oven, which provides more uniform heating and reduces baking time up to twenty-five percent over a standard conduction oven. When I first made this Poached Pear Gingerbread Loaf, the loaf cake baked in 40 minutes instead of the usual 55 minutes. The convection setting also allows the food to bake more evenly, which means that my loaf cake was tender all the way through (my standard conduction oven tends to overbake the outside before the inside is done).

The countertop oven is relatively small (after all, it does fit on the countertop), which limits what you can fit inside. It will not fit half sheet pans or a few of my unusually shaped pans, but it will fit a standard 9 x 13-inch pan, which accomodates most dishes or desserts you will bake. The standard kitchen oven is not replaced, but the countertop oven can complement your current oven, especially during the holiday season when having more than one oven for baking or entertaining is ideal.

Edit: Giveaway closed.

Poached Pear Gingerbread Loaf is a cake with sophisticated flavors. Pears are poached in spices and white wine, rendering them soft and sweet. The poached pears are placed in a loaf pan and surrounded with gingerbread cake batter. The gingerbread is made with fresh ginger, which lends a bold, spiced profile to the cake. The pears bake up beautifully in the loaf cake, adding a soft contrast to the strong flavors of the cake. Drizzle each slice with white wine syrup before serving.

Two Years Ago: Almond Espresso Cookies
Three Years Ago: Pumpkin Streusel Muffins & Cranberry Upside Down Cake
Four Years Ago: Gingerbread Muffins, Persimmon Cake, Lemon Cranberry Scones, & Chocolate Pomegranate Tart
Five Years Ago: Pumpkin Chocolate Granola Bars, Banana Cocoa SmoothiePumpkin Panna Cotta, & Honey Cookies
Six Years Ago: Sugar-Coated Daydreams, Blueberry Brownies, & Pear Chips

Poached Pear Gingerbread Cake

Yields 1 loaf

Poached Pears
3 Bosc or Bartlett pears, peeled with stems left on
1 bottle (750 mL) white wine
1/2 cup (100 grams) granulated sugar
1 cup (250 mL) water
1 vanilla bean, cut in half and seeds scraped
Peel from 1/2 an orange
3 cinnamon sticks

In a medium saucepan, combine all ingredients and heat until boiling. Reduce heat and simmer for 15-20 minutes, or until a knife easily pierces the pears. Remove pears and set aside.

Run remaining liquid through a fine mesh strainer to remove solids and continue to simmer the liquid until it thickens into a syrup that can coat the back of a spoon, about 45 minutes.

Gingerbread Loaf Cake
1/2 cup (120 mL) dark molasses
2/3 cup (140 grams) dark brown sugar, packed
1/2 cup (120 mL) vegetable oil
2 large eggs
1 teaspoon baking soda
1 teaspoon baking powder
1 1/2 tablespoons freshly grated ginger, lightly packed
1 teaspoon ground cinnamon
1/2 teaspoon ground nutmeg
1/2 teaspoon ground cloves
1/4 teaspoon ground black pepper
1/4 teaspoon salt
2 cups (240 grams) all-purpose flour
2/3 cup (170 mL) milk

Preheat oven to 350 degrees F (180 degrees C). Line a 10 x 4-inch loaf pan with parchment (it helps to transfer the loaf after baking), grease lightly, and set aside.

In a large mixing bowl, mix together the molasses, brown sugar, and vegetable oil. Whisk in the eggs. Stir in the baking soda, baking powder, spices, and salt. Alternately, fold in the flour and stir in the milk until uniform. 

Place poached pears in prepared pan and spoon gingerbread batter around the pears. Bake for 50-60 minutes, or until a tester inserted into the cake comes out clean. Cool for 10 minutes before using parchment to transfer loaf to a cooling rack to cool completely.

To serve, dust loaf with powdered sugar and drizzle each slice with poached pear syrup.

Disclosure: A complimentary countertop oven was provided for review by Wolf Gourmet. As always, all thoughts and opinions are my own.

Maple Glazed Pumpkin Scones

I opened my first can of pumpkin earlier this week. This annual event may be arriving too late in the season for some (especially you, PSL lovers), but the pumpkin and spices are finally starting to feel right for me. After a rough start to the season, I am focused back on the present, living moment by moment in the ups and downs of daily life.

The weather has been unusually warm for this time of year, supporting short-sleeved shirts instead of winter jackets, and long walks on paved park paths instead of treks through ankle-deep snow drifts. While I would normally be snuggling up on the couch and settling in for the long, cold months, I have been out and about instead, enjoying the respite from winter and enjoying the extended autumn warmth. I may be late to the pumpkin party this year, but I believe it's better to show up late than to never arrive. 

During the holiday season, I like to keep a few scones in the freezer for unexpected moments—when a guest drops by without warning or an unforeseen event pops up on the calendar. The scones can be frozen once shaped and sugar sprinkled. When the unexpected moment arrives, remove the scones from the freezer and bake in a preheated oven. The frozen scones may take a minute or two longer in the oven to bake, but the finished pastries make the wait worthwhile.

I suggest making a double batch: half to eat now and half to freeze for later. There is plenty of scone love to go around.

Maple Glazed Pumpkin Scones deliver classic autumn flavors in a warm, tender pastry for breakfast or an afternoon snack. The pumpkin scones are spiced and sweetened with brown sugar. Before baking, the scones are sprinkled with raw sugar to give the top of the scones a nice crunch. The maple glaze is optional, but it adds an extra level of sweetness and dimension of flavor which finishes off the scones just right.

One Year Ago: Caramel Apple Crumble Pie, & Rosemary Olive Bread
Two Years Ago: Maple Syrup Cake, & Pumpkin Pie (Dairy Free)
Three Years Ago: Butternut Squash Biscuits, Apple Crisp, & Pumpkin Spiced Doughnuts
Four Years Ago: Pumpkin Rolls, Butternut Squash Cake, Baked Apples, Filled Molasses Cookies, & Marbled Squash Bread
Five Years Ago: Grandma's Applesauce, Honey Cinnamon Chickpeas, Caramel Apple Tart, & Banana Espresso Muffins
Six Years Ago: Apple Chips, Fresh Ginger Pear Cake, Pumpkin Spice Oatmeal, & Raspberry Vanilla Bean Creme Brulée

Maple Glazed Pumpkin Scones

Yields 8 scones

Pumpkin Scone
2 cups (250 grams) all-purpose flour
1/4 cup (50 grams) brown sugar, packed
1 tablespoon baking powder
1/2 teaspoon ground cinnamon
1/4 teaspoon ground cloves
1/4 teaspoon ground ginger
1/4 teaspoon ground nutmeg
1/2 teaspoon salt
1/2 cup (113 grams) butter, cubed
1/2 cup (126 grams) canned pumpkin (or pumpkin purée)
1 teaspoon vanilla extract
1 large egg
1/4 cup (60 ml) heavy cream, plus extra for brushing
Raw sugar (turbinado or demerara sugar) for sprinkling, optional

Maple Glaze
1/2 cup (55 grams) powdered sugar
2 tablespoons pure maple syrup
1 teaspoon milk

In a large mixing bowl, whisk together flour, brown sugar, baking powder, spices, and salt. Cut in butter with pastry blender (or your hands) until mixture resembles coarse sand. Set aside.

In a small bowl, beat together canned pumpkin, egg, vanilla, and heavy cream. Pour over the scone batter and lightly mix until the dough comes together. The dough will be relatively sticky.

Turn out dough onto a lightly floured surface. Using floured hands, form the dough into a circle and flatten it until it is about 1-inch thick. Using a sharp knife dipped in flour, cut 8 equal pie wedges. Transfer scones to a baking sheet using a flat spatula dipped in flour. Place in freezer for 1/2 hour before baking.

Preheat oven to 425 degrees F (220 degrees C).

Brush top of scones with heavy cream and sprinkle with raw sugar. Bake for 18-20 minutes, or until lightly browned.

To make the glaze, stir together the powdered sugar, maple syrup, and milk. If too thick, add additional milk by the 1/2 teaspoon until the glaze drizzles in a continuous stream off the edge of a spoon. Drizzle glaze over cooled scones and allow glaze to set for 15 minutes before serving.