Strawberry Scones
/
The rains of spring have arrived with determination, filling the forecast with a week of gray, overcast skies. After a long winter of snow and cold weather, I forget how much I enjoy the sound of the rain drumming against the window panes and sloshing through the gutters. In the last evening downpour, I threw open the windows and turned on the fan, bringing the deep scent of earth into the apartment. I curled up in bed with a book, eventually lulled to sleep by the steady beat of raindrops overhead.
Rainy days are my excuse to set aside the busy schedule and curl up indoors instead. The pace of a slow day is rehabilitating in a dozen small, but significant ways. These heavy gray skies may soon feel monotonous, but for now I am reveling in these moments before the heat descends.
Once the winter season of citrus passes, I am anxious for spring produce to arrive. It is still early in the season for fresh strawberries, at least in the Midwest, but my impatience cannot always be tamed. After sorting through the tubs at the market, I found dark red berries with a sweet scent. For now, these would do.
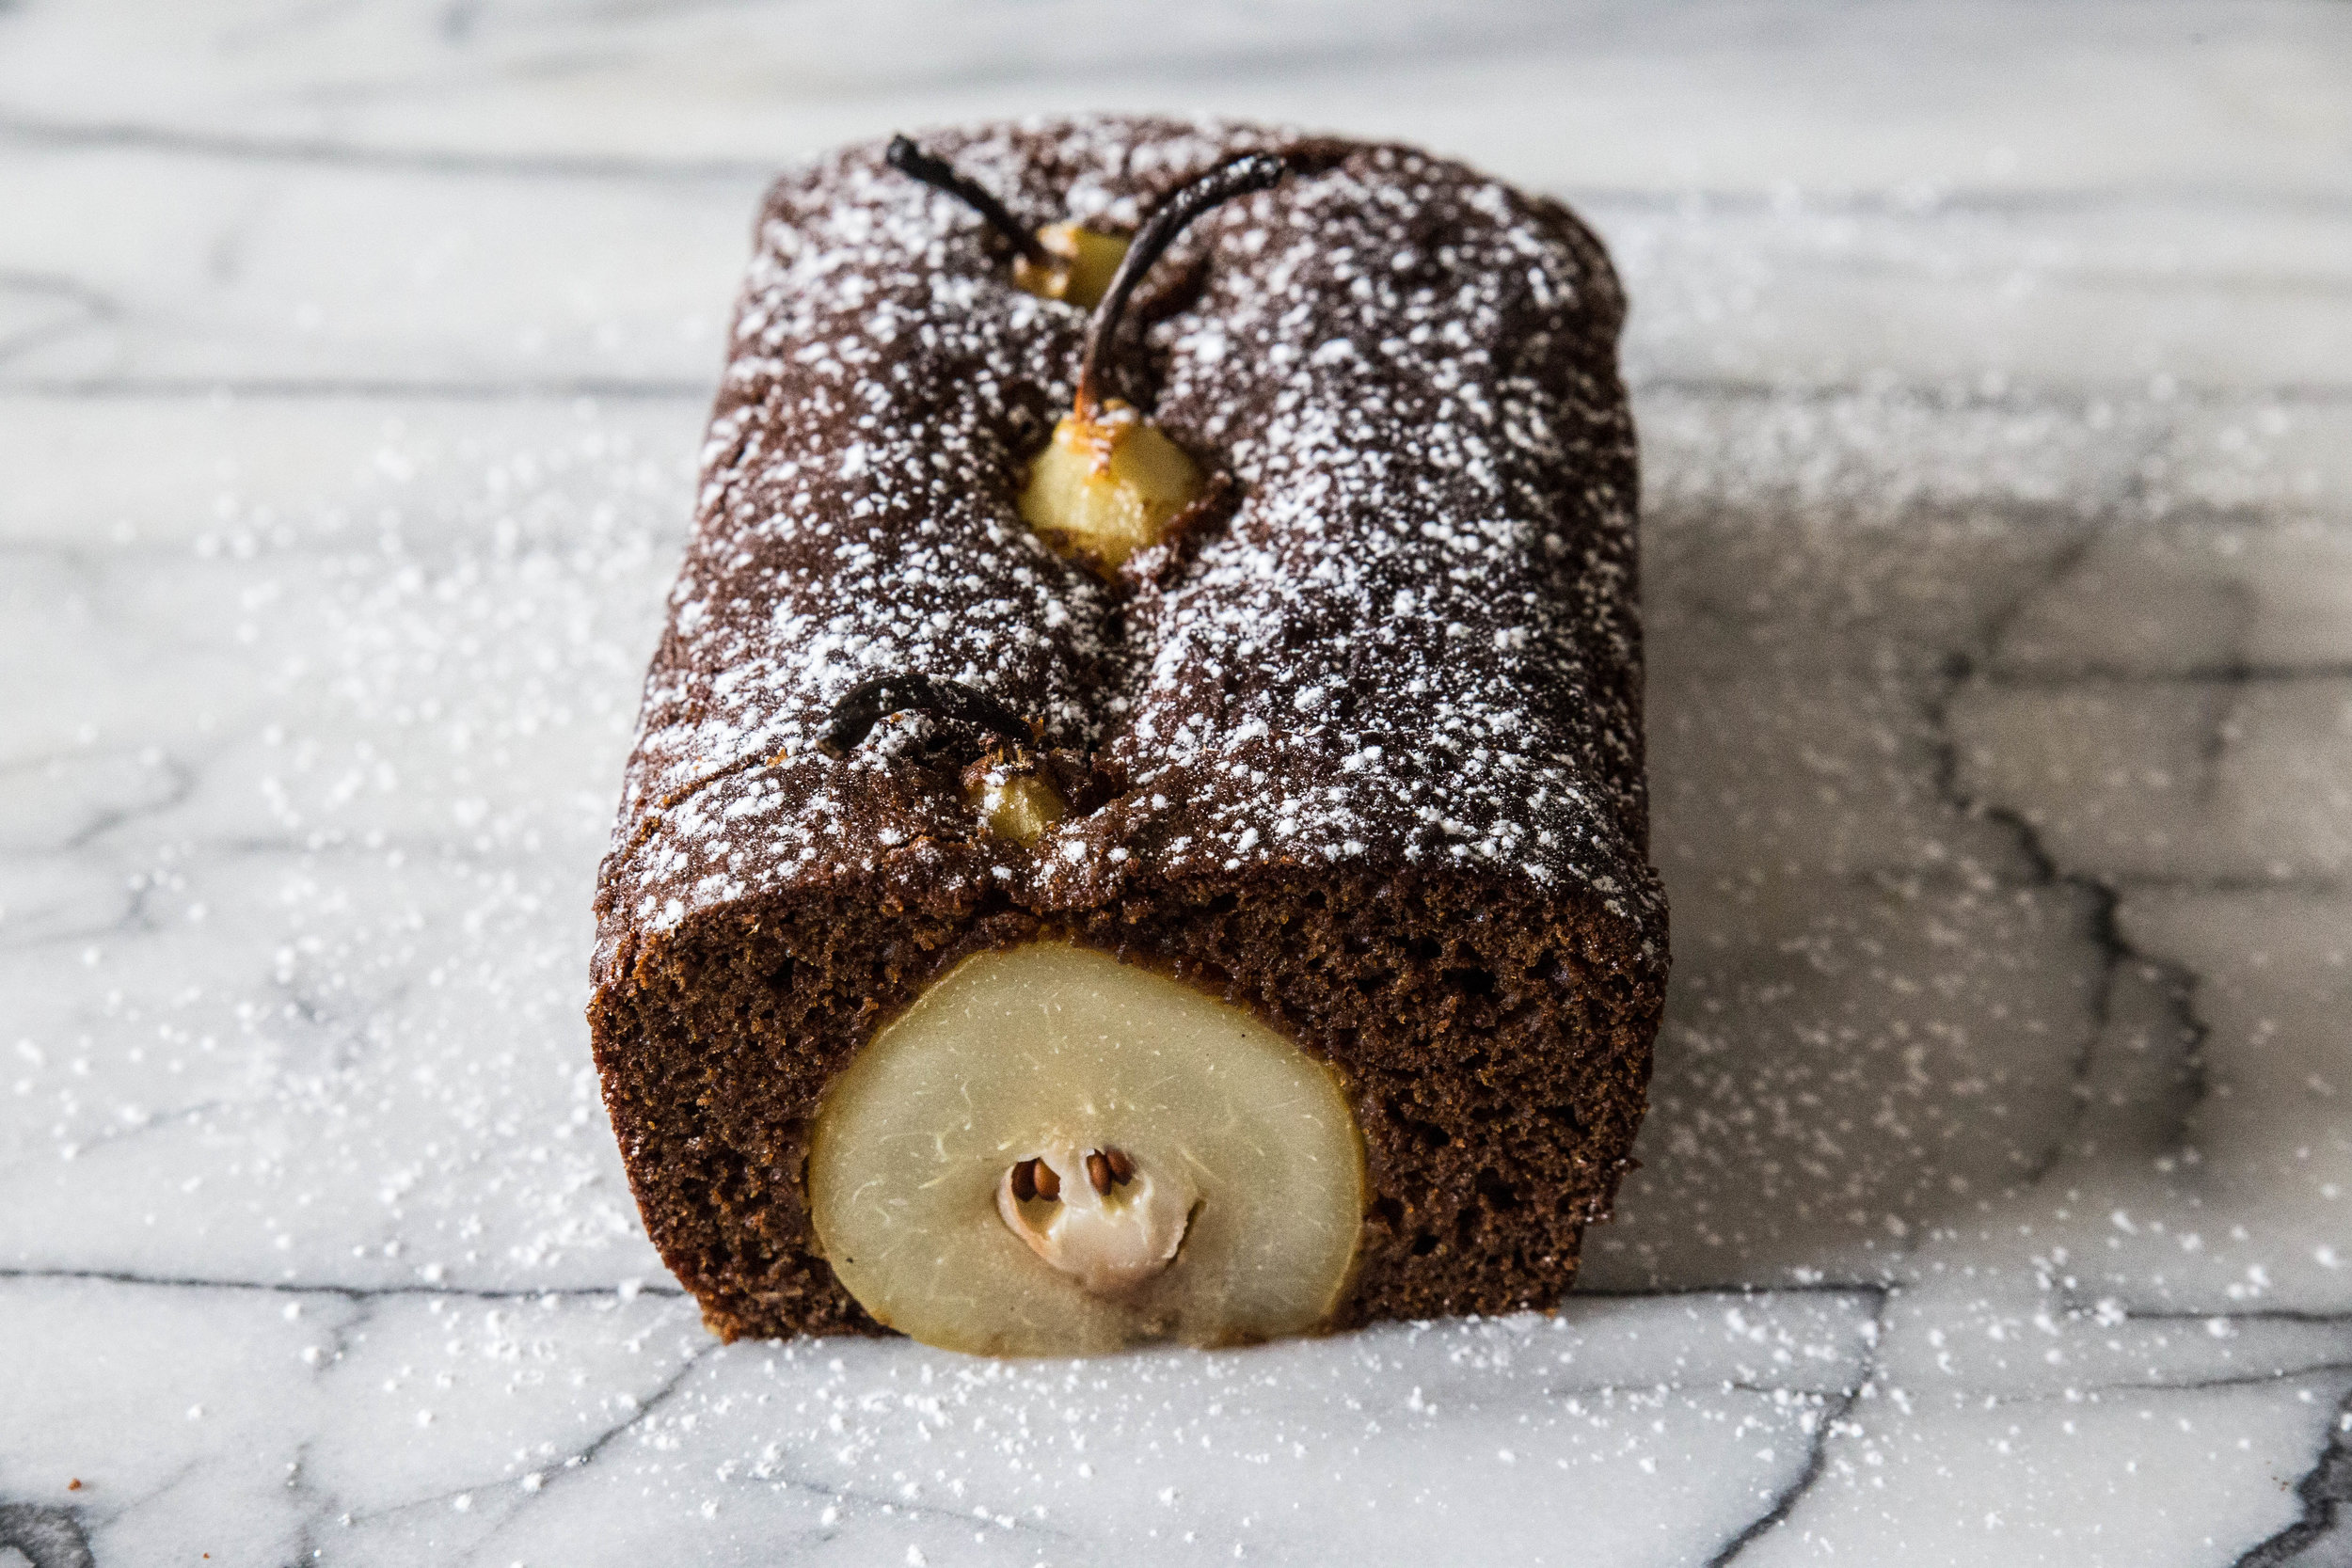
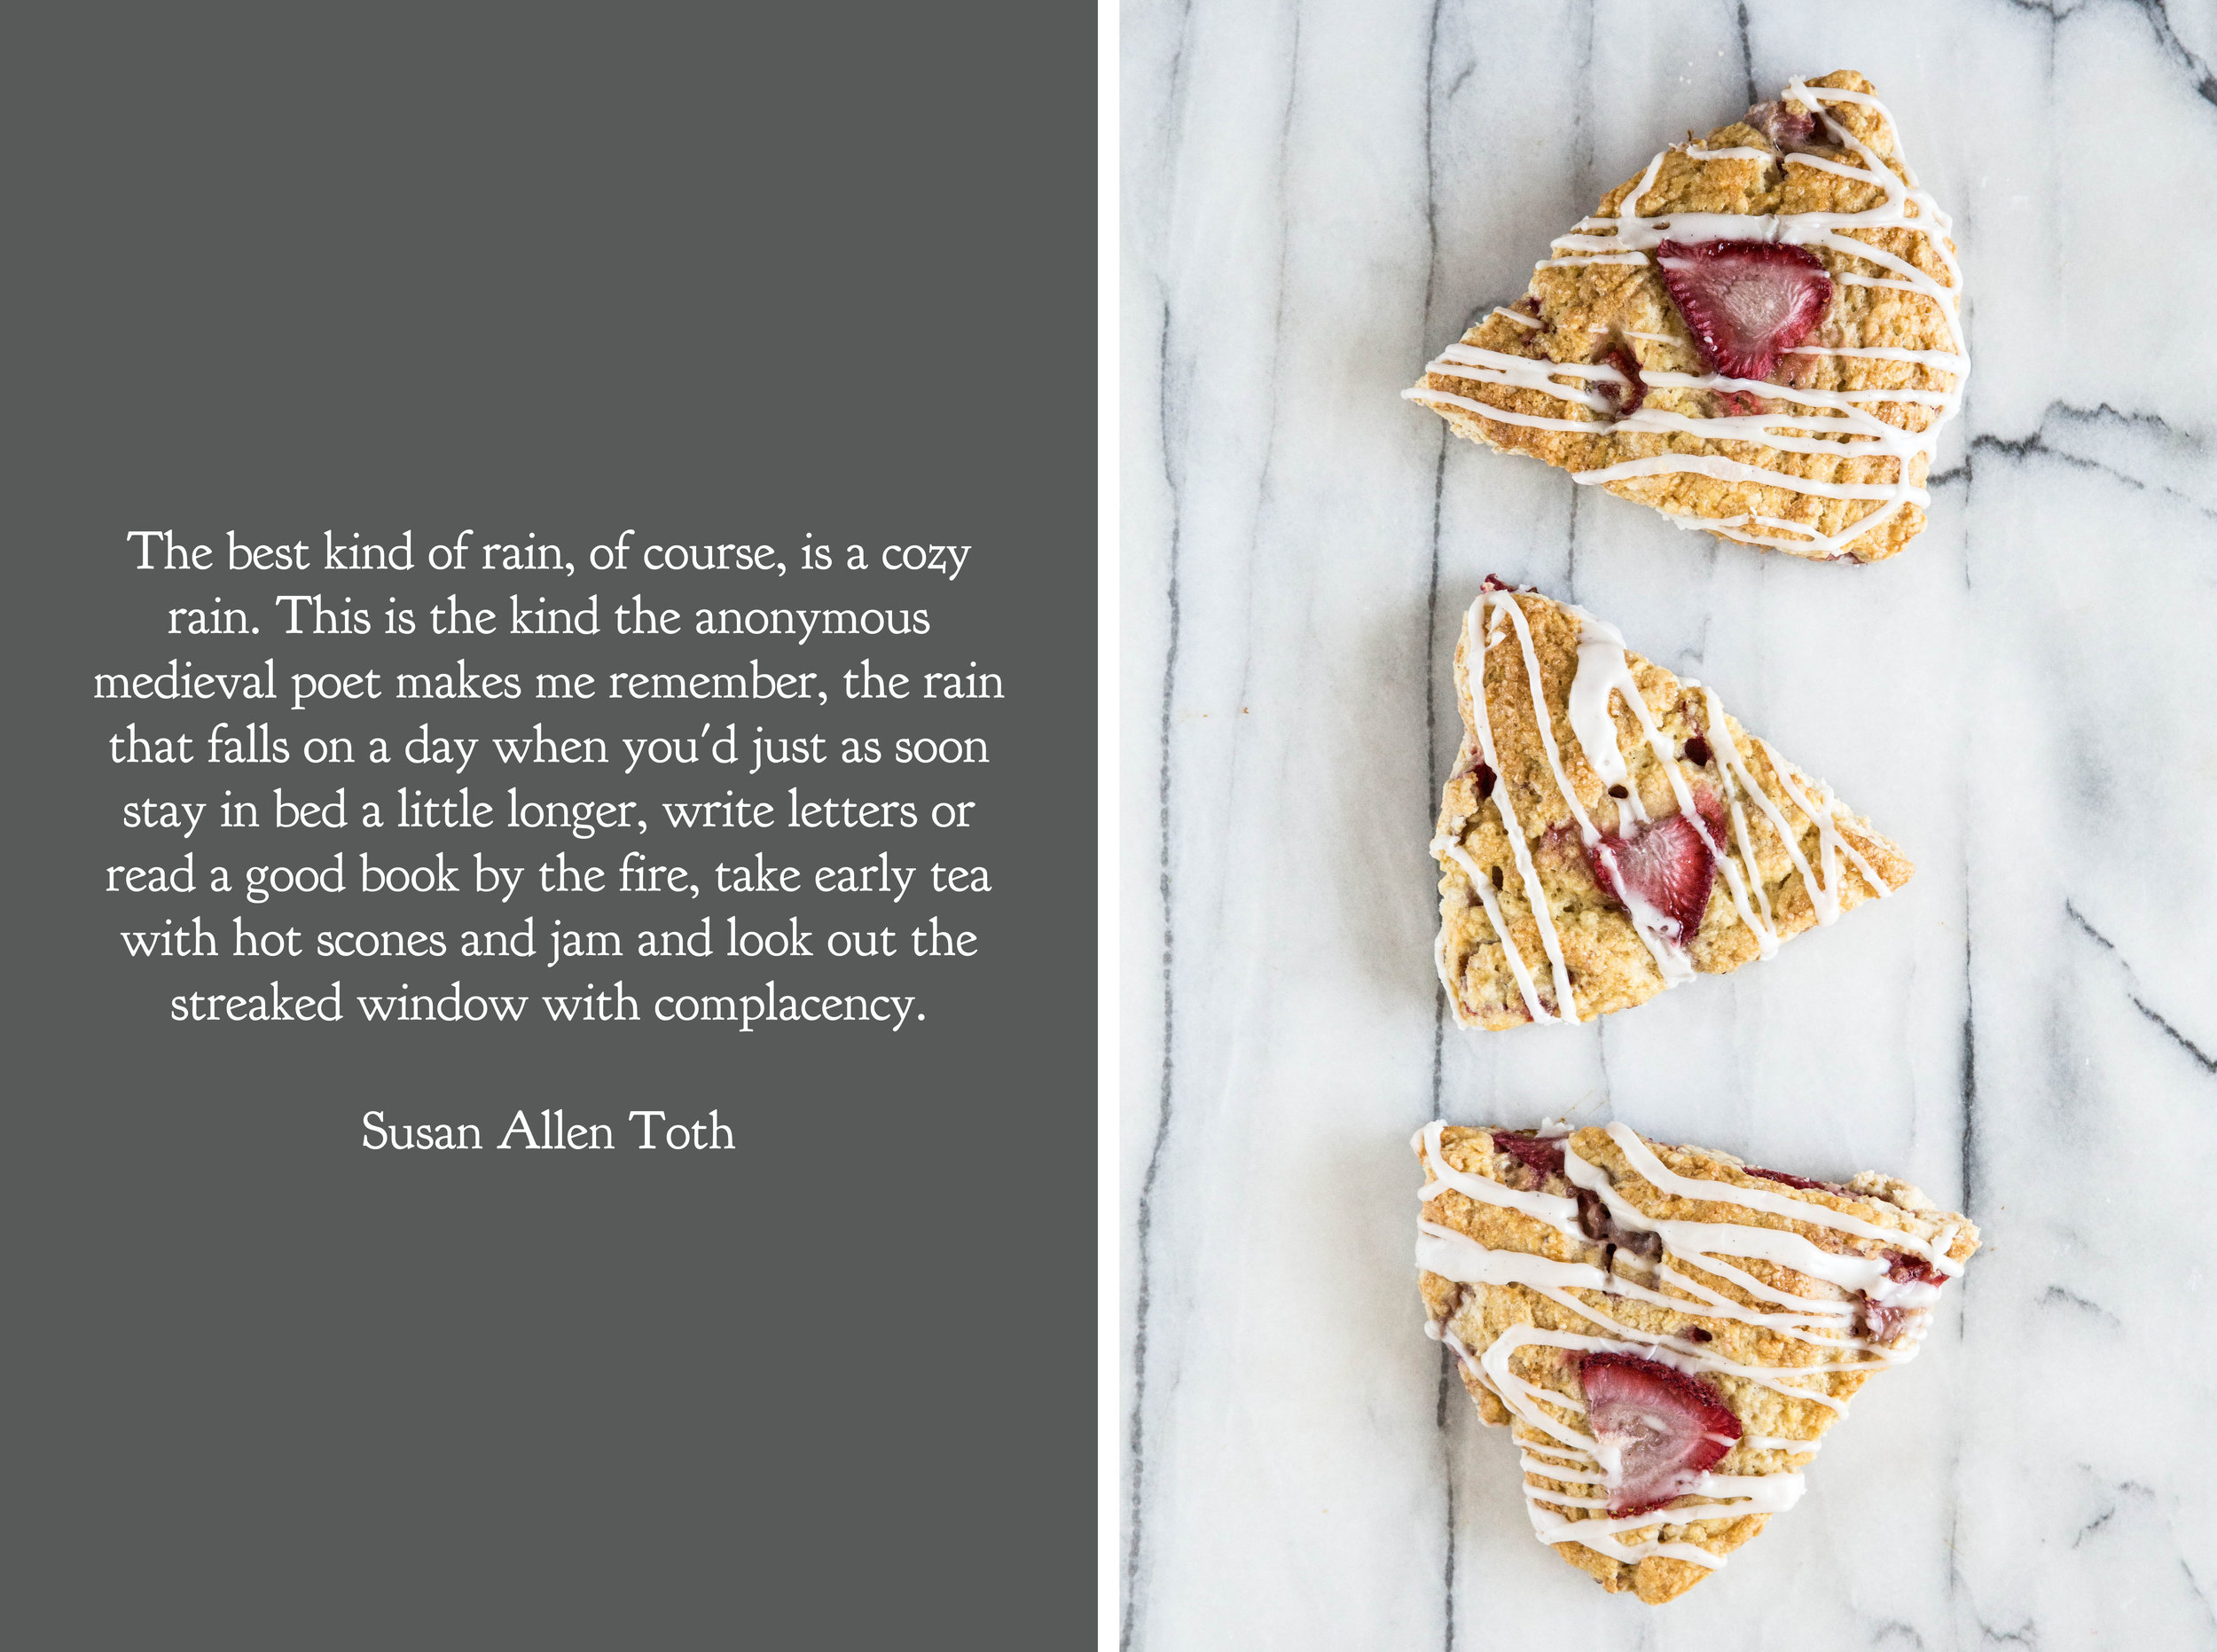
Overcast days feel like baking days to me. After slicing the strawberries, I gently mixed them into scone batter and baked them up for a taste of spring.
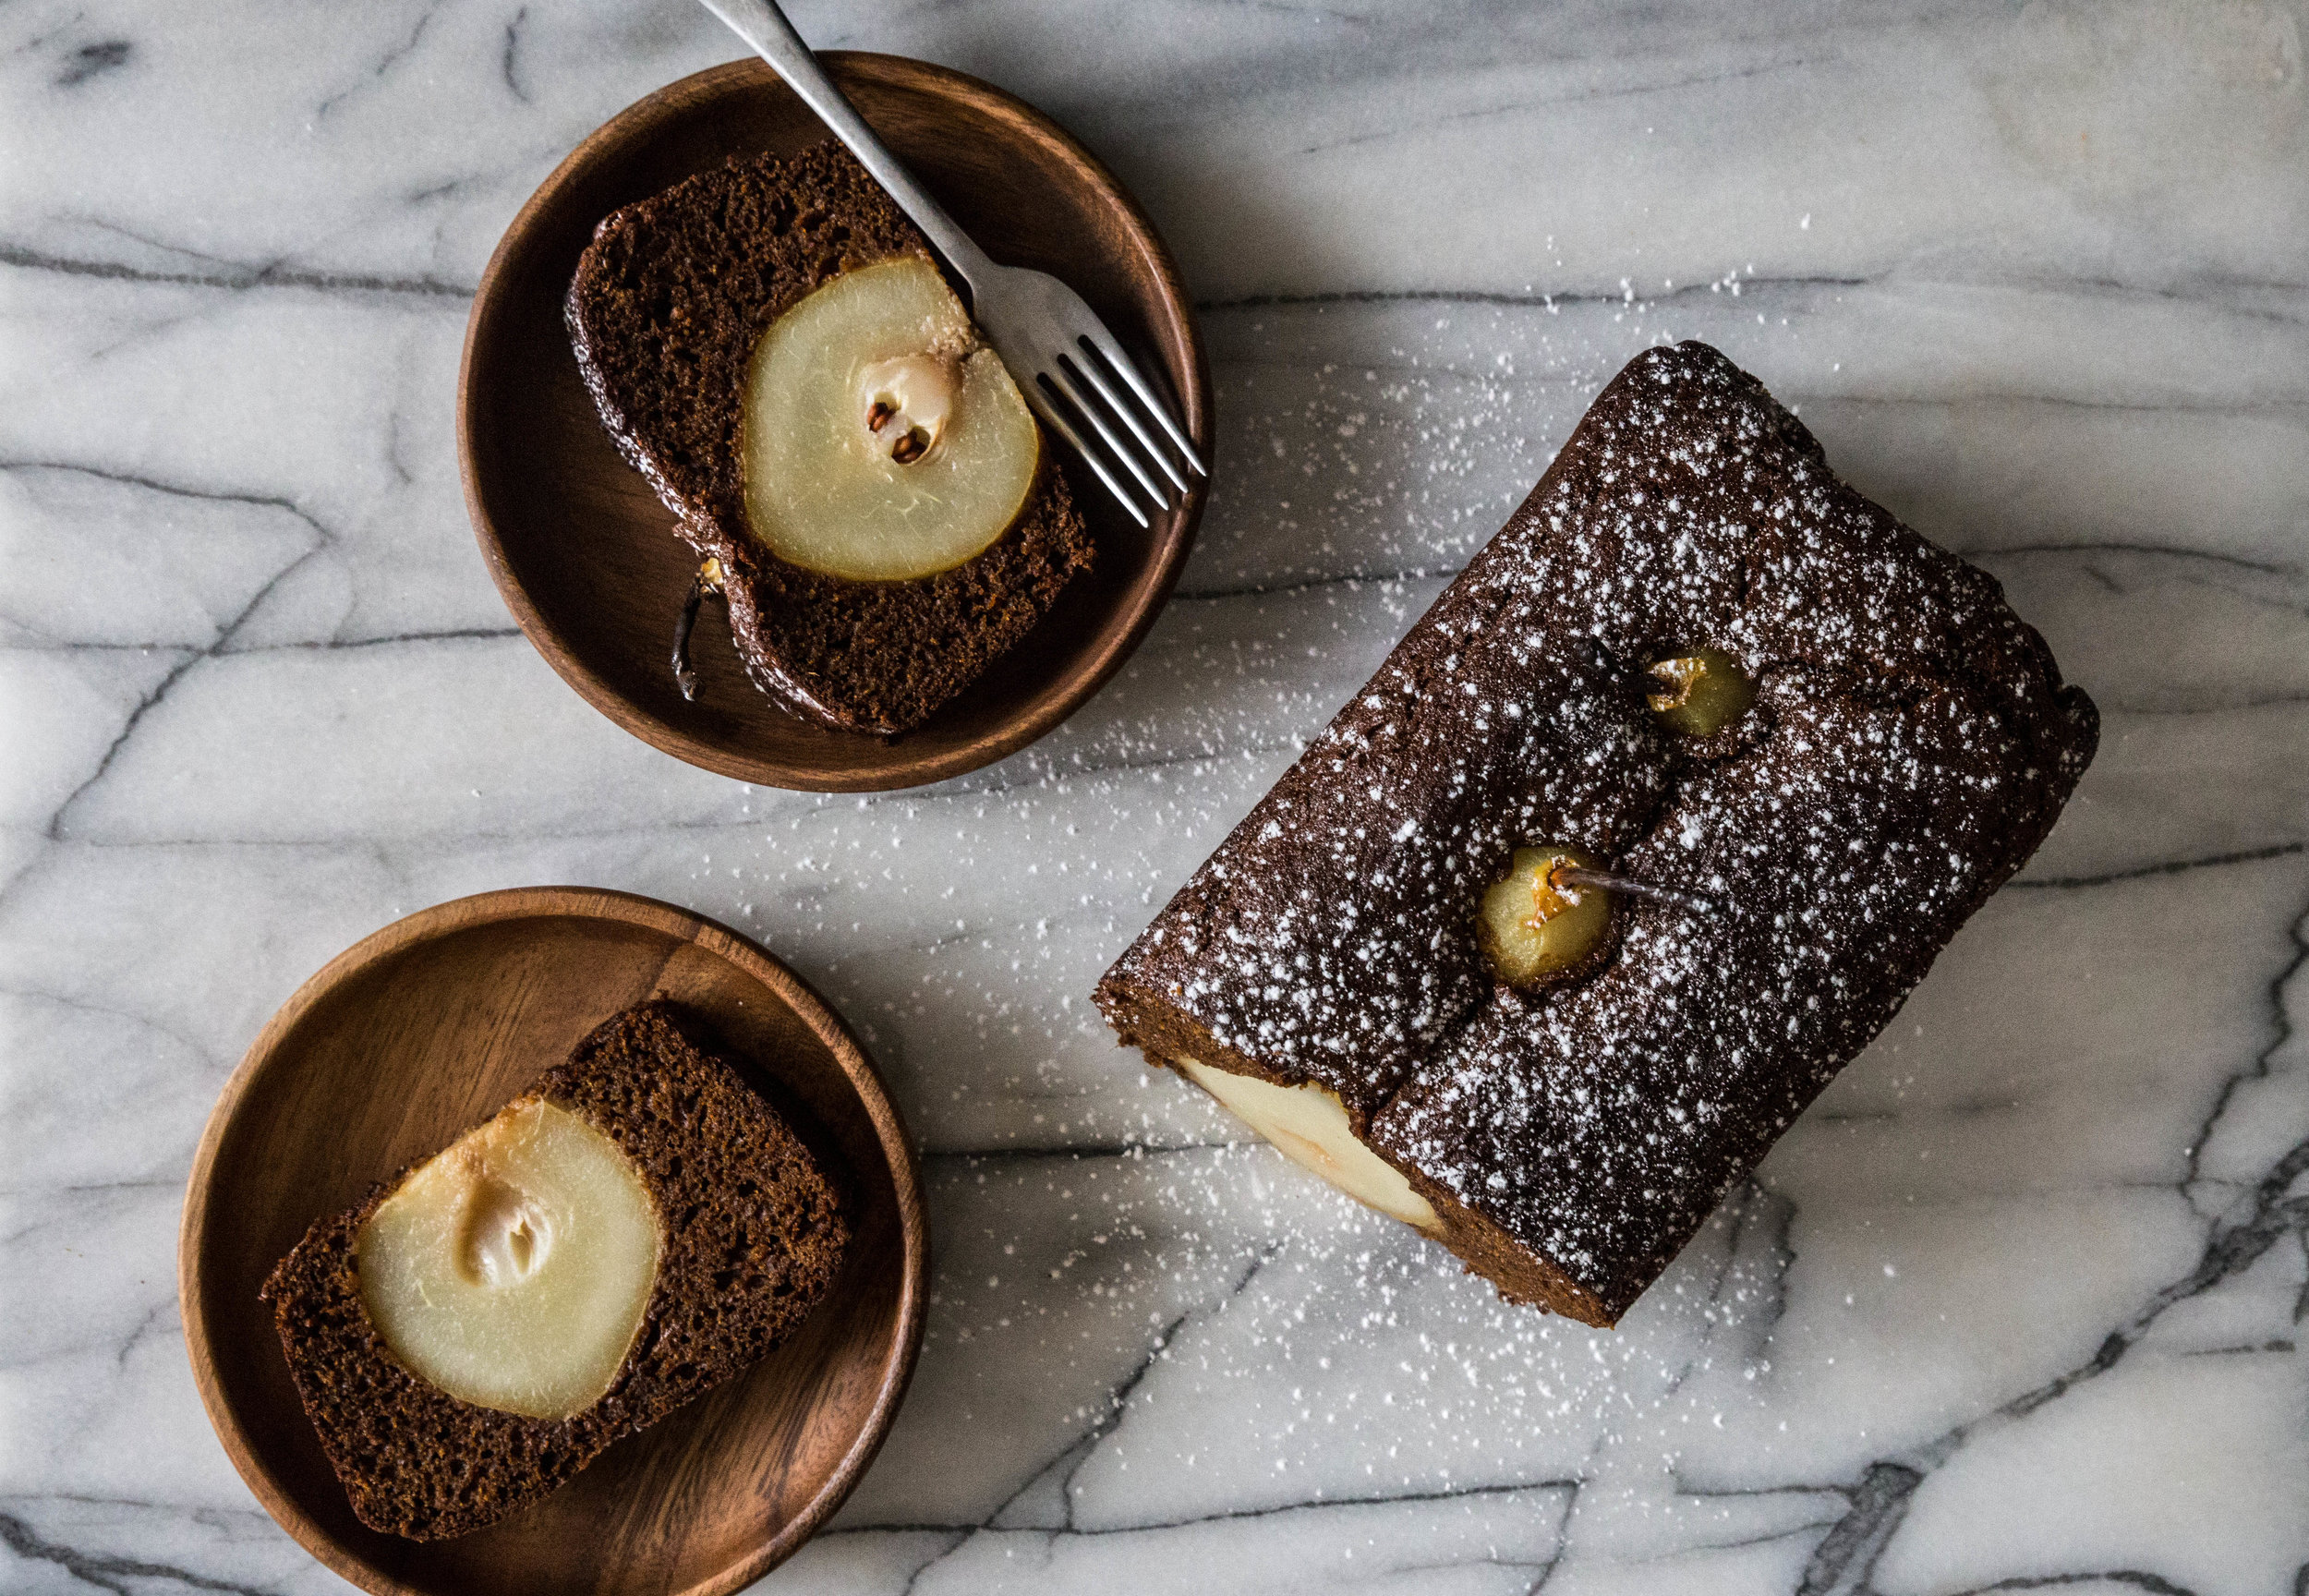
Because sliced strawberries hold moisture after baking, I recommend eating the scones the same day they are baked. If you do choose to store them overnight, cover the scones, but do not keep them under an airtight seal; this will prevent the scones from becoming soggy. As an alternative, a quick 5-8 minute reheat in a 350 degrees F oven will also bring the scones back to the right consistency.


Strawberry scones are a sweet recipe to use up the fresh, seasonal strawberry bounty. Sliced strawberries are mixed into a classic scone dough which is flavored with vanilla bean seeds. Once baked, the scones are topped with a vanilla bean glaze for extra sweetness. The scones hold moisture so they are best eaten the same day they are made. Serve for a special breakfast or enjoy as part of a morning snack.
One Year Ago: Chocolate Hazelnut Rolls
Two Years Ago: Blueberry Oat Bars & Peanut Butter Chocolate Chunk Cookies
Three Years Ago: Chocolate Blackberry Cupcakes
Four Years Ago: PB & J Muffins, Almond Butter Chocolate Cookies, Sunflower Seed Bread, Blackberry Fool, Lime Curd Tart, Honey Chocolate Chunk Cookies, & Strawberry Charlotte
Five Years Ago: S'mores Cupcakes, Mai Tai, Homemade Mascarpone, Ladyfingers, Tiramisu Cake, & Honey Wheat Cake
Six Years Ago: Lemon Thins, Vanilla Pear Muffins, Malted Chocolate Chip Cookies, & Chocolate Raspberry Pots de Creme
Strawberry Scones
Yields 8 scones
Strawberry Scones
2 cups (250 grams) all-purpose flour
2 tablespoons (28 grams) granulated sugar
1 tablespoon baking powder
1/2 teaspoon salt
6 tablespoons (85 grams) cold butter, cubed
8 ounces (225 grams) fresh strawberries, hulled and cut into 1/4-inch slices
1 large egg
Seeds from 1/2 vanilla bean (or 1 teaspoon vanilla bean paste or 1 teaspoon vanilla extract)
1/3 cup (80 ml) heavy cream
Topping
Egg wash (1 egg + 1 tablespoon water, whisked)
Raw or turbinado sugar, for sprinkling
Vanilla Glaze (optional)
1/2 cup (62 grams) powdered sugar
1 tablespoon milk
Seeds from 1/2 vanilla bean (or 1 teaspoon vanilla bean paste or 1 teaspoon vanilla extract)
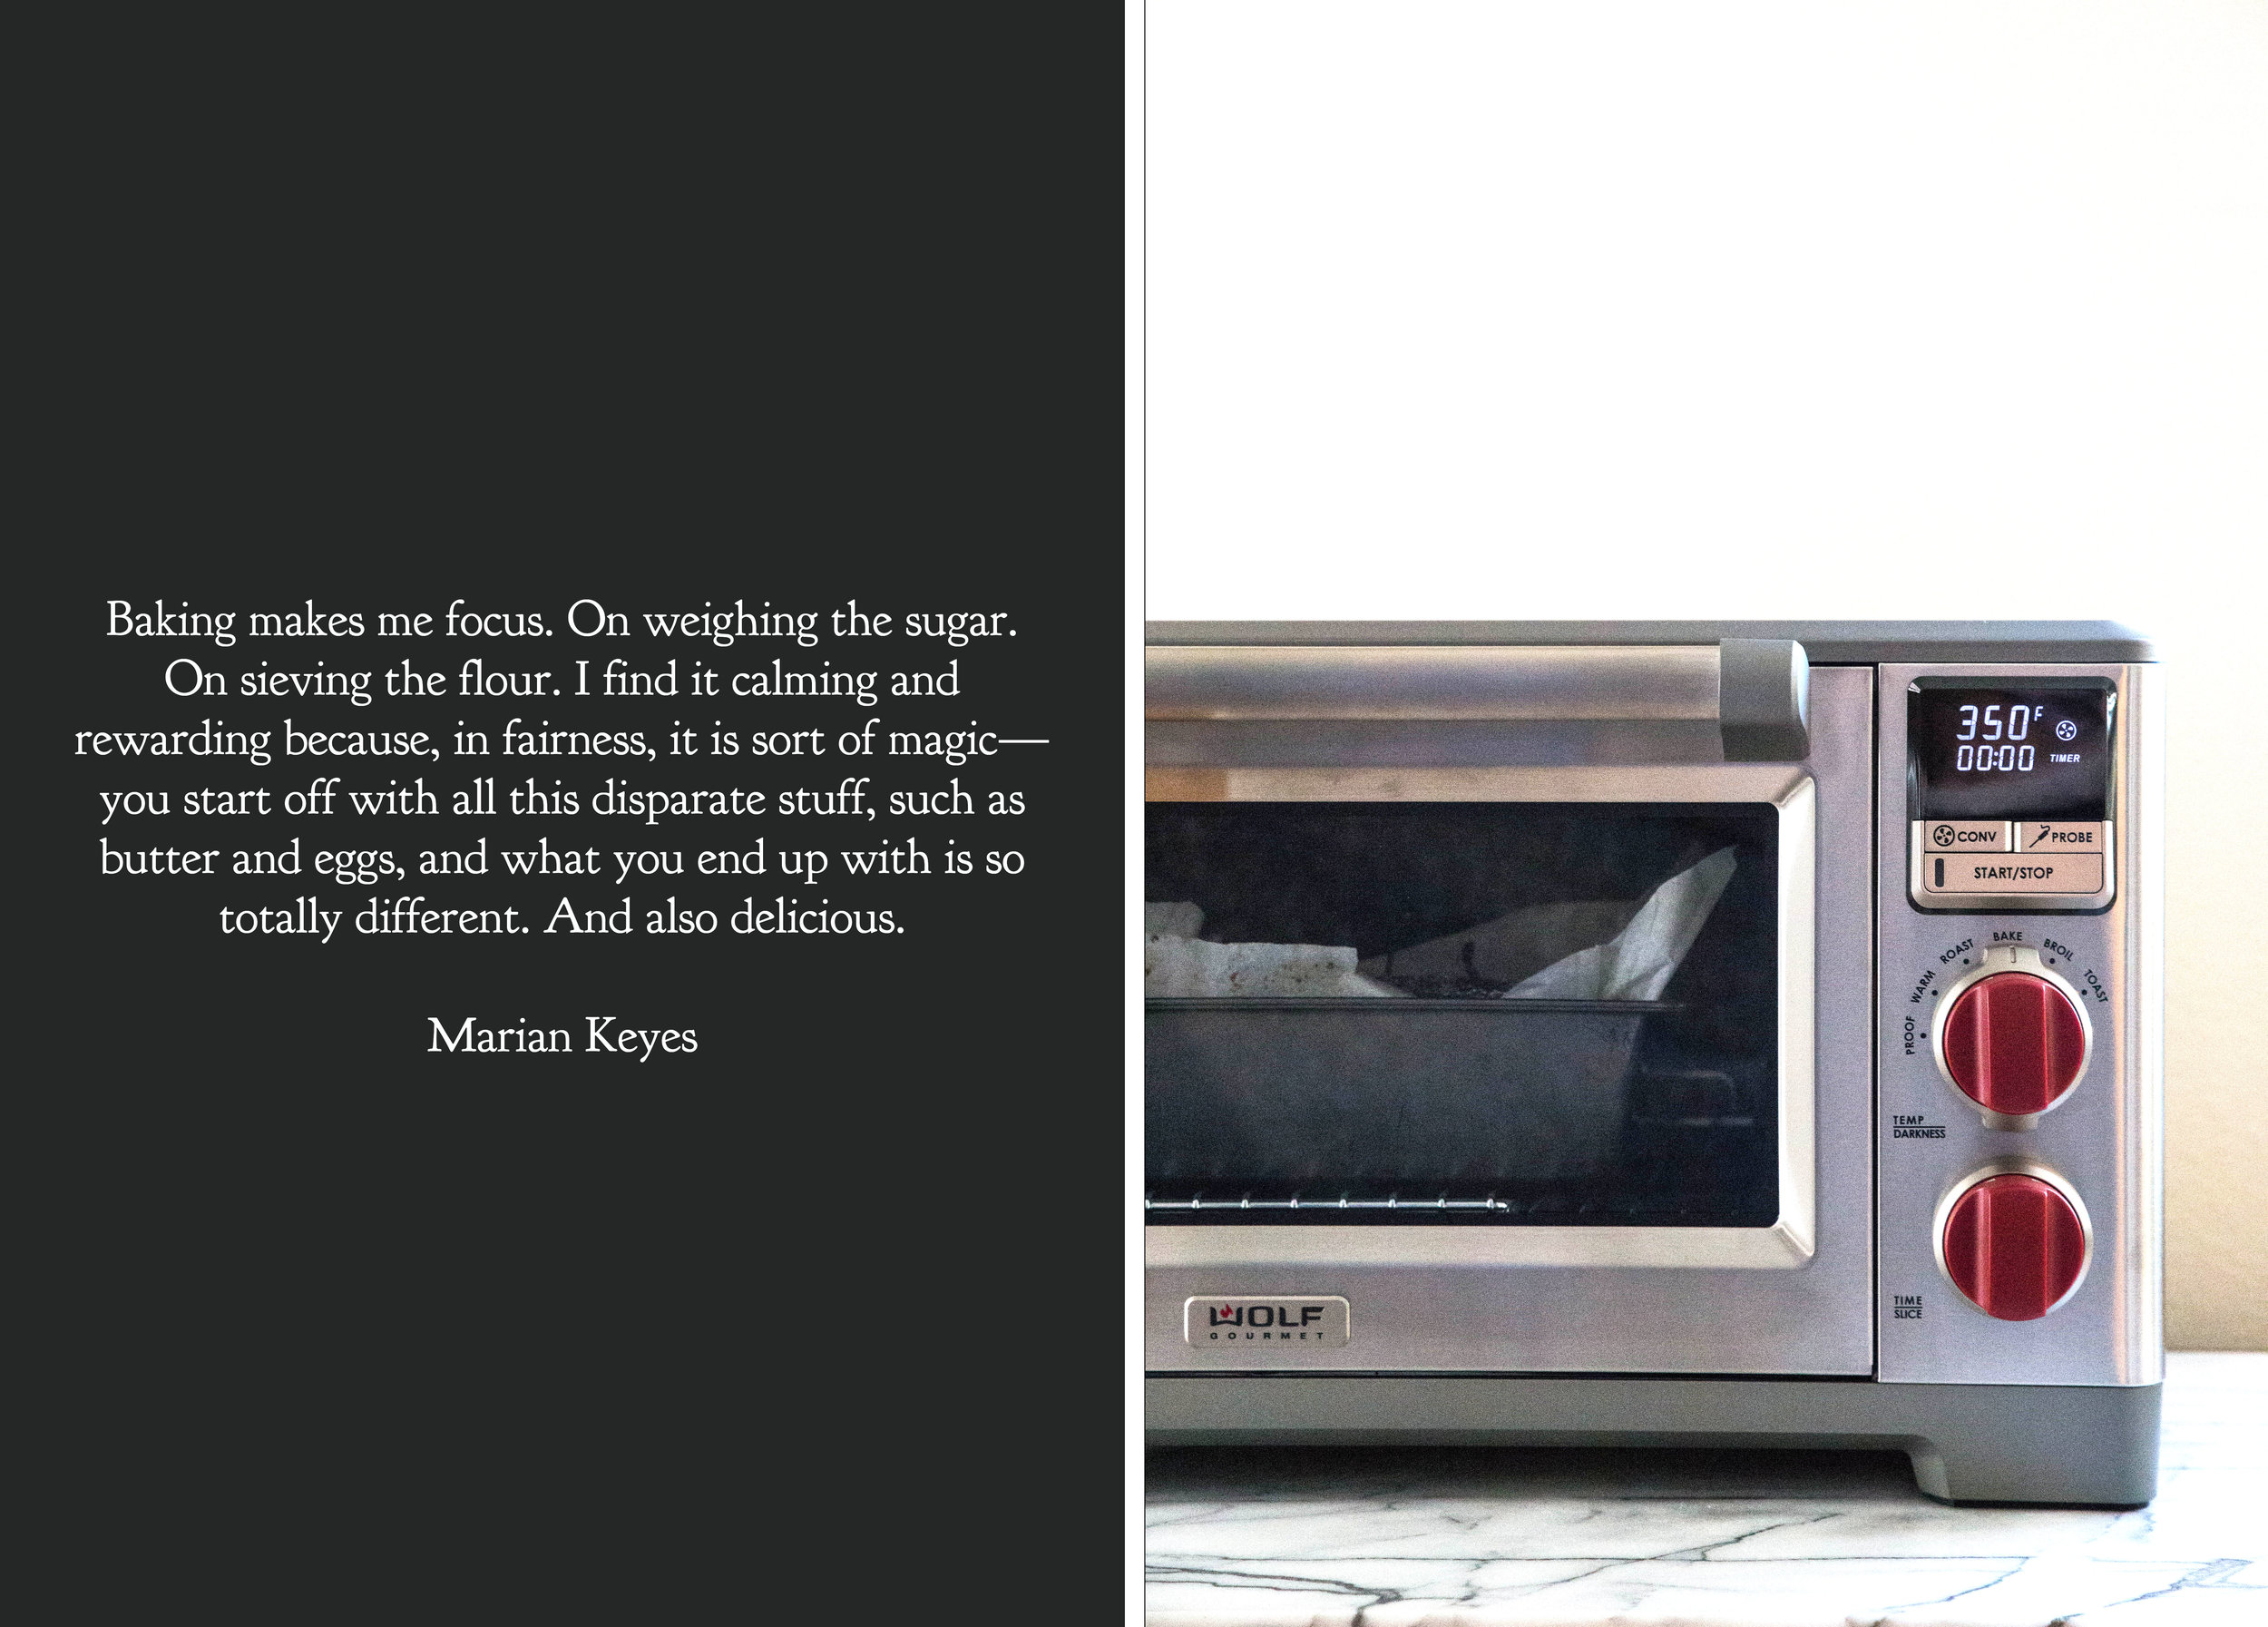
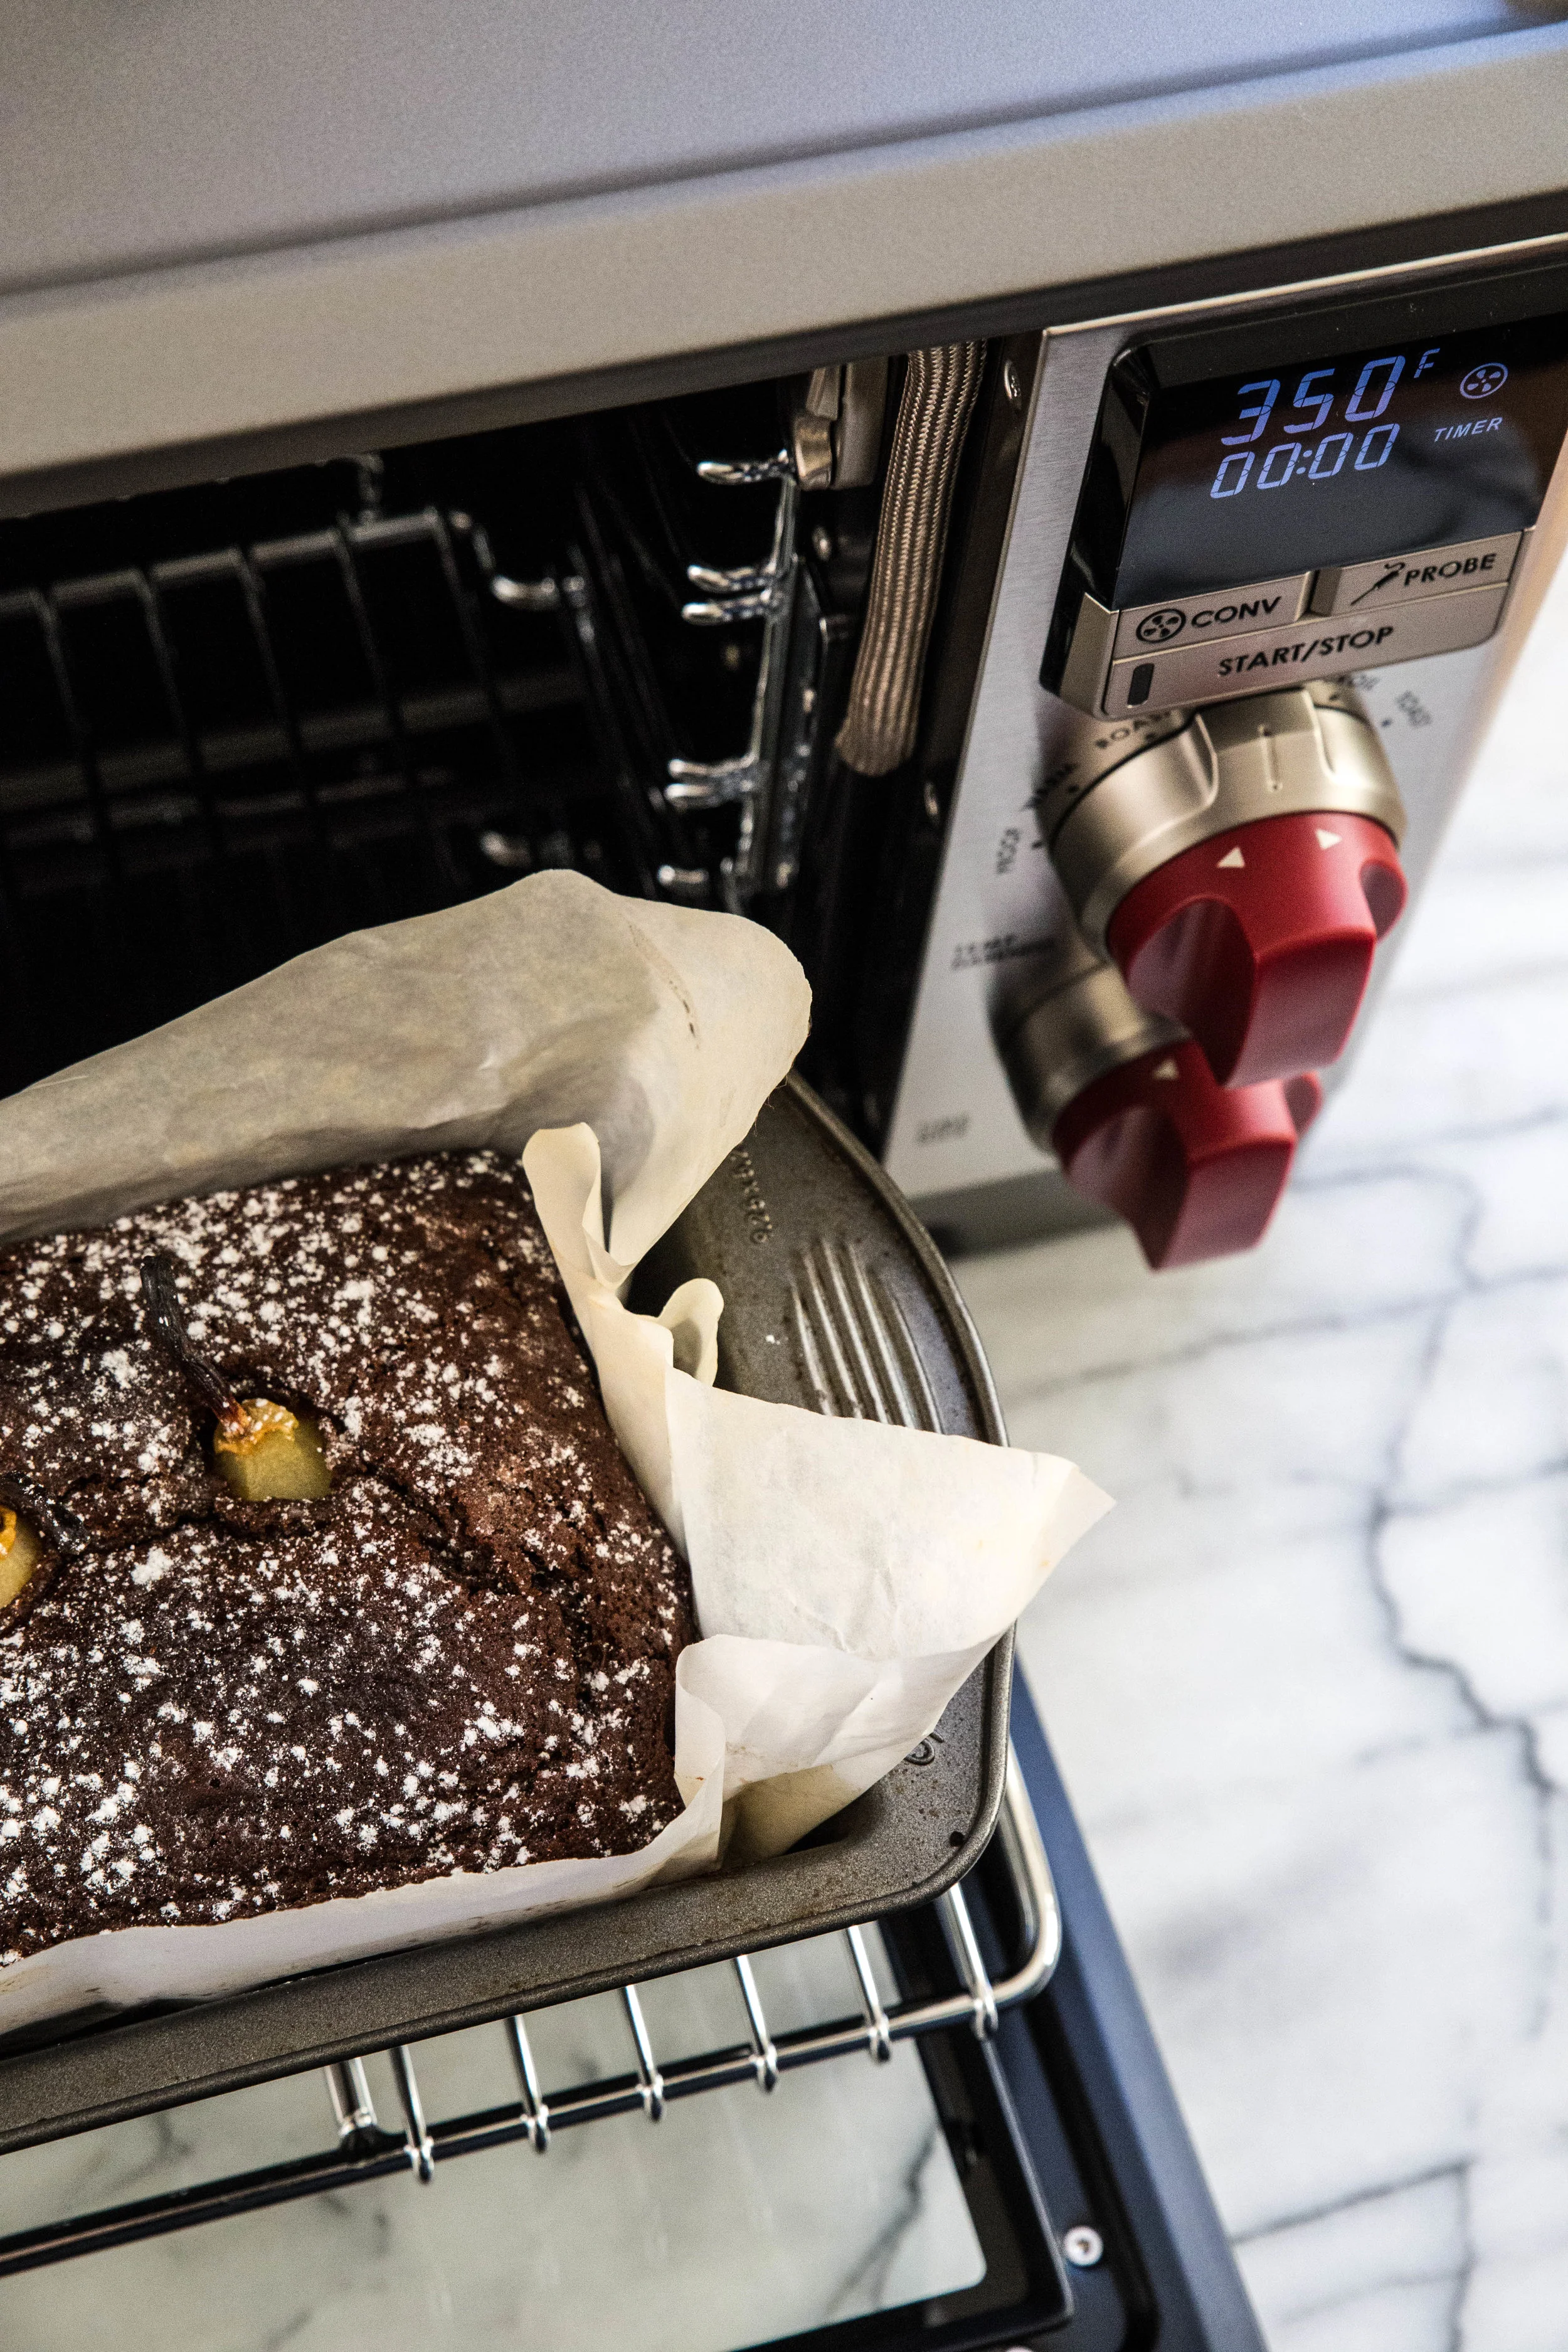
Preheat oven to 350 degrees F (180 degrees C).
In a large mixing bowl, whisk together flour, sugar, baking powder, and salt. Cut in butter with pastry blender (or your hands) until mixture resembles coarse sand. Gently fold in sliced strawberries.
In a small bowl, beat together egg, vanilla bean seeds, and heavy cream. Pour over the scone batter and lightly mix until the dough comes together.
Turn out dough onto a lightly floured surface, form a circle, and flatten it until it is about 1-inch thick. Using a sharp knife dipped in flour, cut 8 equal pie wedges. Transfer scones to a baking sheet using a flat spatula dipped in flour. Brush the tops of the scones with egg wash and sprinkle with raw sugar. Bake for 25-30 minutes, or until lightly browned.
For the glaze, stir together all ingredients in a small bowl. Using a spoon, drizzle glaze over cooled scones. Allow at least 15 minutes for the glaze to set before serving.
Scones are best if served on the same day. If storing, cover the scones, but do not keep under an airtight seal.